What Is Aperture In Photography: The Essentials Explained
September 04, 2025
Let’s break down what aperture is measured in and what it tells you about your lens.
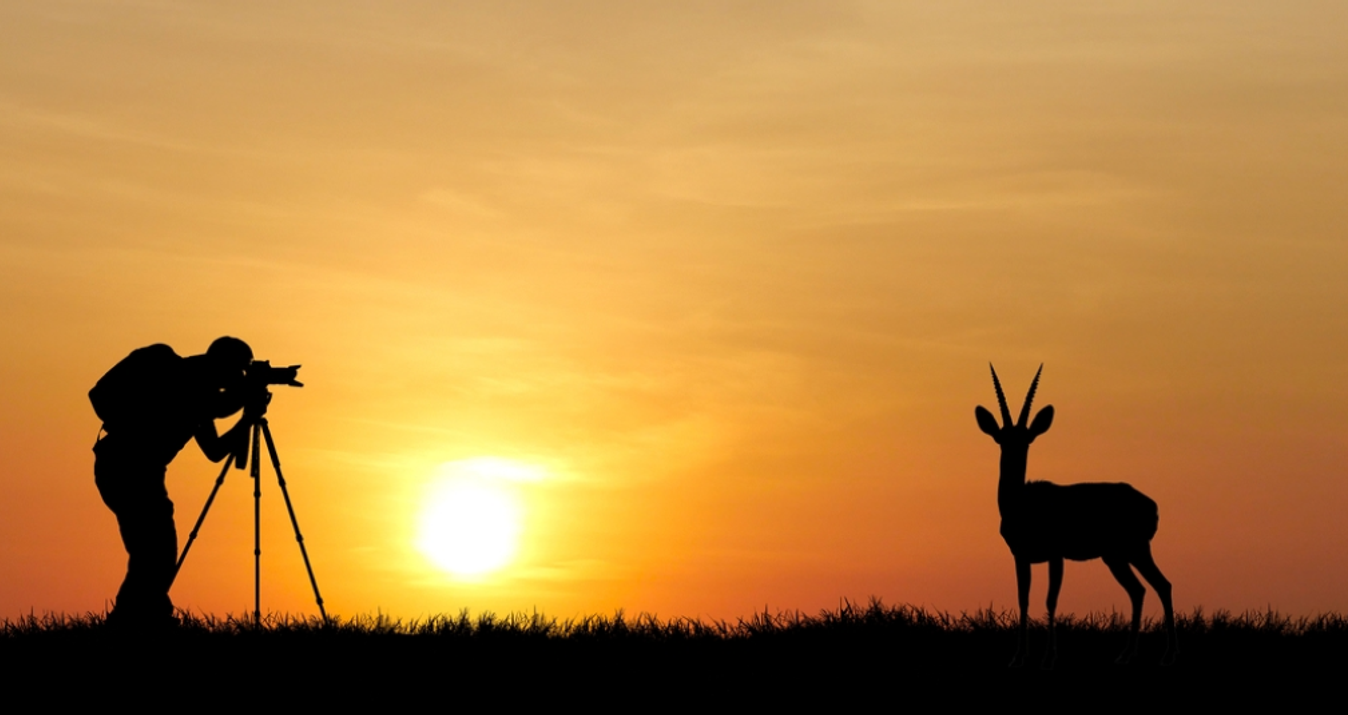
When I started shooting, aperture felt like a secret switch everyone else knew how to use. I learned it by doing—changing one dial, taking the same shot, and seeing the result. This setting became the tool that let me decide what the viewer looks at first.
In this aperture guide, I’ll explain it in plain language, show how I use it on real shoots, and give clear examples you can try right now.
Aperture Explained
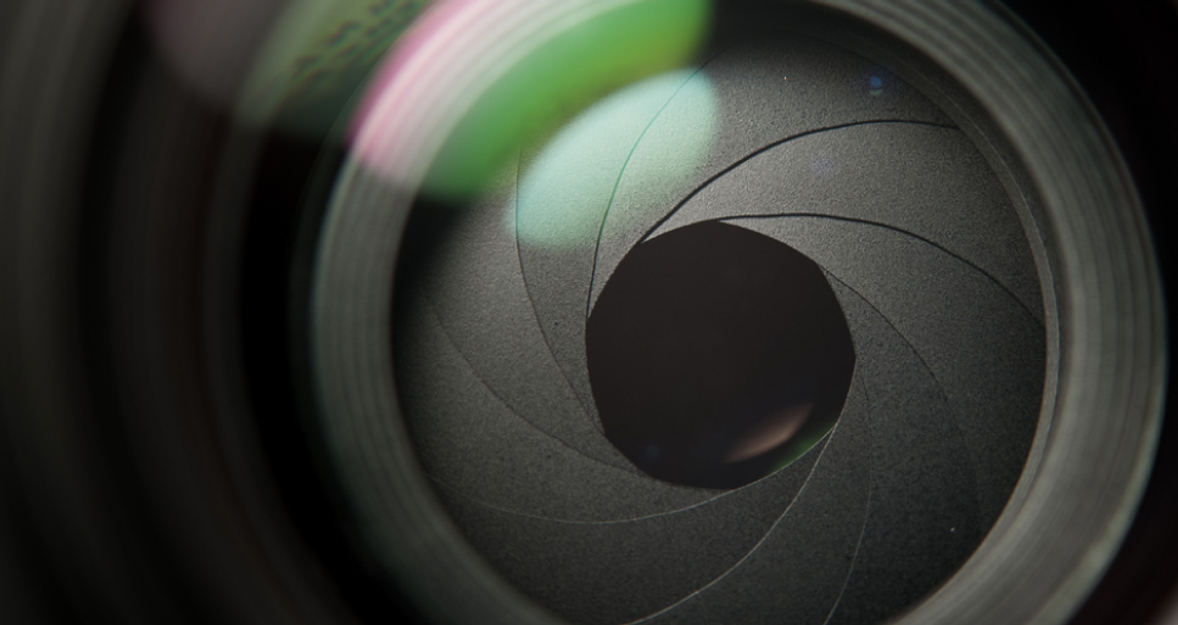
 Aperture is simply the opening inside a lens that lets light reach the sensor. I like to call it the lens’s pupil: it widens in low light and narrows in bright light. If you need a quick line to remember, define aperture as the camera’s adjustable hole that controls light and how much of the scene is sharp. When I teach beginners, I often hold up two tubes with different holes and shine a torch—the wider hole floods the paper, the smaller hole makes a focused beam. That hands-on demo helps the idea stick.
Aperture adds dimension by controlling depth of field: wide openings give creamy, blurred backgrounds for portraits, while small apertures keep foreground-to-horizon sharp for landscapes. It also affects exposure—wider makes the image brighter, smaller makes it darker.
Your AI-Powered Photo Editor for MacOS and Windows
Discover Now!How Aperture Affects Exposure
-5714.png?q=85&w=840) Aperture directly changes exposure. Open the aperture and more light hits the sensor; close it and less light arrives. On dim mornings, I open up so I can keep shutter speeds fast enough to freeze motion. On sunny afternoons, I stop down to avoid blown highlights. I always pick an aperture with a mental note: will this let me keep shutter speed and ISO where I want them?
Aperture directly changes exposure. Open the aperture and more light hits the sensor; close it and less light arrives. On dim mornings, I open up so I can keep shutter speeds fast enough to freeze motion. On sunny afternoons, I stop down to avoid blown highlights. I always pick an aperture with a mental note: will this let me keep shutter speed and ISO where I want them?
A quick habit I have is to take a test shot and check the histogram—it tells me if I’m clipping highlights or crushing shadows. If stopping down forces a very slow shutter, I either raise ISO or mount the camera on a tripod to avoid blur. I also bracket a couple of frames when the light is tricky to compare exposure and depth choices later. Knowing the aperture meaning makes it easier to balance light, shutter speed, and ISO in tricky lighting.
Aperture and Its Impact on Depth of Field
 Depth of field is the amount of the frame that looks acceptably sharp. Wide lens opening gives a shallow depth of field—that creamy background you see in portraits. Small apertures increase the depth of field so that both the foreground and background are sharp. One of my favorite exercises was shooting a friend at f/1.8, f/4, and f/11 to see the change. Those aperture photography examples taught me faster than any theory.
Here’s a tiny experiment you can do in 10 minutes:
Place an object 1 meter away and a background 5 meters away.
Shoot at f/1.8, f/4, f/11.
Compare where the background becomes distracting or disappears.
What Are F-Stop and F-Number?
F-stop, or f-number, is the way we describe aperture sizes: f/1.4, f/2, f/8, f/16. I like to think of it as the “language” of lens opening. Lower f-numbers mean the aperture is wide open, so more light enters the lens and the background looks blurrier. Higher f-numbers mean the opening is smaller, which lets in less light but keeps more of the scene sharp.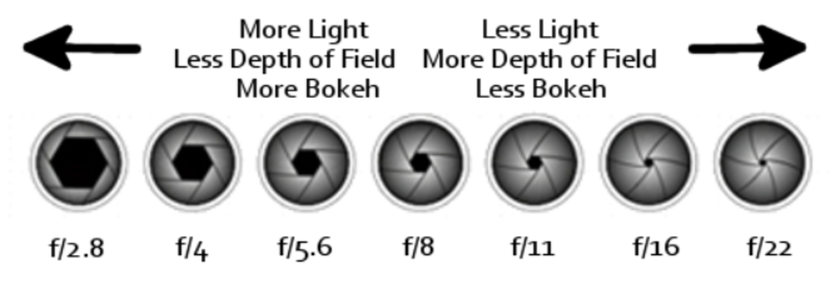
Technically, f-stop is calculated by dividing the lens’s focal length by the size of the aperture opening. But honestly, I don’t focus on the math. What helps me is remembering the effect: low f-stop = brighter image with shallow depth of field; high f-stop = darker image with deeper focus. If you’re new to cameras, learning the aperture definition in photography is a great first step.
Large vs Small Aperture
Large aperture = small f-number (e.g., f/1.8). Small aperture = large f-number (e.g., f/16). I pick a large lens opening when I want to isolate a subject or when the light is low. I choose a small aperture when I want everything in the frame to be sharp.
When students ask which aperture is best, my honest reply is: it depends on your goal. For portraits, I prefer f/1.8–f/2.8; for group shots, f/4–f/5.6; and for landscapes, f/8–f/11. Those ranges work for me on most lenses.
How to Pick the Right Aperture
 Choosing aperture mixes creativity and practicality. I ask three quick questions every time:
How far is my subject?
Do I want the background separated?
What shutter speed do I need to avoid motion blur?
If you wonder how to know what aperture to use, try this simple list that I run through in my head before each shot:
Close subject + dreamy background → wide aperture.
Group or scene detail → mid to small aperture.
Action to freeze → wide aperture to allow faster shutter, or raise ISO.
That short mental checklist keeps my decisions fast and consistent on location.
Bring Emotional Depth to Your Portraits with Bokeh Effect
Discover HowAdjusting Your Camera’s Aperture
 On most cameras, you control aperture in Aperture Priority (A or Av) or Manual (M). I use Av when I need to move quickly and M when I want precise control. Look at your viewfinder or screen—the aperture setting on camera will show the f-number. Turn the main dial or the aperture ring on the lens to change it:
Switch to Av if you want ease, or M for full control.
Rotate the dial until the f-number you want appears.
Check shutter speed and ISO, and take a test frame.
I habitually check the histogram after a few frames to ensure I didn’t clip highlights.
Examples of Which Aperture to Use
Concrete examples helped me stop guessing. Here are the setups I use and why:
Single-person portrait (outdoor): f/1.8 to blur the background and bring attention to the eyes.
-6474.jpg?q=85&w=840)
Family group (park): f/4 to f/5.6, so every face stays sharp.
-6653.jpg?q=85&w=840)
Landscape with foreground interest: f/8 to f/11 so textures from near to far remain clear.

Indoor candid in low light: f/2–f/2.8 to keep shutter speed usable.
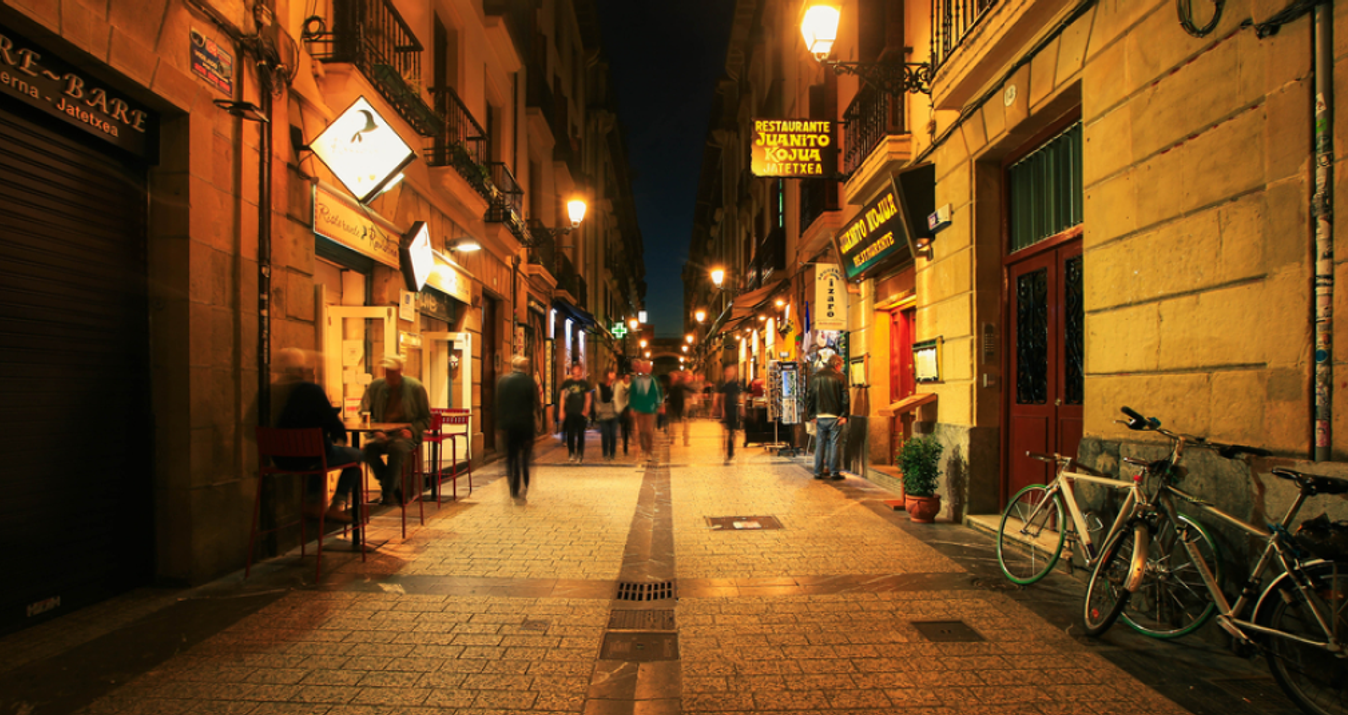
Street photography at night: f/2 – I’ve found it lets in enough light while still giving me crisp details.

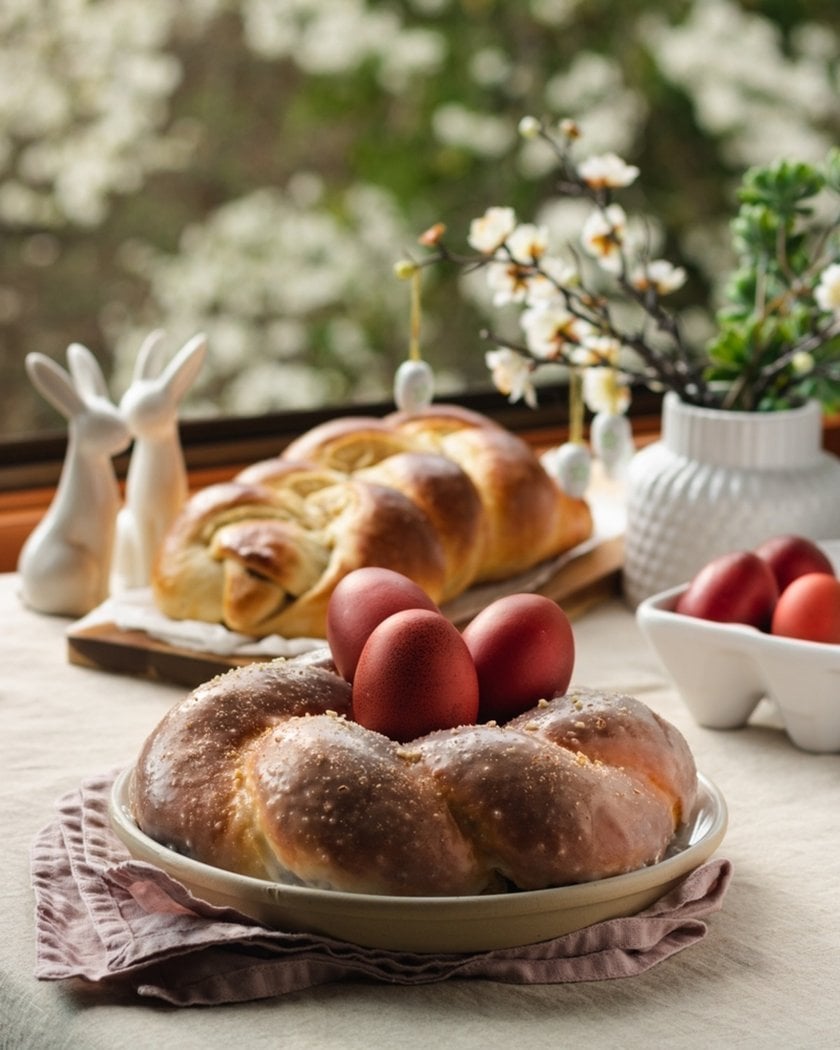
Food photo near a window: f/3.2 – It keeps the main dish sharp while softly fading the background clutter.
-6474.jpg?q=85&w=840)
-6653.jpg?q=85&w=840)


These different apertures examples come from shoots I did last month—the same park, same subject, three distinct looks. Practicing these exact settings will teach you their visual effect fast.
If you need to enhance structure in a finished photo, I sometimes use a subtle tool to pull out texture without overdoing it: photo structure. Use it sparingly. Good capture first, polish second.
Frequent Mistakes and How I Handle Them
If you don’t understand what is aperture on a camera, it’s easy to pick settings that ruin a shot. I still mess up at times, but these quick fixes have saved me hours:
Mistake: Eyes missed focus at f/1.4.
Fix: I step back a little or stop down to f/2.8 for sharper focus.
Mistake: Soft images at f/22 from diffraction.
Fix: I stick to f/8 or f/11 where the lens stays sharp.
Mistake: Motion blur because my shutter was too slow.
Fix: I open the aperture, raise ISO, or switch to a faster shutter.
For shots ruined by small camera shake or motion, I occasionally resort to software effects for recovery, but only as a last resort. Tools exist to process motion blur photos, yet I prefer to capture properly in-camera.
Quick Practice Plan I Recommend
If you want to learn fast, try this two-part practice:
Part A. One Subject, Many Apertures: shoot at f/1.8, f/4, f/8, f/16, and compare.
Part B. Different Scenes: portrait, group, landscape—apply the aperture ranges listed above.
This exercise is perfect to see what does aperture mean visually—compare how each setting changes your shots. If you end up with a slightly soft frame from a minor focus slip, a careful tool can help salvage it—you can remove blur from image to restore sharpness. It’s handy in a pinch, but I try not to rely on it as a crutch.
What We Learned
 Aperture is a small dial with big storytelling power. I learned it on the street, with friends, and by shooting the same scenes again and again. Pick an aperture for the look you want, then balance shutter and ISO to get proper exposure. Practice the simple tests here and you’ll feel the difference within hours—this setting will stop being mysterious and start being the tool you reach for first. Learning how to use aperture in photography can completely change the mood of your shots.