View plans

Tint Image Enhancement

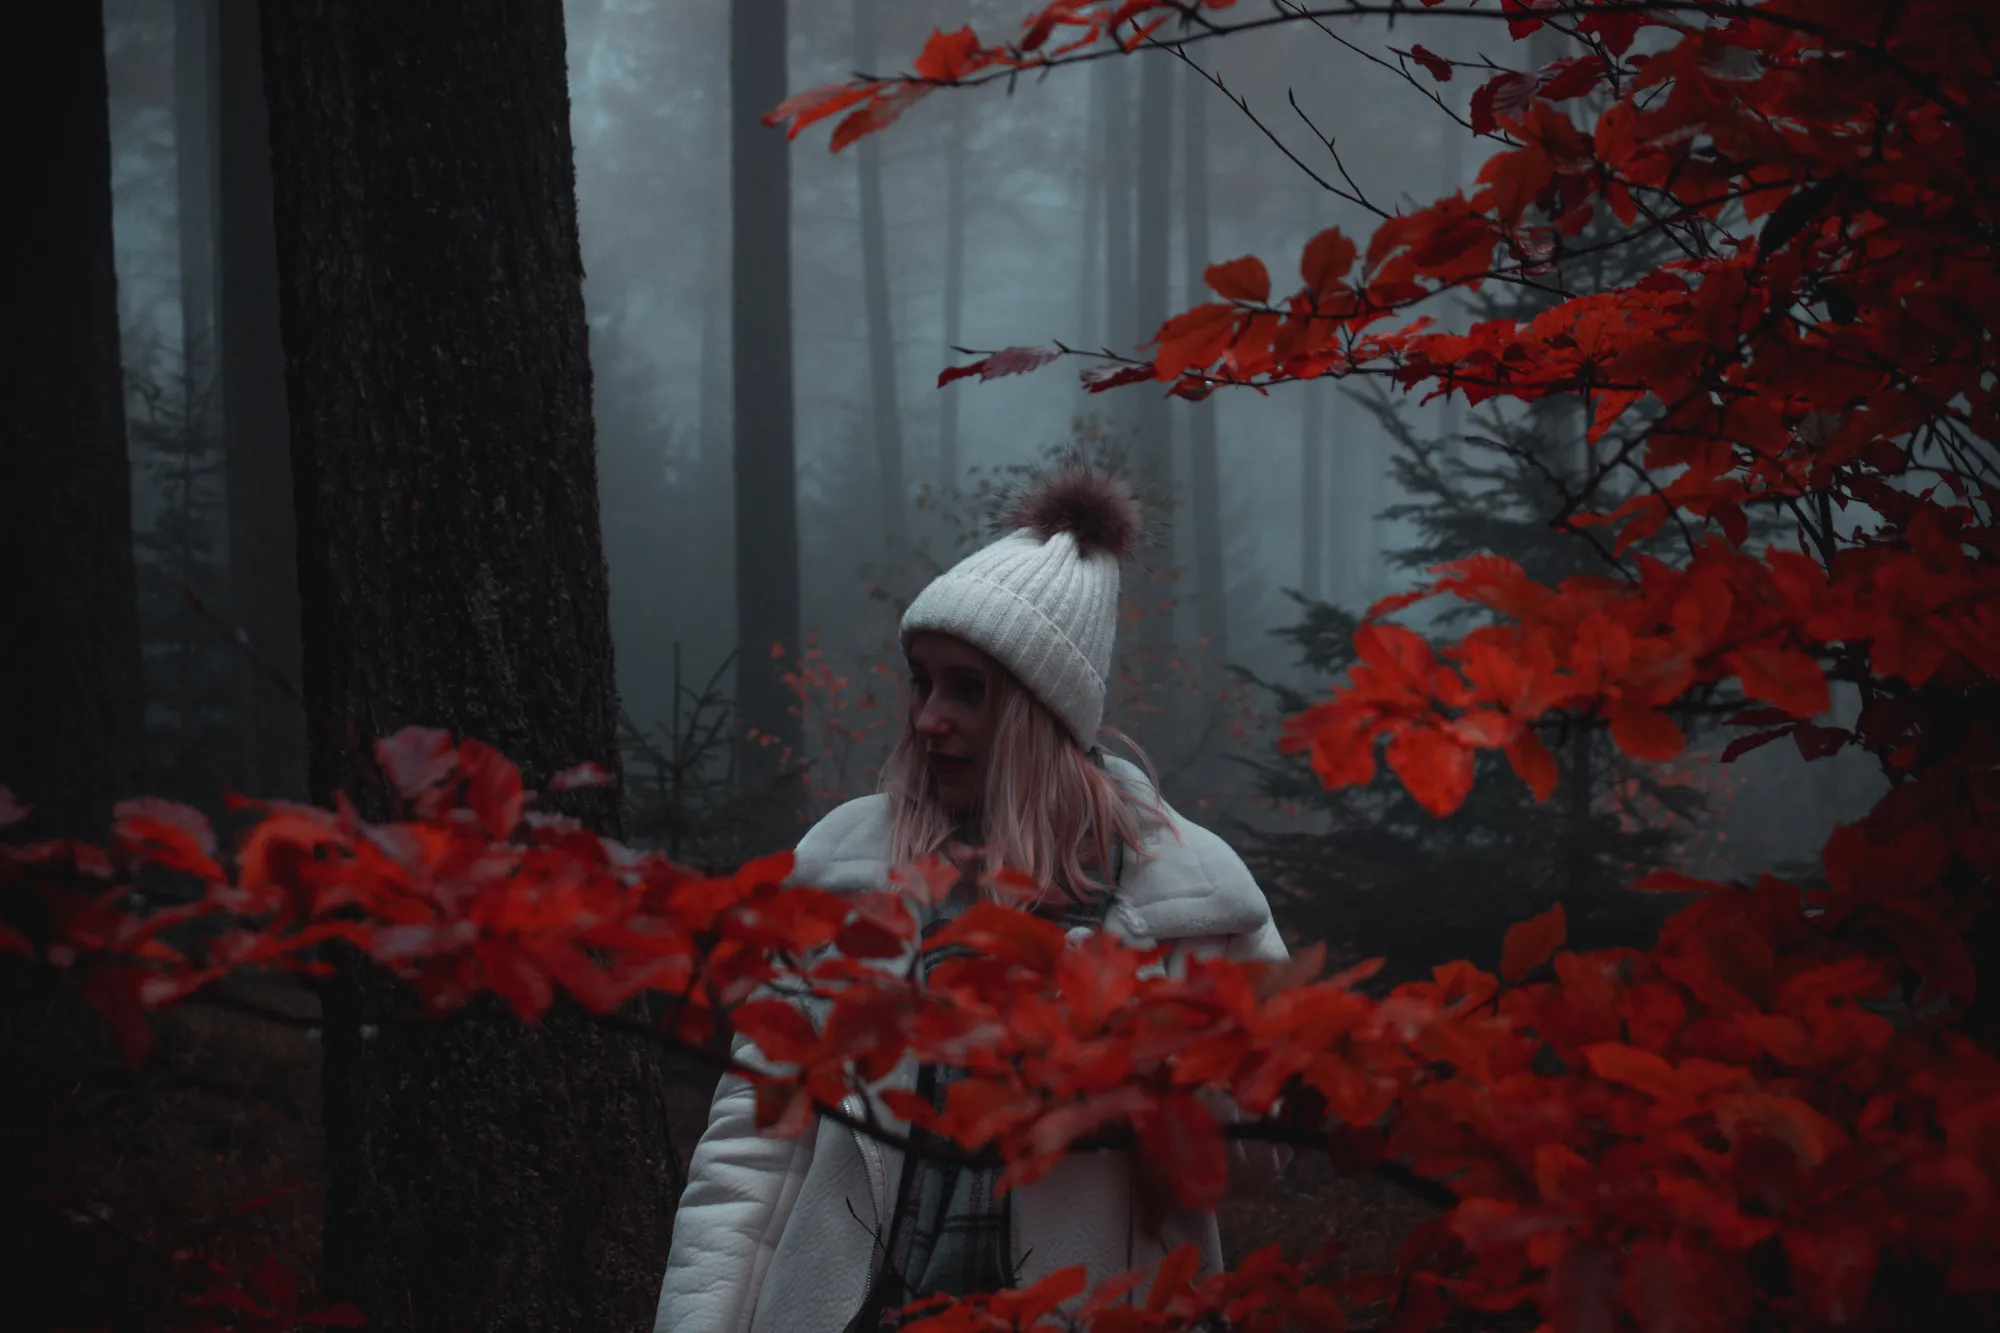
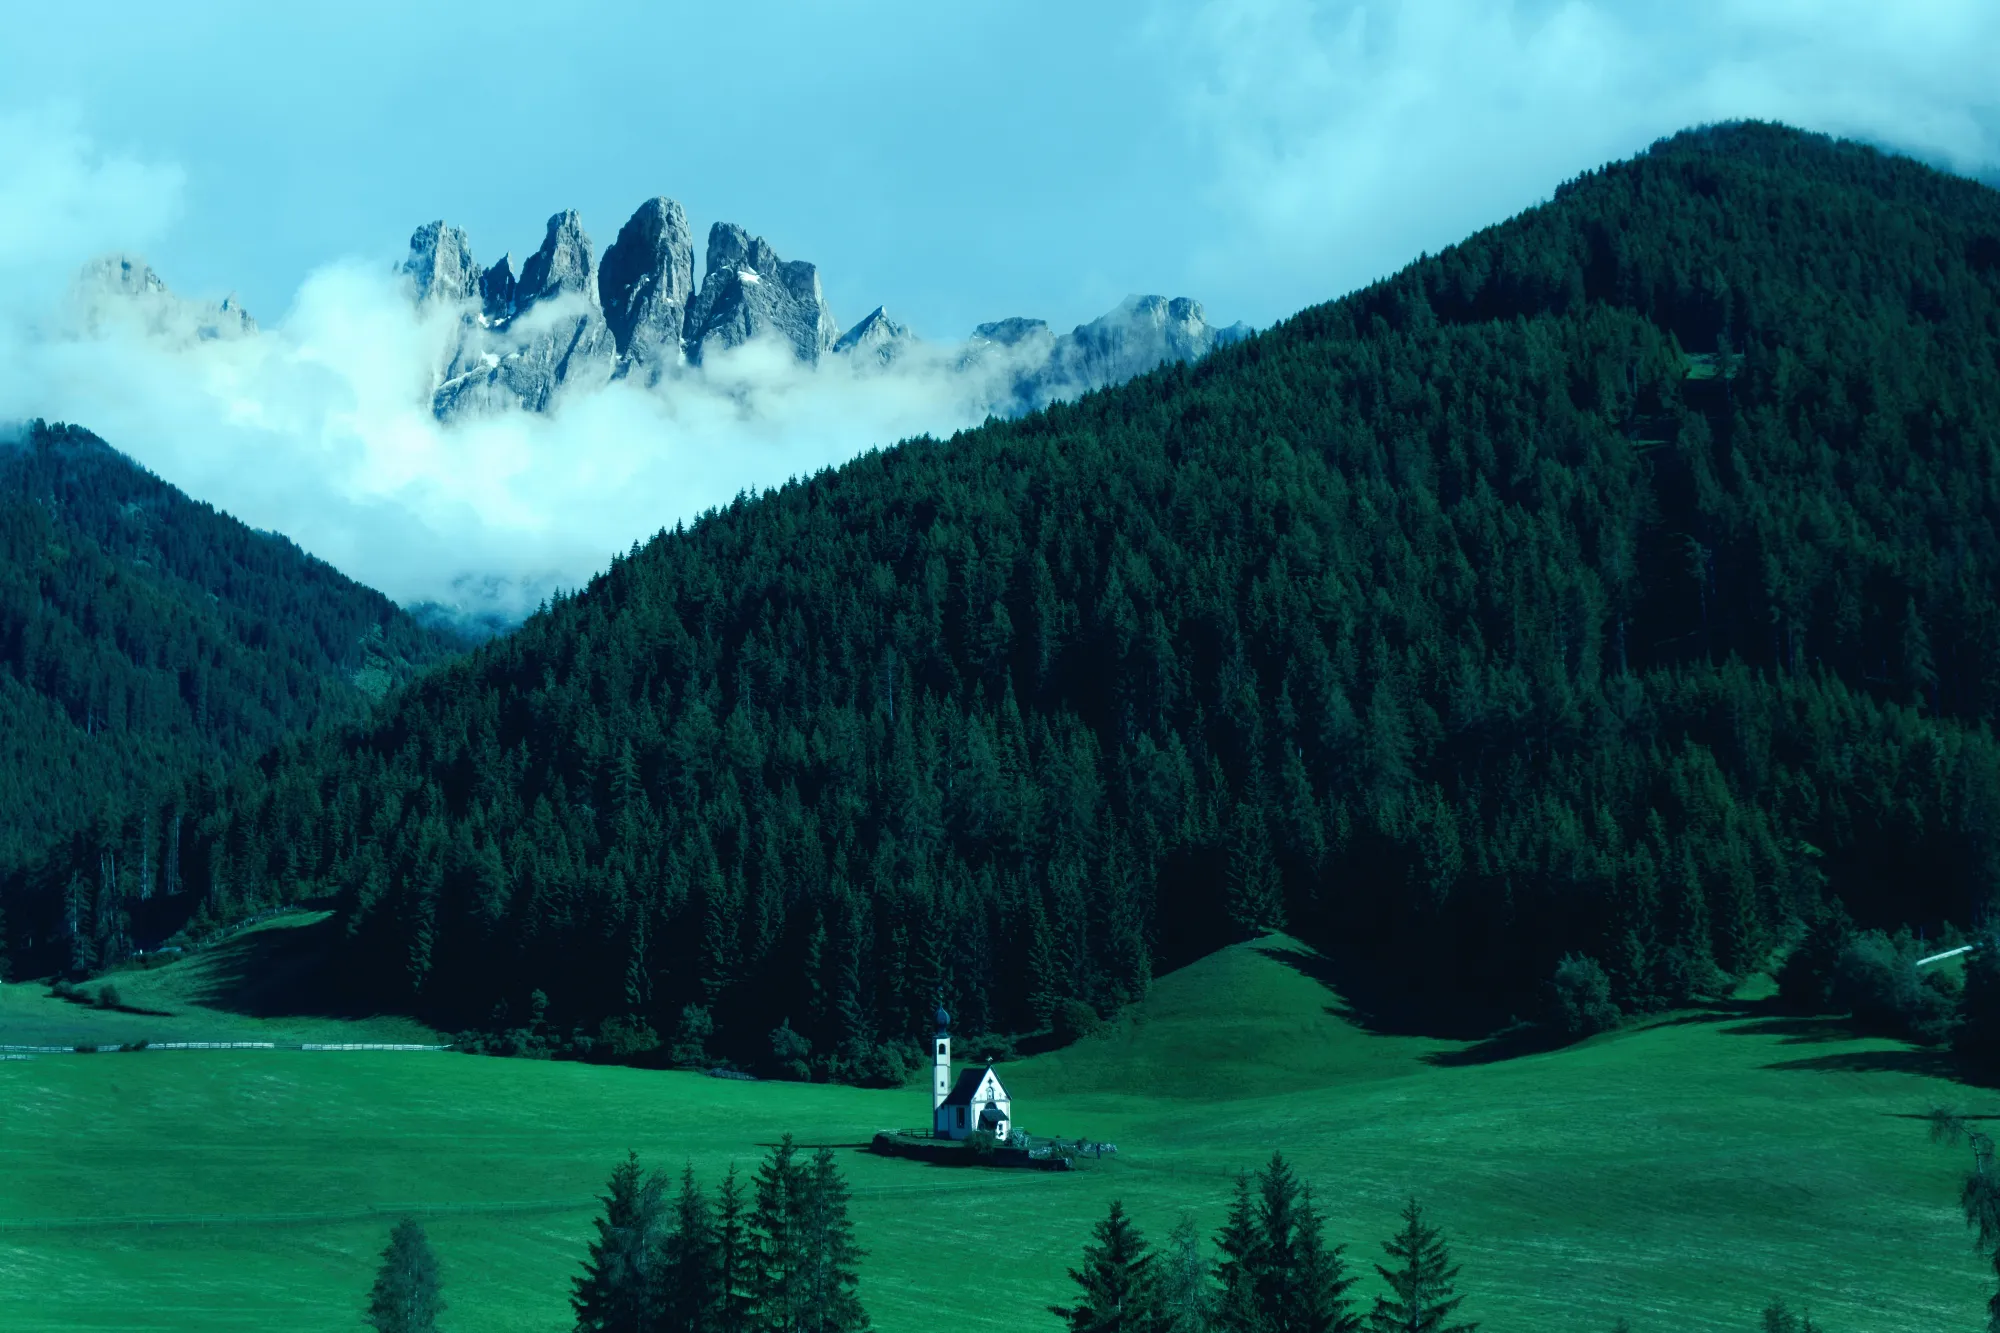
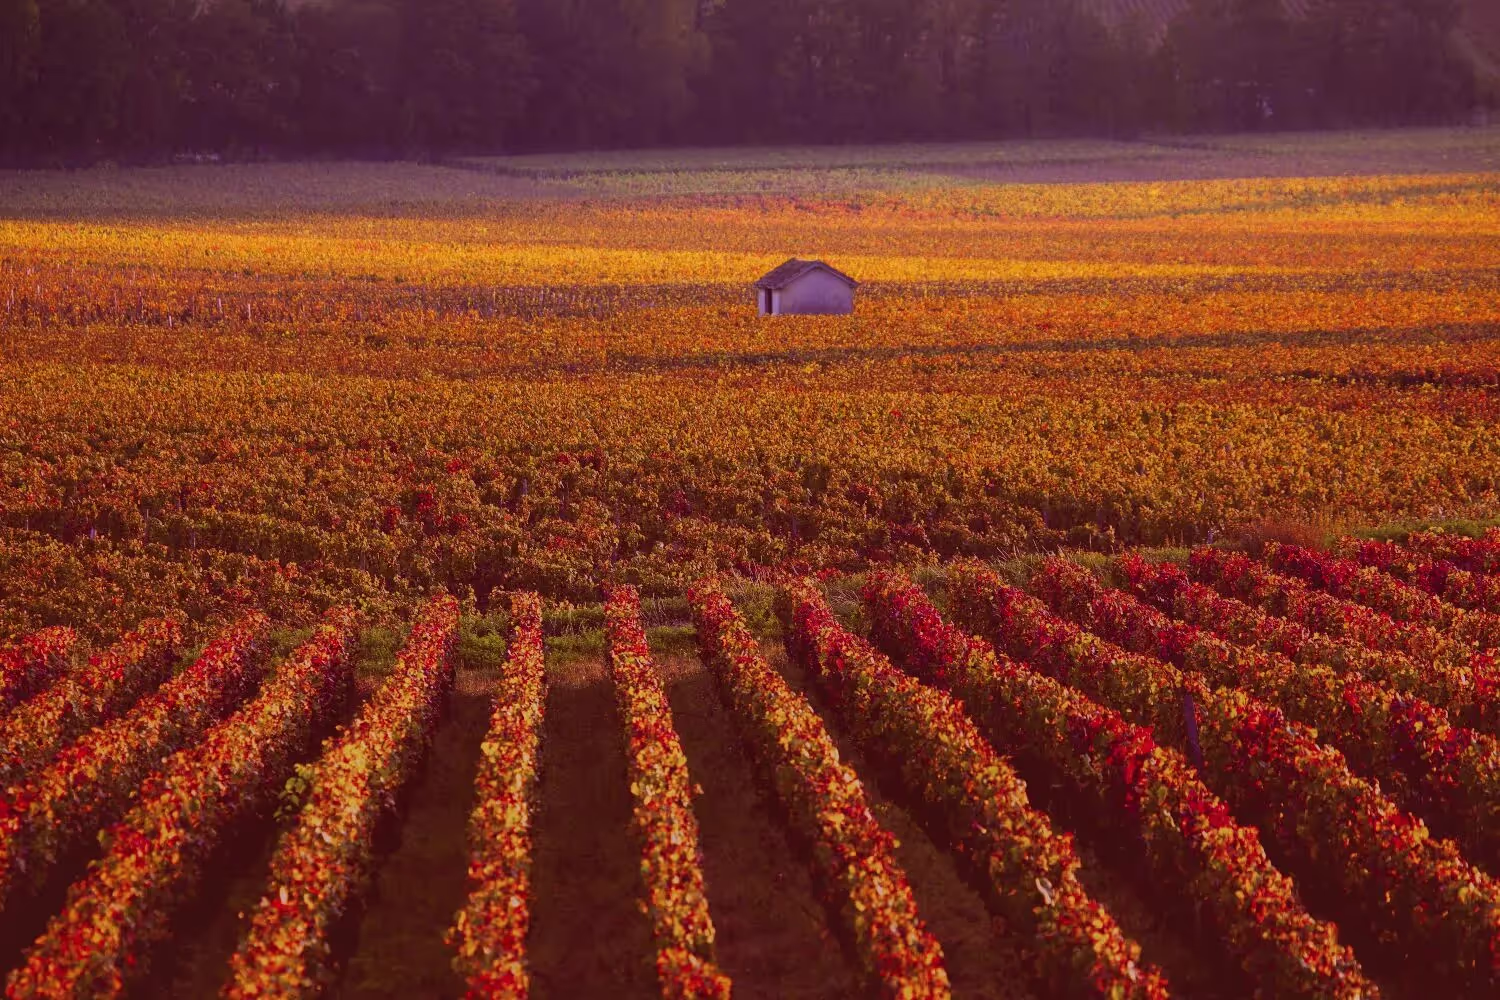
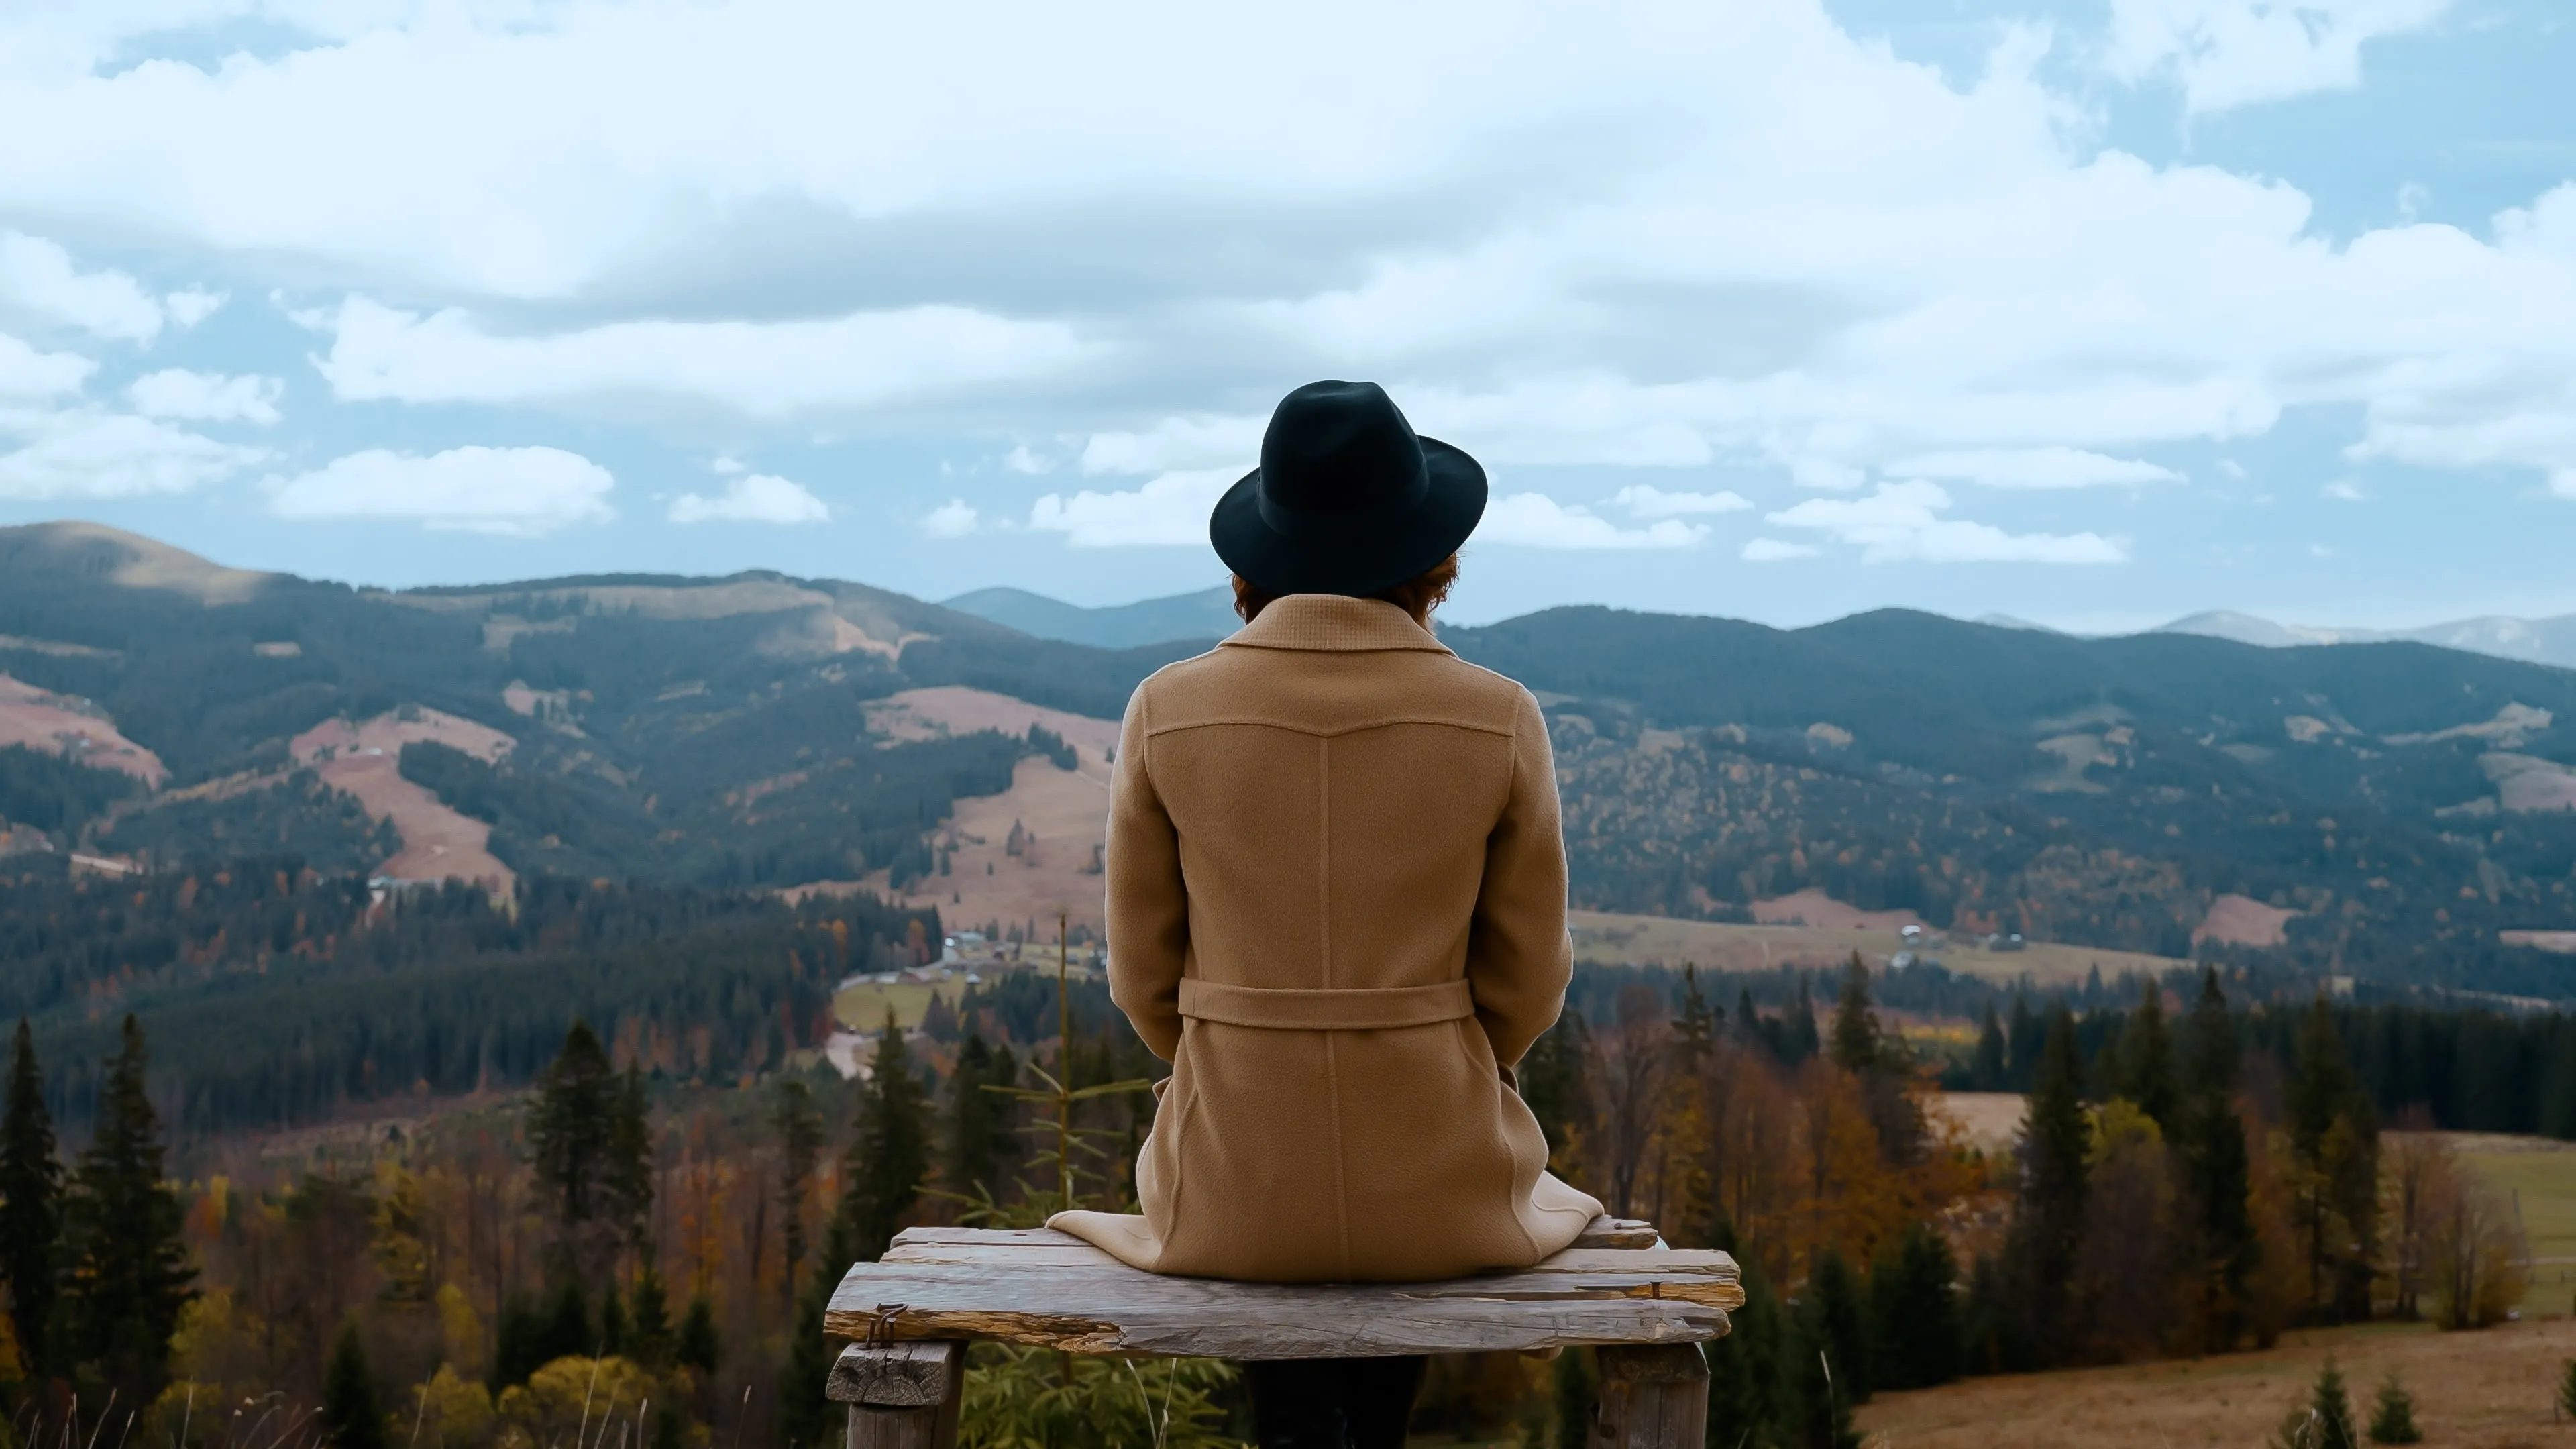
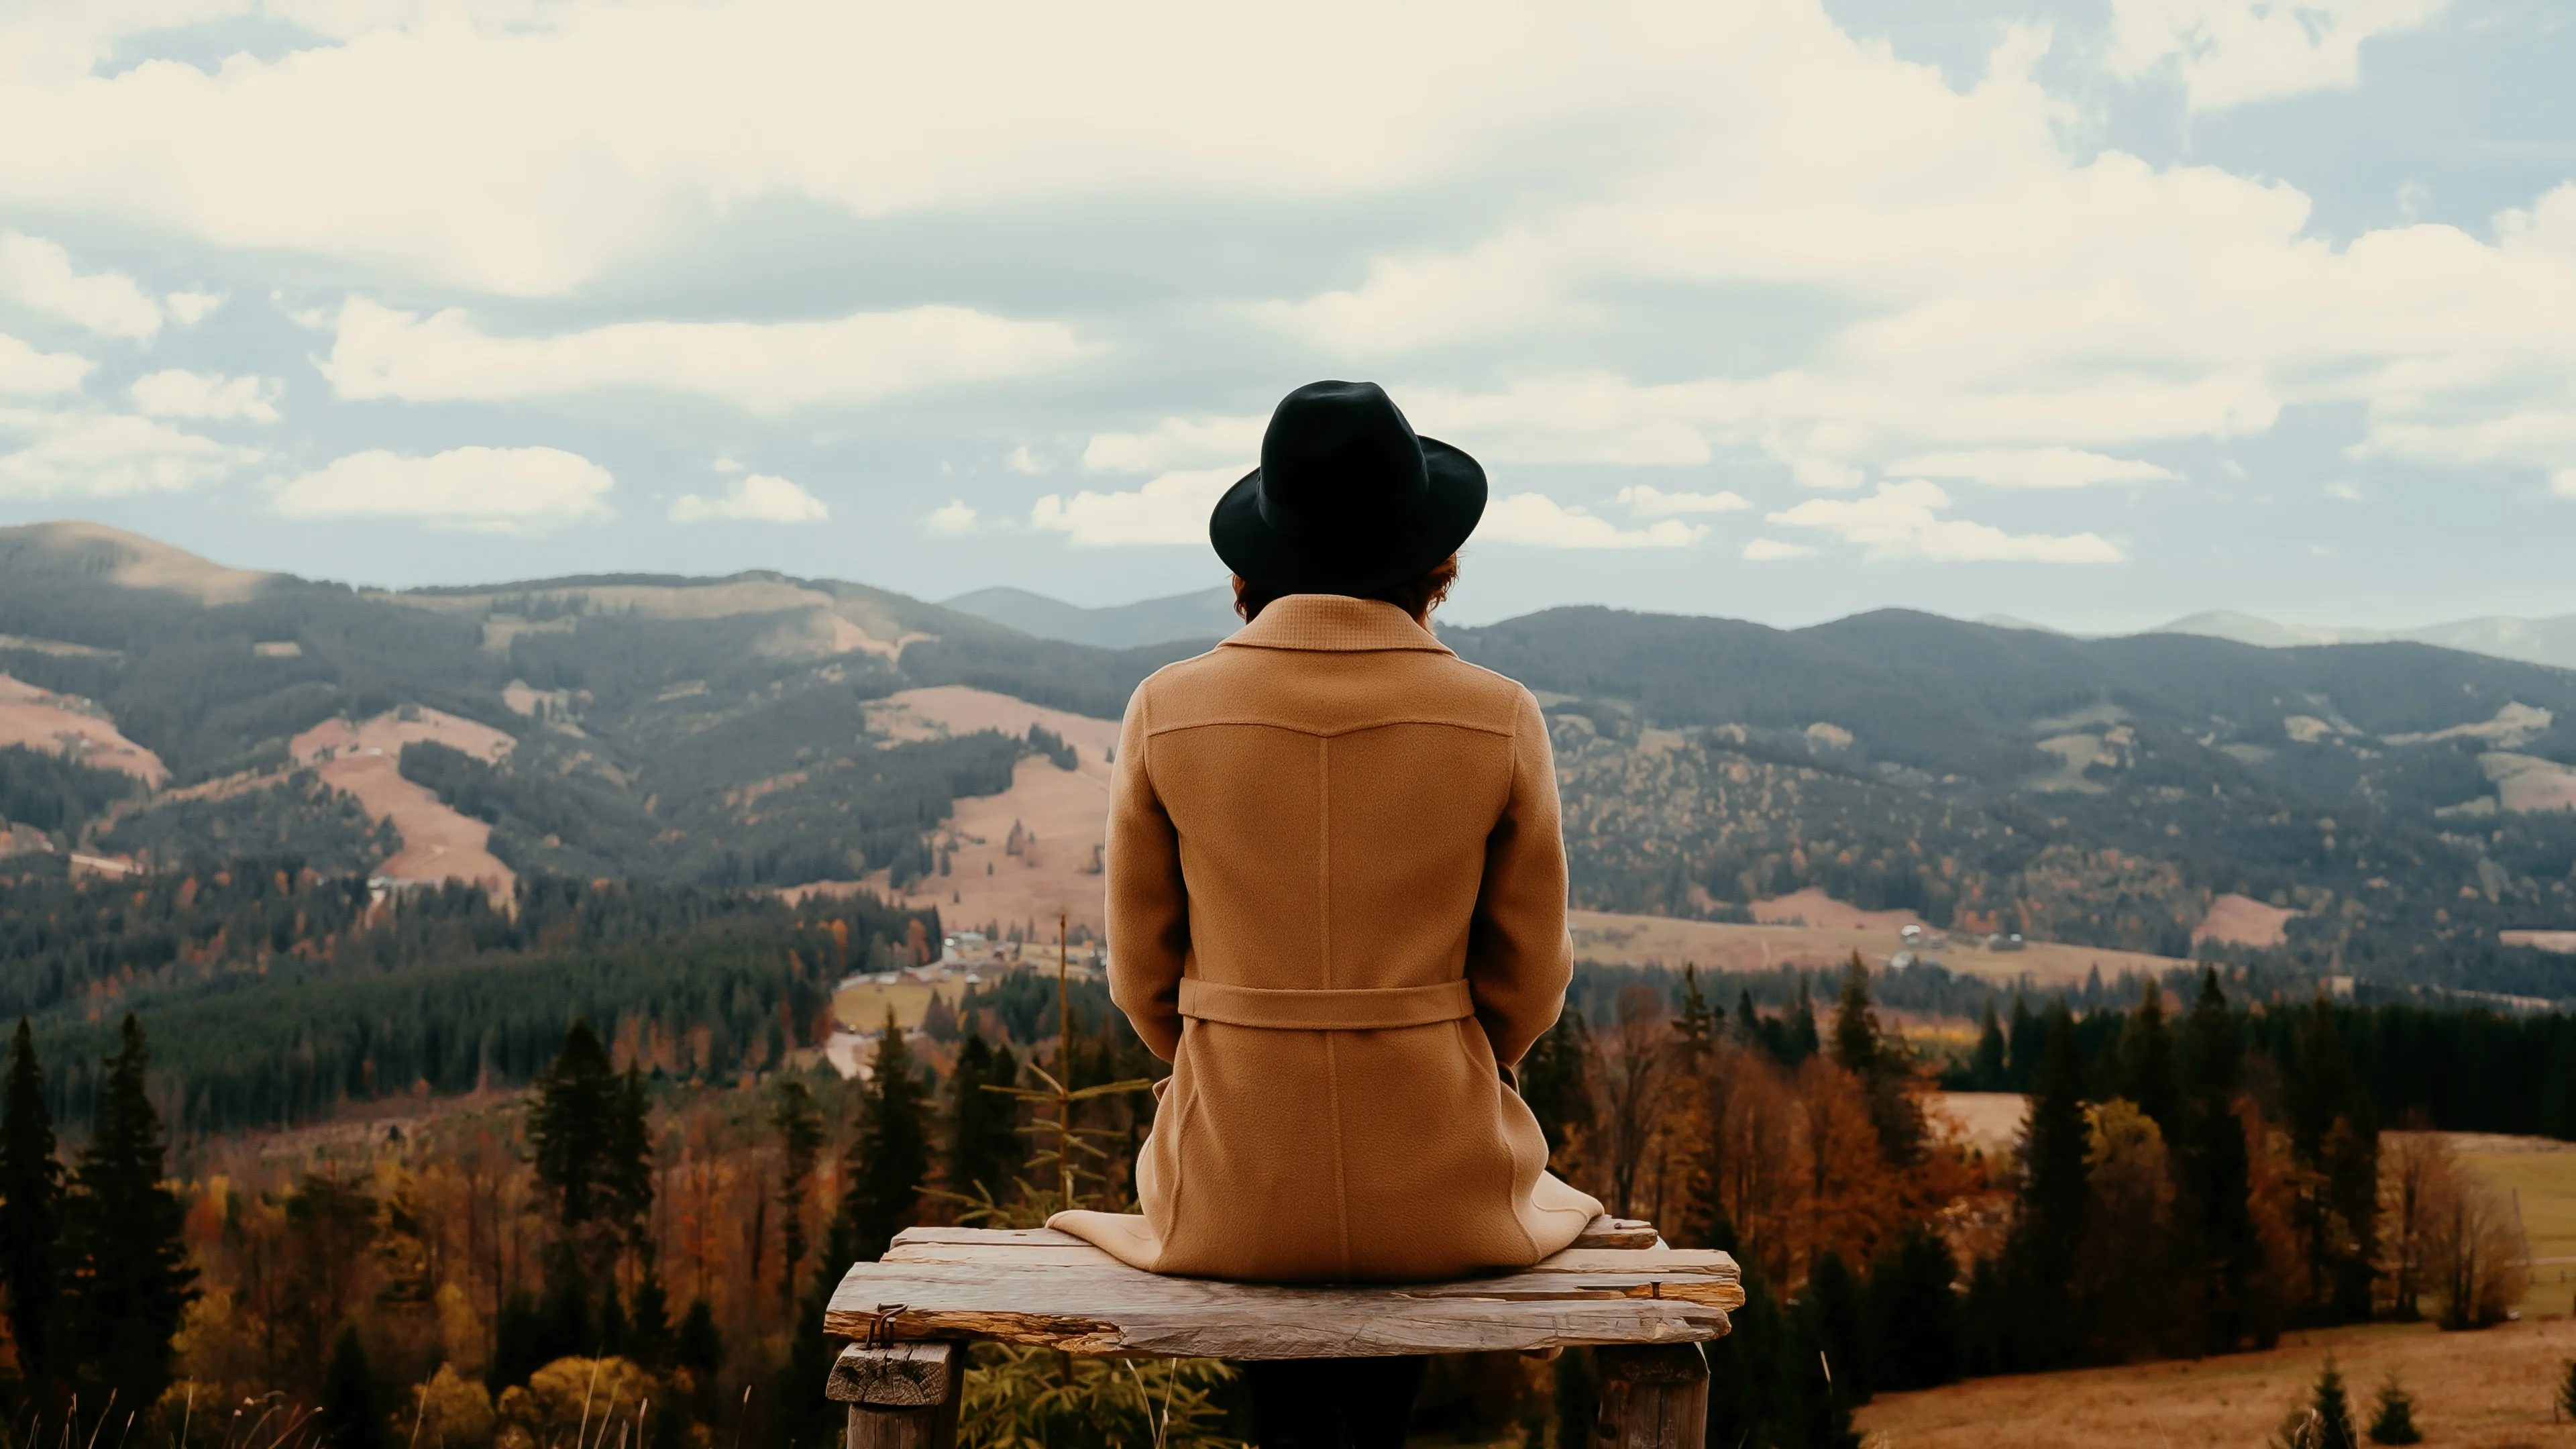
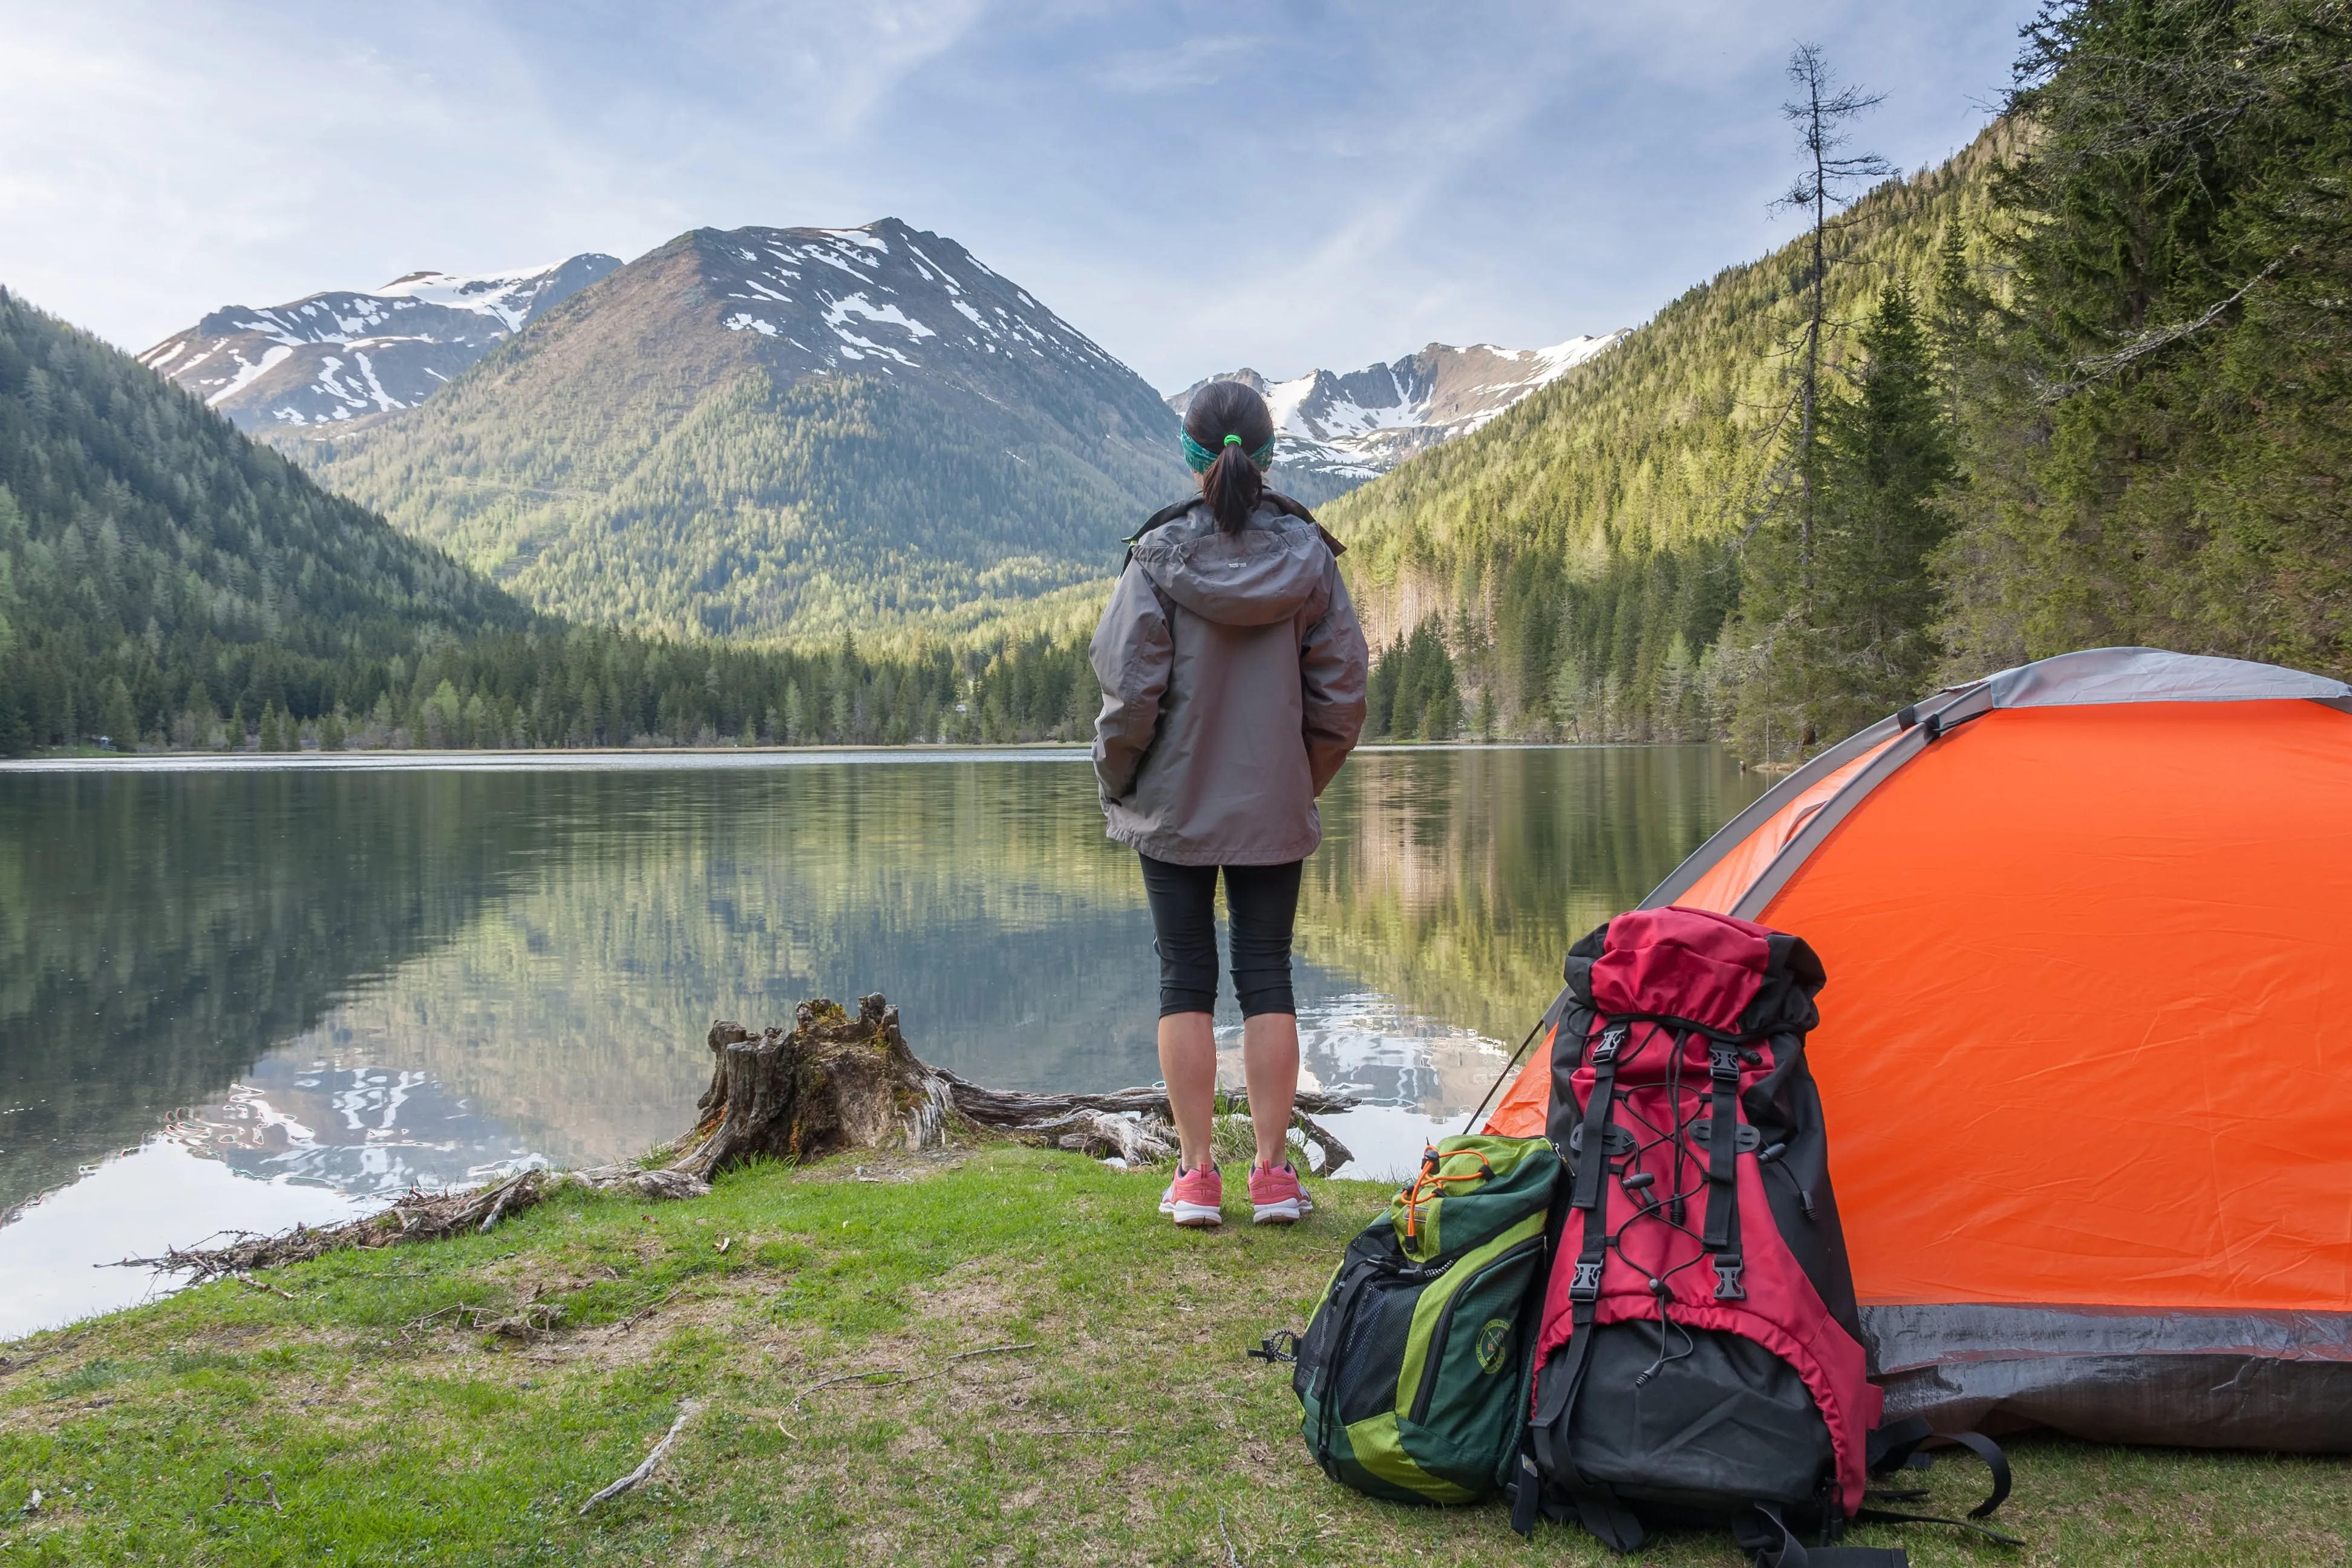
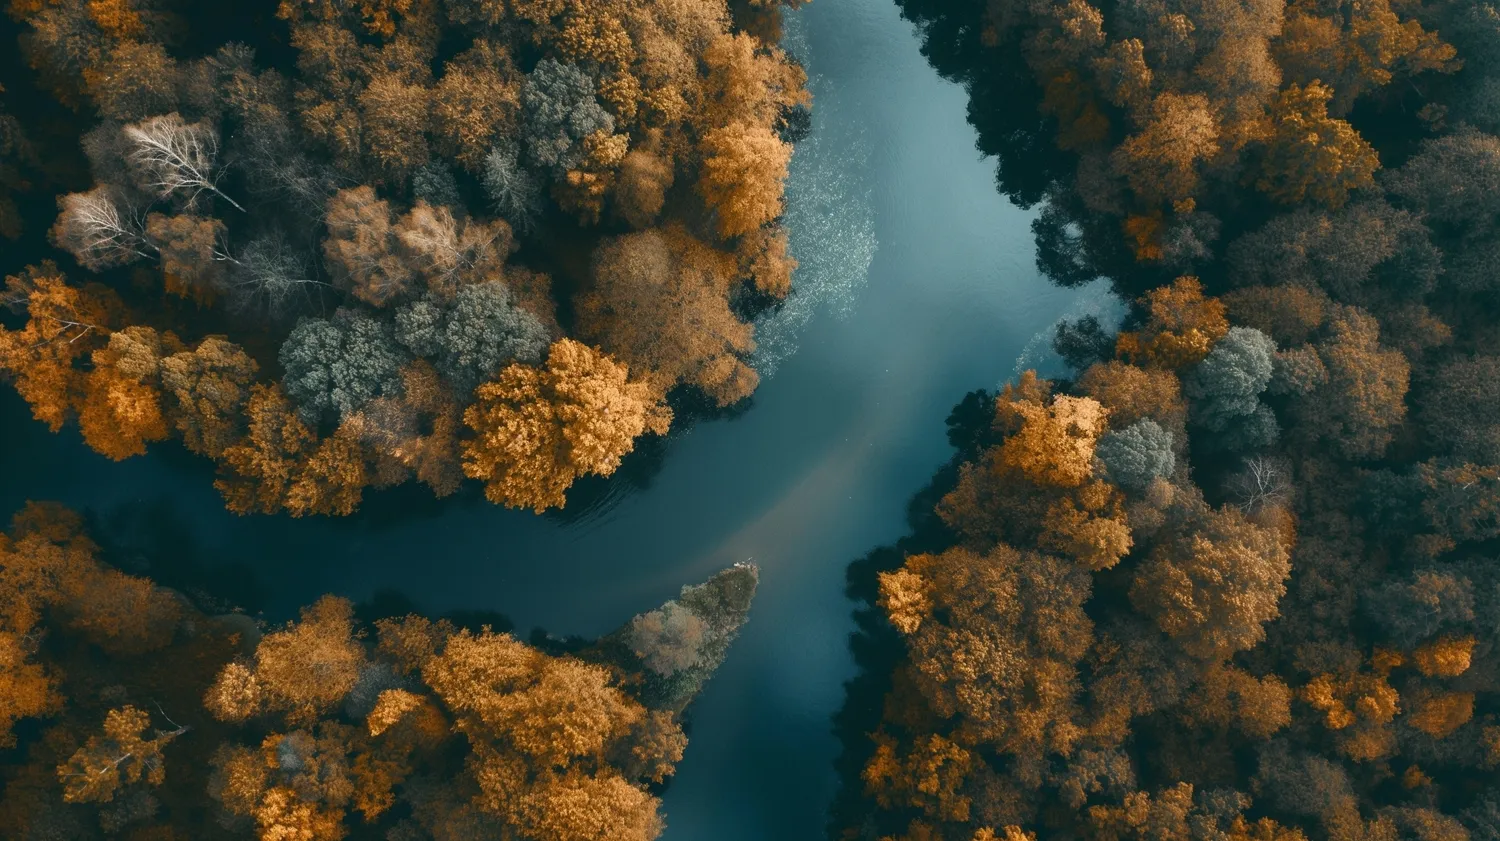
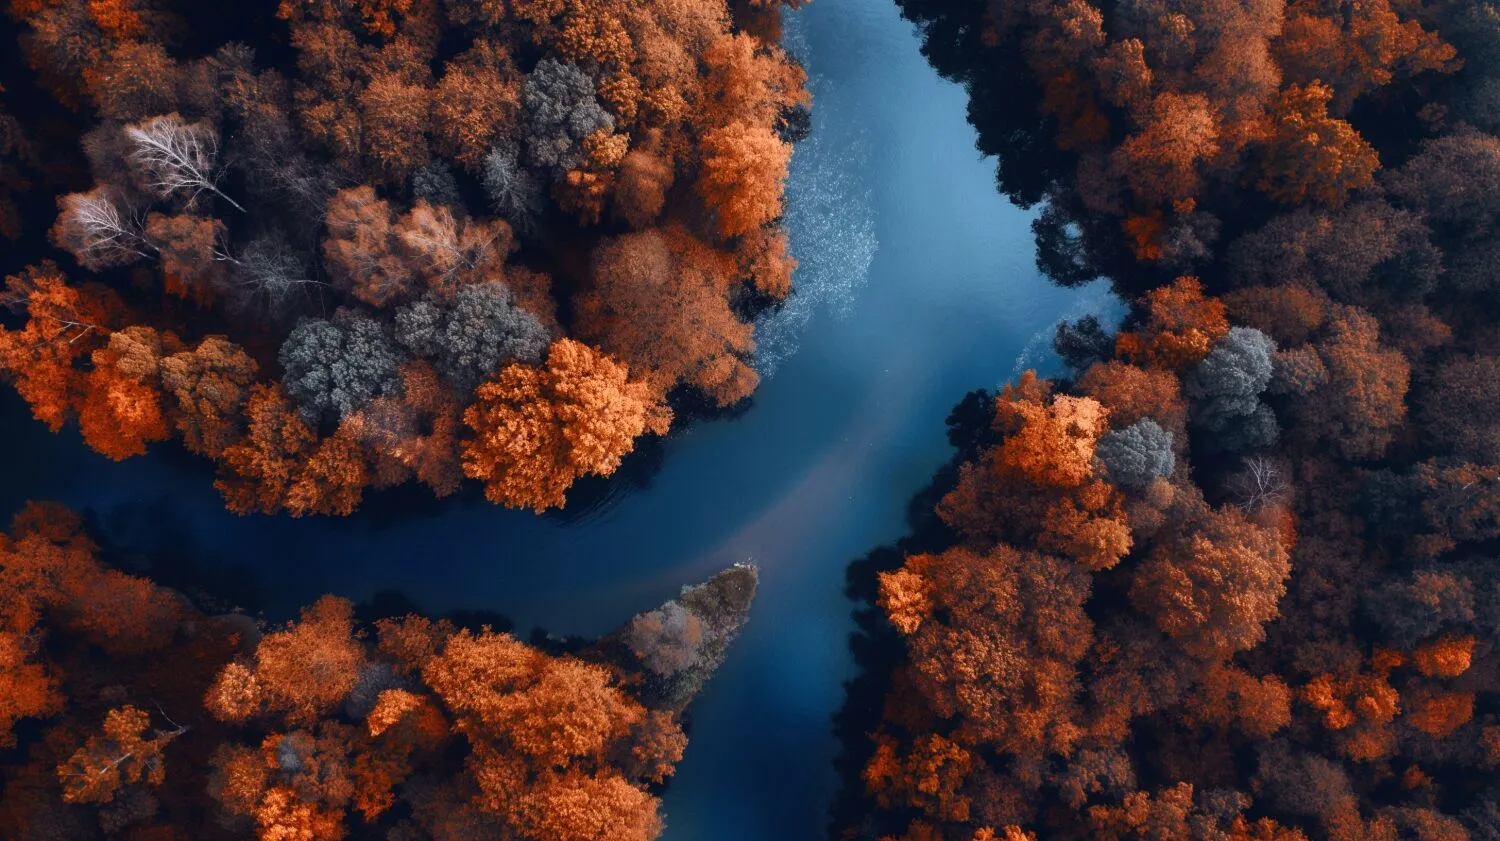
Want to enhance the overall aesthetic of a photo, correct color issues, or evoke specific emotions? You can use tinting, which means adding a specific color cast or hue to a photograph to achieve a particular visual effect or mood

View plans

How to Add a Subtle Tint to Your Images?

You can create a tinted photo by adjusting the color balance of the image to emphasize certain colors. This involves modifying the levels of the primary colors (red, green, and blue) in an image to create a desired tint.

You can also use gradient maps, Presets, or Overlays with tint. Try it all in Luminar Neo.

(2)
© Cuma Cevik
(3)
(4)
(5)
Before
After
© Lia Koltyrina

Why Choose Tinted Images for a Unique Visual Impact?

Tinting images can evoke specific emotions and moods. You can channel your artistic expression and creativity or enhance the storytelling in photography.

Ultimately, tinting can help you improve the overall aesthetic of an image by harmonizing or contrasting colors within the photo. 

Nostalgia in Pixels: Tint Photos the Right Way

Color tint images and experiment! Sepia tones can give a vintage or antique feel to a photo, while blue or cool tones may be used to create a moody or cold atmosphere. 
(6)
(7)
(8)
Before
After
© Albert Dros

From Click to Tint: Transforming Photography with Photo Tints

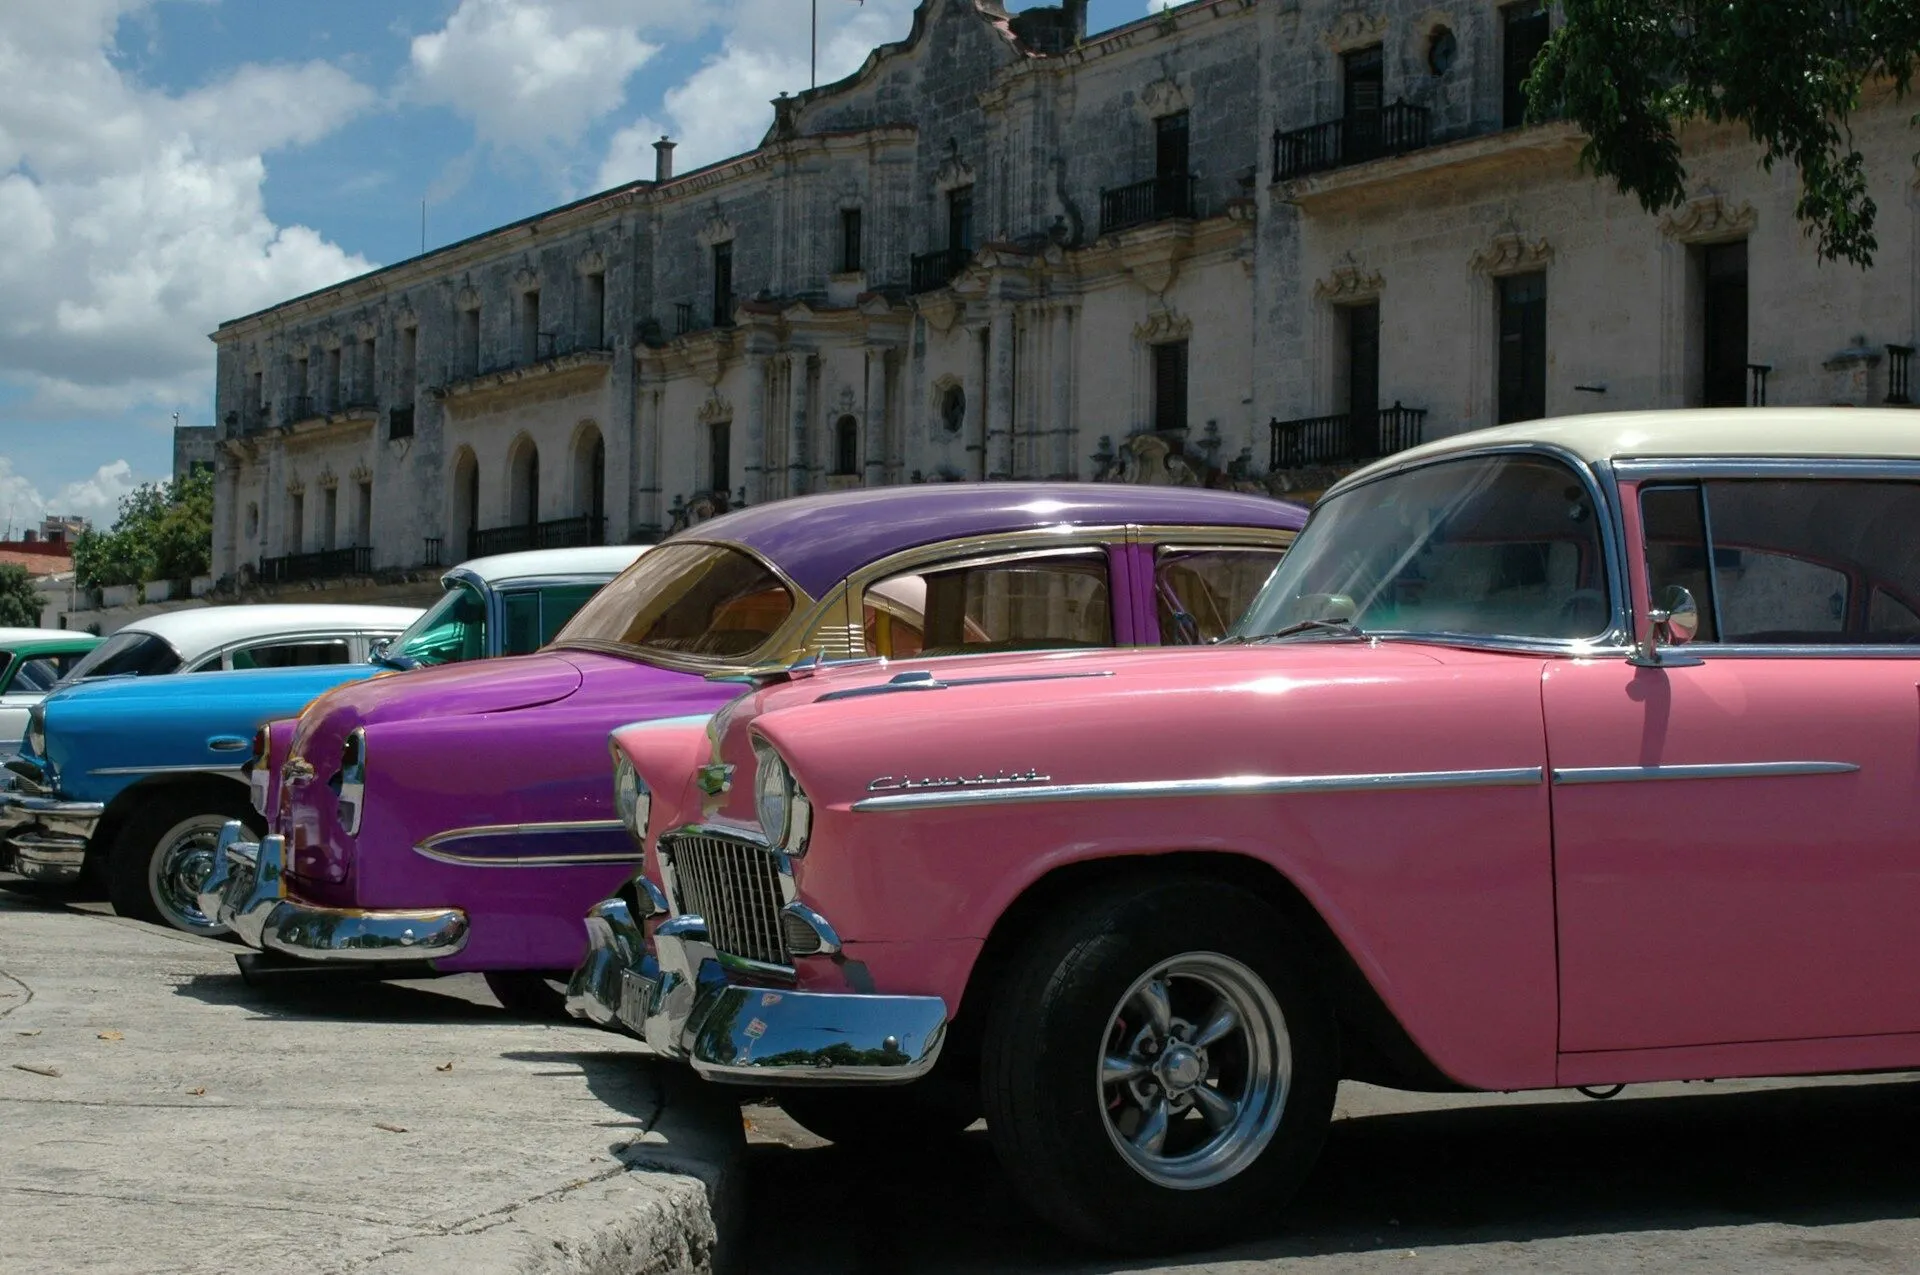
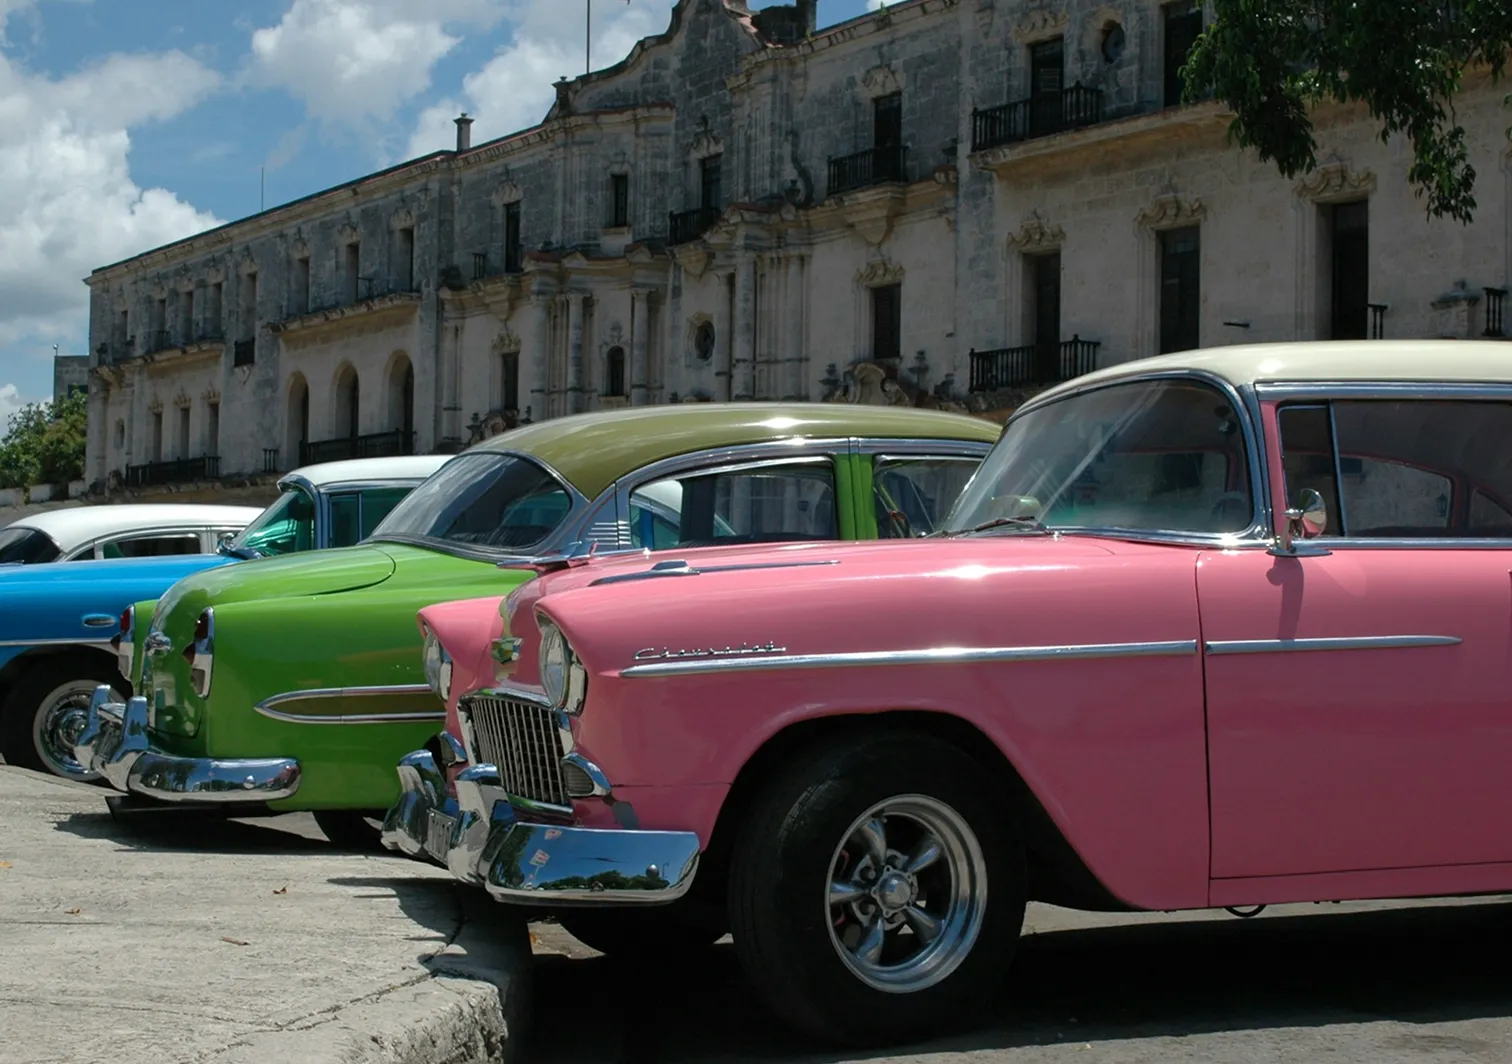
Luminar Neo allows for precise control over your photo’s colors. There are plenty of Presets that can give your photos a quick tinting effect. You can also use the Color tool to control the intensity of colors in a photo. It has the following features:

Saturation: This slider adjusts the intensity of all colors in your photo.

Vibrance: This slider adjusts only the intensity of muted colors, ignoring well-saturated colors. It’s helpful in achieving fine control when adjusting color.

Remove Color Cast: This slider automatically removes undesirable color casts in your images by detecting and adjusting the hue.

Hue/Saturation/Luminance: In this drop-down menu, you can toggle between adjusting the Hue, Saturation and Luminance when adjusting the sliders below.

Explore Other Features

Luminar Neo has plenty of other features to help you edit faster and easier
(9)
Transparent Background
(10)
(11)
Before
After
© faraonsas
Transparent Background
Transform photos into unique art with Transparent Backgrounds!
(12)
Sepia Filter
(13)
(14)
Before
After
© shutterstock
Sepia Filter
Sepia FilterAdd a touch of vintage charm and warmth to your images with our easy-to-use sepia color filter.
(15)
Film Grain
(16)
(17)
Before
After
© Lisa
Film Grain
Our film grain effect transforms your pictures, adding a touch of nostalgia and artistic flair.
(18)
Motion Blur Effect
(19)
(20)
Before
After
© theshots.contributor
Motion Blur Effect
Click now to experience the motion blur effect in Luminar Neo and make your ordinary photos extraordinarily dynamic.
(21)
Blur Backgrounds
(22)
(23)
Before
After
© luckyuran
Blur Backgrounds
Effortlessly blur backgrounds to bring your main subject into sharp focus and elevate your image's visual appeal.
(24)
Remove People From Photos
(25)
(26)
Before
After
© BalanceFormCreative
Remove People From Photos
Easily erase unwanted people from your pictures, making those crowded tourist spots or accidental photo-bombers disappear.

An application & plugin
For macOS & Windows

  • High-performance AI editor
  • 24/7 technical support

  • 30-day money back guarantee

  • Join community of Luminar Insiders

(27)view plans

By buying our products you help

🇺🇦 Support Ukraine

Frequently Asked Questions

How to add tint to an image with Luminar Neo?


Luminar Neo has multiple photo tinter possibilities you can explore. You can simply apply a Preset with just a few clicks and see the image change before your eyes. Or you can head to the Color tool and experiment with the tint and color of your photo by adjusting the various sliders. 

Can I adjust the color of the tint, or is it preset?


If you apply a Preset, you can adjust the amount of any effect by going to the Edits tab and seeing the exact Edits that the Preset applied. The same goes for the Color tool adjustments.

Is there a way to control the intensity of the tint effect?


Luminar Neo’s Color Tools allows for a precise control over color. Adjust the sliders until you achieve the desired effect of your image tint.

Can I apply multiple tints to a single image?


Of course! Experiment with different colors and intensities. 
(37)