How to Take Self-Portraits
October 02, 2018

Learn how to take self-portraits that look intentional, not accidental. Discover tips for lighting, posing, and shooting with any camera.
Tone pictures are more than just quick selfies; they offer a way to practice posing and lying without a crew. This companion shows how to take self portraits with a simple way you can try at home or outdoors, using gear you already have. You’ll learn how to pick a background, set up the camera, spark the shutter, and shape light, so the image feels purposeful rather than accidental.
Whether you shoot on a phone or a mirrorless camera, self-portrait photography requires small tweaks to a steadier face, a better angle, and a cleaner frame. We’ll walk through a step-by-step setup, creative prompts, and quick post-processing ideas, plus device-specific tips (DSLR, smartphone, intervalometer, and drone). By the end, you’ll have an unremarkable workflow you can use for pictures that look planned, polished, and veritably you.
Why Self-Portrait Photography Is So Powerful
 Firing yourself removes the pressure of coordinating with others and gives full control over timing, mood, and light. It’s a simple way to exercise expressions, posing, and framing until the frame feels honest—that’s the path to good self portraits that look purposeful rather than accidental.
Working alone also builds confidence in camera craft. You learn to read light, adjust exposure without rushing, and design a scene that reflects who you are. Treat this as a self portrait guide you can return to whenever you want fresh ideas or a quick skill reset.
Tools You’ll Need for Taking Self-Portraits
You can start with a phone and a steady surface, then add pieces as your style grows. For setup comfort and sharper results, these picks cover most use cases—from window light at home to sunsets outside. Use these self-portrait tips as a checklist before each session, and keep the camera at eye level to avoid distortion. For posing and framing refreshers, browse portrait photography techniques and adapt what works for solo sessions.
Essential Gear
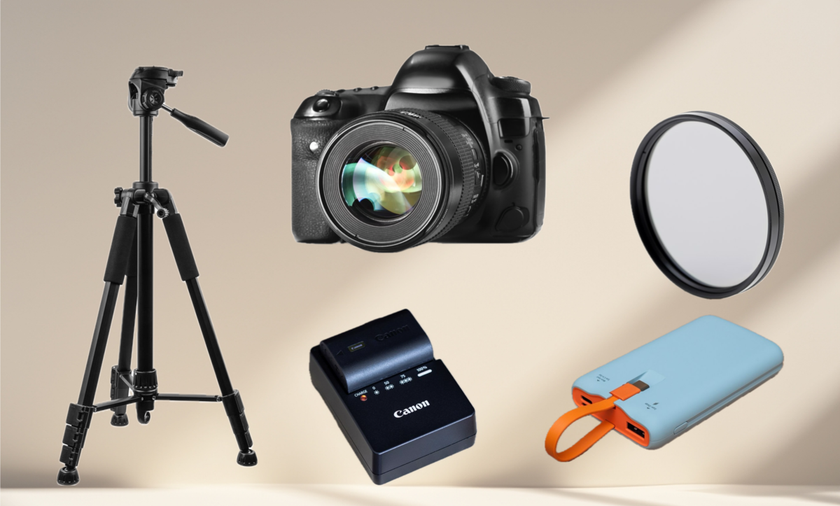
Camera (phone, DSLR, or mirrorless) with a wide-to-normal lens for flattering perspective
Tripod or solid support (bookshelf, chair, rail) to keep the framing steady
Remote trigger, Bluetooth clicker, or watch/phone app for hands-free shots
Clean front lens or lens filter; microfiber cloth to prevent haze
Spare battery or power bank, so the session doesn’t end early
Neutral backdrop or a tidy corner with simple lines to reduce clutter
Before adding more items, take a few tests and note what slows you down. These observations guide how to do self-portrait photography in a way that fits your space and routine.
Useful Accessories
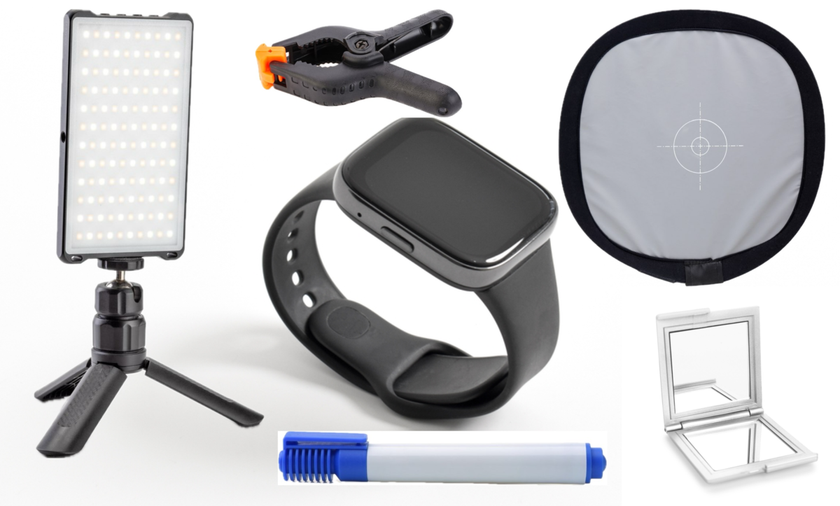
Small LED panel or window diffuser (sheer curtain) for soft light
Reflector (or white card) to lift shadows under the chin and eyes
Gaffer tape and clamps for quick background fixes
Markers/tape on the floor to nail the focus distance every time
Bluetooth earbuds or a smartwatch to trigger the shutter discreetly
A compact mirror for quick checks without moving the camera
After you lay out the gear, do a quick pre-flight: clean the lens, set your crop/aspect, pick a focus point at eye level, and take a test frame to check exposure and background clutter. Tape your position to ensure consistency in your stance, and then put the small items (remote, cloth, earbuds) in a pocket in order not to interrupt the flow. Having this setup in place, you are now ready to proceed to the step-by-step shooting.
The Definitive Solution for Picture-Perfect Portraits
DISCOVER TODAY!How to Take a Self-Portrait: Step-by-Step Guide
Suppose of this as a small, unremarkable routine. Frame the shot, cinch focus, spark the shutter, review, acclimate, and shoot again. Keep movements to a minimum so you don’t shift the scene between takes, and plan two or three acts that can be rotated through without moving the tripod. For exposure, start with a bus to get to the ballpark. Then, switch to primer to ensure each frame matches the last, making editing brisk. These are simple, practical ideas on how to take a self portrait; combine them with a few practiced self portrait tips, and the process feels smooth instead of rushed.
Aim for clean light on the face and a calm background. Open shade or Window light is used to maintain skin tones, whereas a small reflector or a white card under the chin is used to raise the shadows. When you are out, ask for the direction of the wind and the sun.
Step 1: Find the Right Location and Background
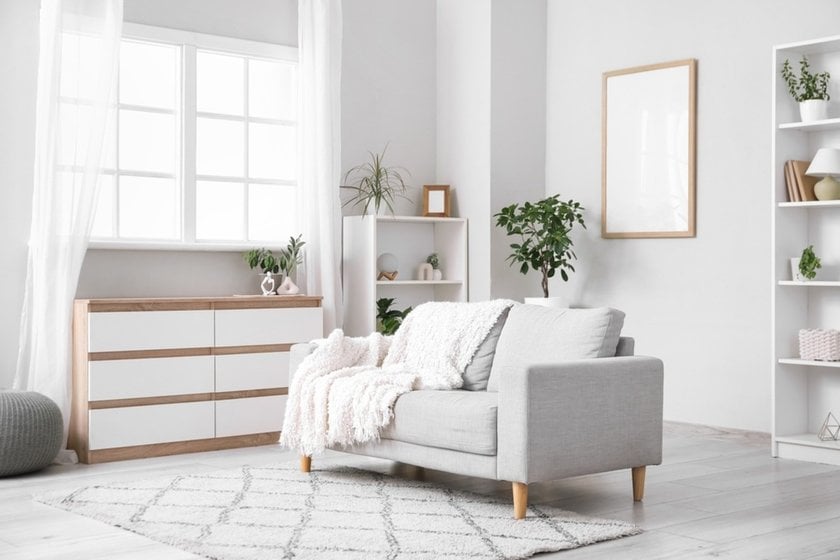 Pick the light first—window side-light or open shade keeps skin tones calm—then choose a simple background with clean lines. Remove clutter in-camera; if a stray bin or cable sneaks in, you can tidy it later using remove unwanted objects from photos. Leave headroom and side space, so crops for different platforms won’t cut into you. Add texture or color with elements on site, but keep bright items away from your head.
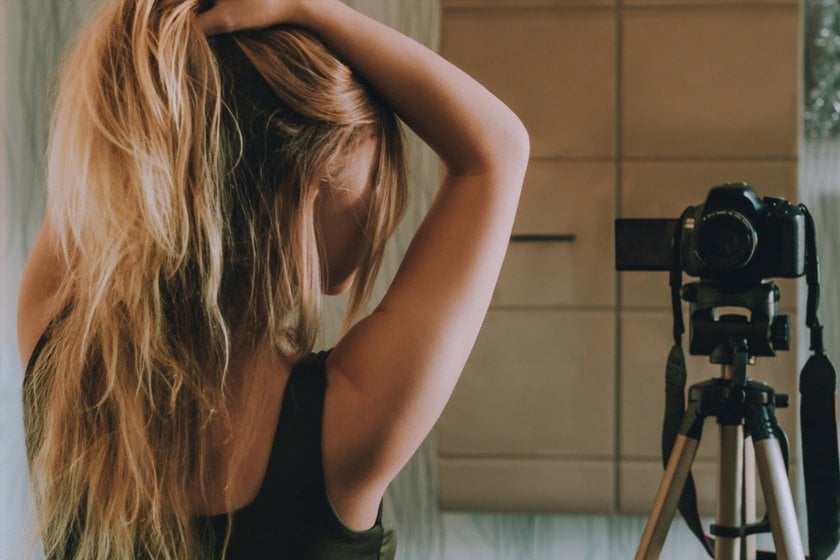
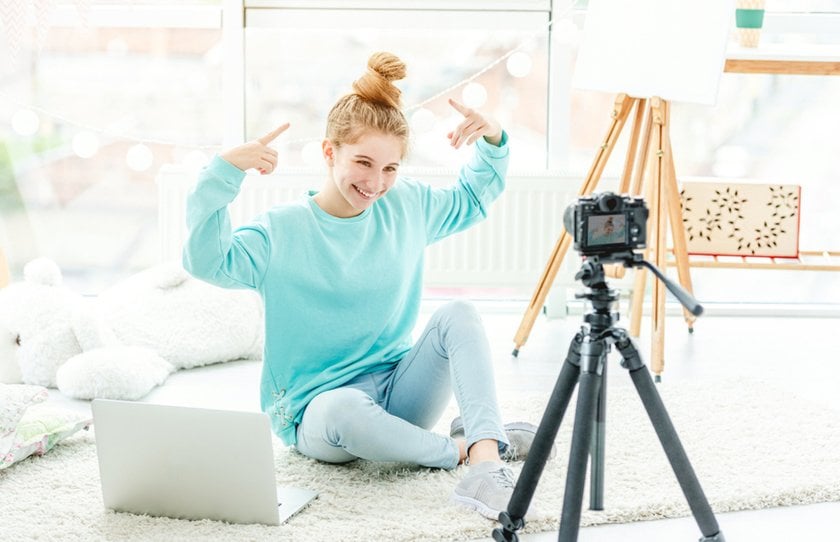
Step 2: Set Up Your Camera on a Tripod or Stable Surface
 Place the camera at or slightly above eye position and focus it on the background. Use a 35-50 mm original if possible; step back with wider lenses to avoid deformation. Set homemade exposure (≈ 1/125-1/250 s, f/ 2.8-f/ 5.6, low ISO). Pre-focus with a stage height at your spot, and switch to homemade to prevent the concentrate from quenching.
Step 3: Use a Self-Timer or Remote for Easy Shooting
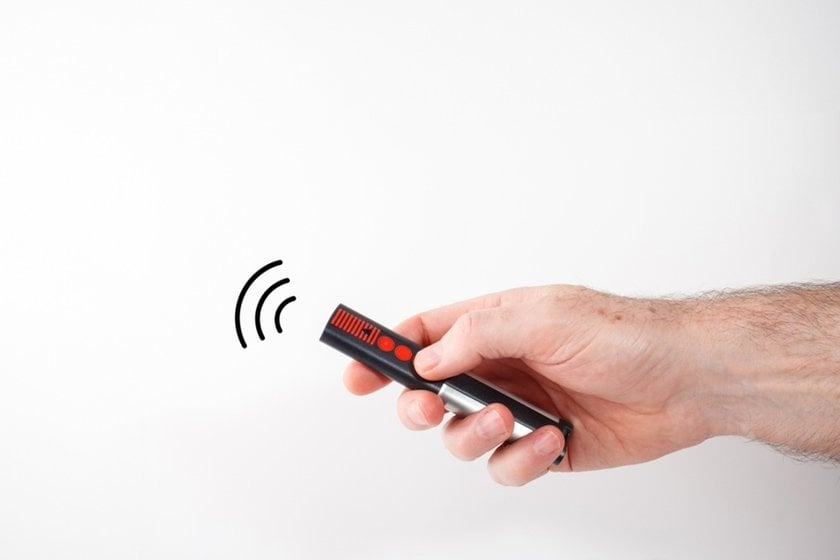 Set a 2–10 s timer or use a Bluetooth remote/watch app. Shoot short bursts while you vary head angle and expression; relax your shoulders and breathe out before each frame. Review every few minutes, adjust light or framing, and continue until you have a clean sequence. If you want seasonal mood ideas (leaves, mist, warm palettes), pull prompts from fall portrait photography before you start.
Step 4: Experiment with Angles, Framing, and Poses
 Keep the camera near eye position for a natural look. Try small moves: raise it slightly for a slimmer sense, or drop it a touch for a stronger jawline. Turn shoulders 30° off camera, vary chin height, and test three micro-poses (neutral, soft smile, serious). Use the rule of thirds for space or the center for harmony. Add simple hand cues—collar, hand, or impertinence. Stand a step off the background and angle toward the light, so one eye catches a clean highlight.
Step 5: Take Multiple Shots to Get the Perfect Photo
 Work in bursts of 3–5 frames to beat blinks and missed expressions. Between bursts, reset posture and breathe out so shoulders settle. If available, try a quick ±⅓ – ⅔ stop series to protect highlights. Tag favorite as you go, then review on a larger screen and keep 5-10 candidates. Finish with a light polish in a photo auto editor—straighten, gentle tone balance, and a touch of clarity on the eyes.
Creative Self-Portrait Tips for Unique Shots
Think of this section as a playground. Take a simple scene and modify it with a creative twist each time, a prop, a mirror, a beam of window light, or a change of expression. Work in short bursts, review, and keep what feels honest.
Use Props to Tell a Story
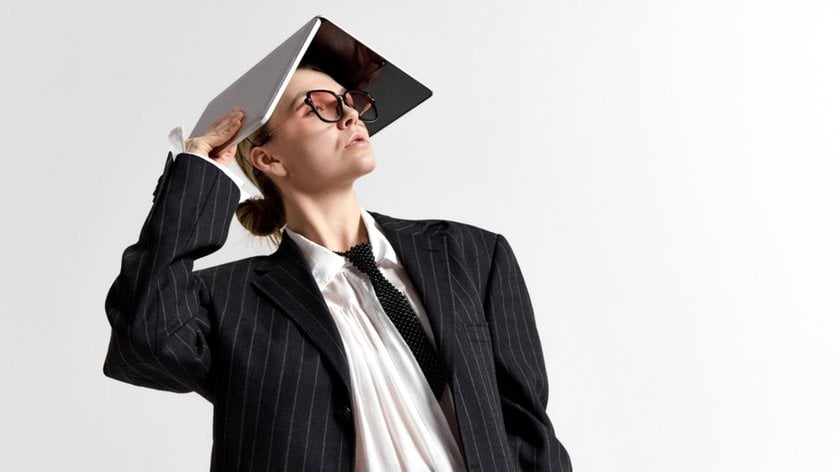 Pick one object that says something about your day—a book, mug, instrument, sketchpad. Keep it simple so the prop supports the scene. Hold it near the plane of your face or chest to keep focus clean, and angle it slightly toward the light. Try three quick variations and keep colors in harmony with your outfit.
Experiment with Reflections and Mirrors
 Mirrors, windows, and glossy tables can double the story in one shot. Place the camera straight on for symmetry, or shift a few degrees to hide the camera. Position yourself a step from the background, so your reflection sits against a tidy, darker area. If glare creeps in, change the angle or add a curtain to diffuse it. After shooting, a subtle blur can help separate your face. Portrait bokeh AI keeps hair edges looking natural.
Play with Creative Lighting Techniques
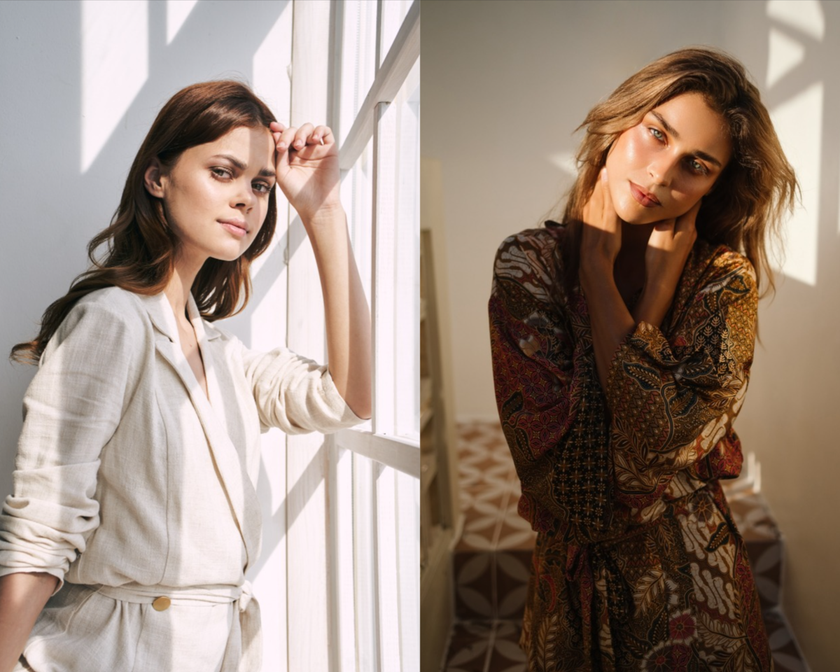 Start with one source and move it. A lamp or window at 45° gives gentle shape; raise it for sculpted cheekbones, lower it for moodier shadows. Feather the beam past your face to smooth hotspots, and lift chin shadows with a white card. Backlight plus a small front fill keeps eyes readable. If the room is small, flag a spill with a book or jacket.
Capture Emotions and Vulnerable Moments
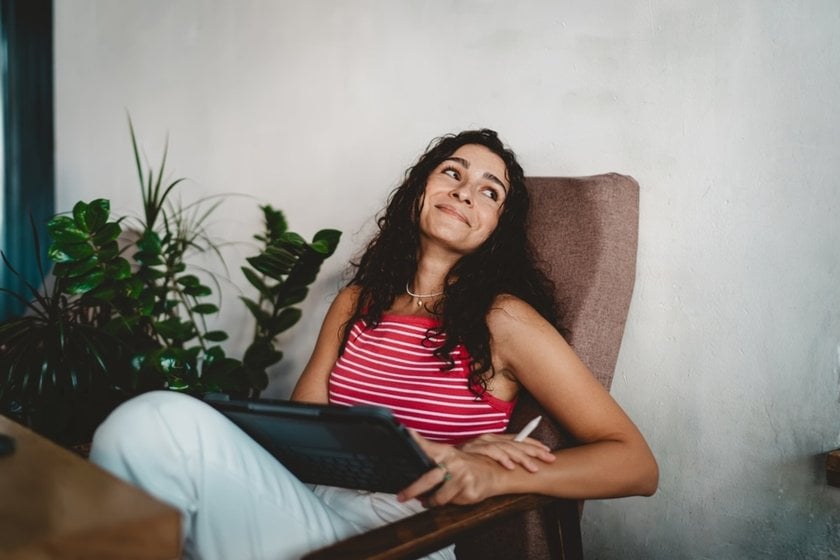 Pick three moods, one song per mood, and shoot short bursts. Keep hands busy (jewelry, a sleeve, a tablet) so gestures feel natural. However, look slightly off-camera and suppose a real memory; that bitsy shift reads easily, if jitters creep in. Review after each set, mark a favorite, and move on.
Explore Self-Portraits Without Showing Your Face
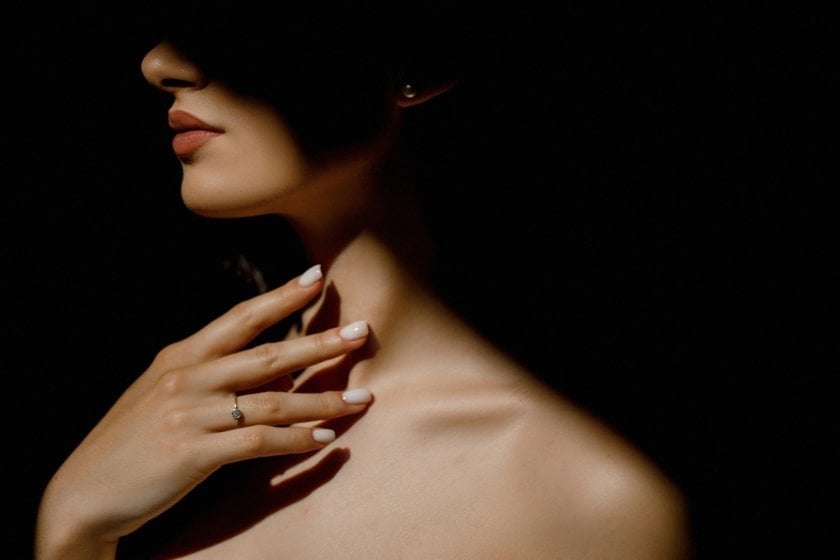 Tell a story with hands, silhouettes, or reflections. Frame from shoulder to waist and let gesture carry the mood: a sleeve being rolled, a book half closed, a hat brim lowered. Patterns and textures—such as knitwear, steam on glass, and tile—add interest. For a hidden identity, place a bright highlight behind you and expose for the face to get a clean outline.
Self-Portrait Photography with Different Devices
Any camera can work when the setup is steady and the light is good. Larger cameras offer lens choice and manual control, while phones excel in speed and sharing. Maintain a repeatable routine that includes stable support, consistent exposure, and a fast review cycle.
How to Take Self-Portraits with a DSLR or Mirrorless Camera
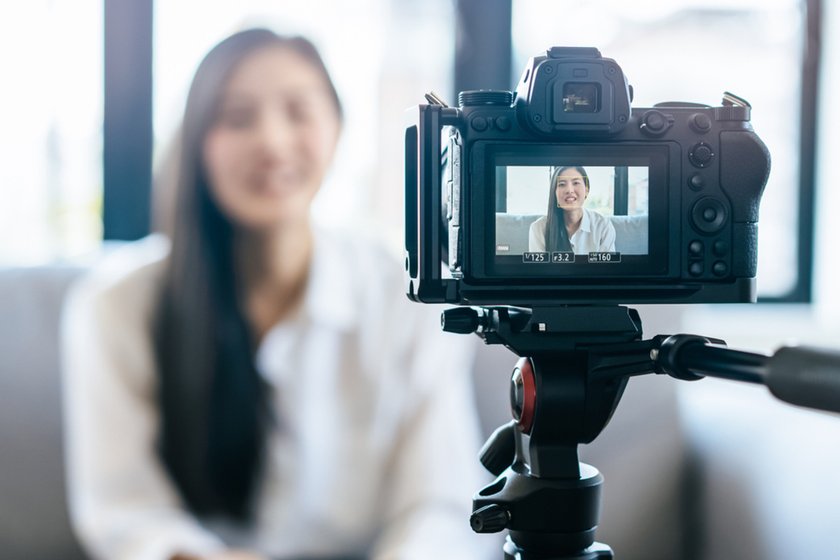 Tripod, loose composition, and manual exposure keep frames consistent. Use face/ eye detection to confirm focus, also lock it with homemade focus or Back Button Focus on a stage height. Shoot in RAW, set a custom white balance, and adjust the depth of field to control background separation. A flip screen or phone app helps you check your pose without walking back and forth.
Taking Self-Portraits with a Smartphone: Key Tips
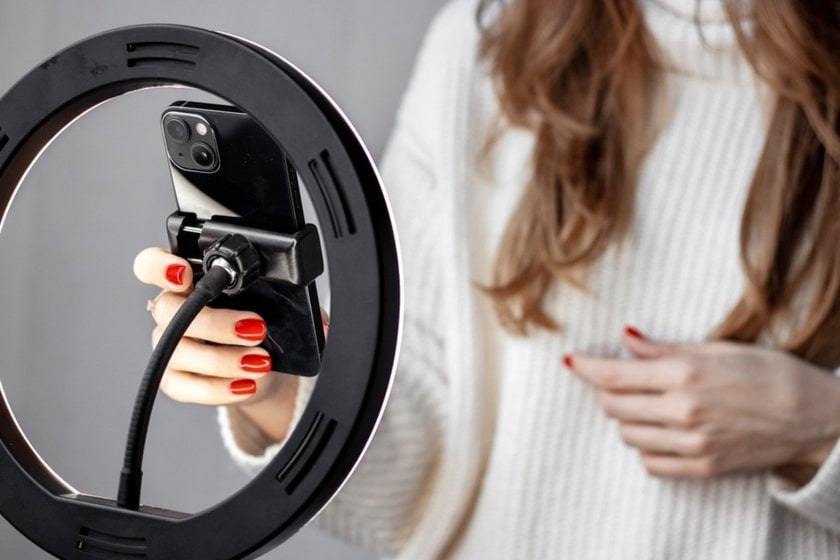 Stabilize the phone, clean the lens, and skip the harsh front flash. Use the rear camera, turn on grids, tap-hold to lock focus/exposure on your face, then pull exposure slightly down. If available, set a fixed white balance and shoot in “pro” mode. Step away from busy walls, angle toward window light, and keep still for a beat after the click. For posing ideas that suit small spaces, borrow from portrait photography techniques.
Using Intervalometers for Long Sessions
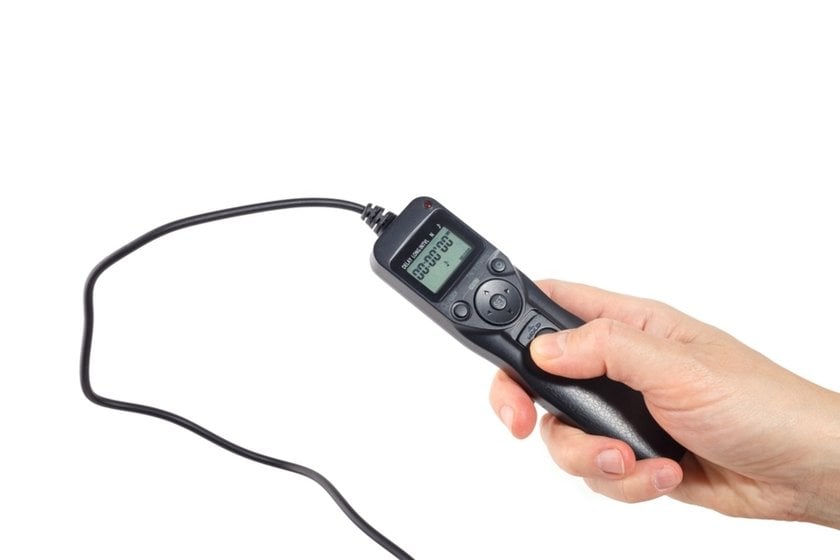 An intervalometer fires hands-free bursts, allowing you to flow through expressions and posture. Start with one frame every 2-4 seconds, fix exposure and focus, and mark your standing spot with tape. Shoot sets of 30-60 frames, review briefly, then adjust light or background. In post, guide attention to the eyes with portrait bokeh AI and keep skin texture natural.
How to Use Drones for Dynamic Self-Portraits
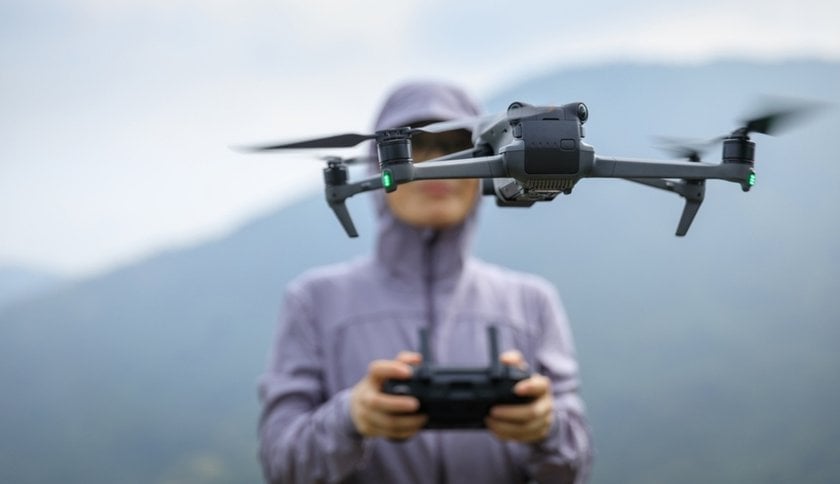 Pick open ground, check local rules, and plan a clear flight path. Use the widest field of view, enable subject tracking if available, and frame with extra headroom to crop later. Fly at chest to head height for a cinematic feel; rise to 3-5 meters for wider context. Keep the sun behind the drone or at 45°, and let it hover while you step into position. Grab short video clips too—later you can pull stills.
Post-Processing Self Portraits with Luminar Neo
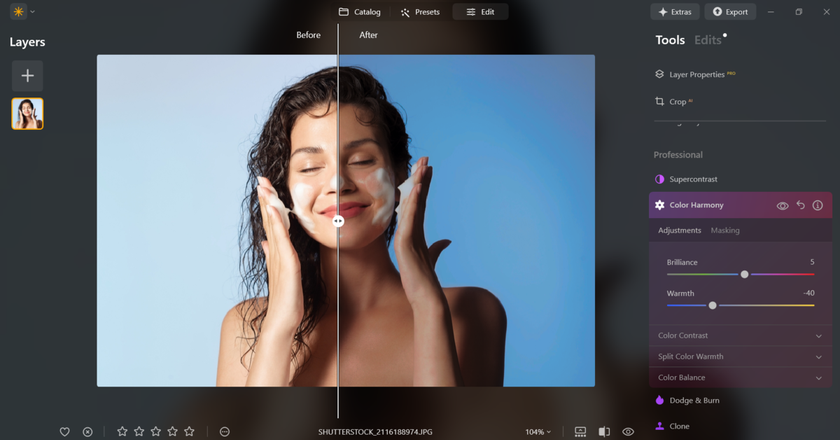 Keep edits light, so the image still feels like you. Start by balancing exposure and white balance, then tidy distractions with erase/heal tools. A short, practical walkthrough of these steps—with before/after examples and a simple order of operations—is available here. This can be adapted to any style. Use gentle skin and color adjustments, and sharpen only the eyes and brows, so texture stays natural.
Still, add a touch of blur and a subtle picture to guide attention if the background is busy. Batch analogous frames for thickness, also import sRGB JPGs for sharing, and an advanced-quality interpretation for print. Keep one master train per look so you can re-export for different platforms without starting over.
Your Solution for Effortless RAW Image Transformation
Apply it Now!Common Mistakes to Avoid When Taking Self-Portraits
 Tone-pictures work best when the setup is steady and choices stay simple. Before each session, check the light, background, and focus. Also, take short bursts and review them on a larger screen. Small habits like drawing the lens, marking your standing spot, and keeping exposure fixed will save time later. Treat this as a calm routine—the goal is consistency while you’re taking self portraits, not racing the clock.
Relying Too Much on Autofocus
AF can hunt when the contrast is low or when you step forward. Set focus where you’ll stand (use a chair or light stand), then switch to manual so it won’t shift. Still, use face/ eye descry, lock with Back Button Focus, if you prefer AF. Choose an f-stop that keeps both eyes sharp (around f/ 2.8-f/ 5.6) and fire in short bursts.
Ignoring the Importance of Backgrounds
Busy rooms, tilted frames, and bright objects near your head can distract you. Simplify by straightening verticals, clearing small distractions, and leaving a little headroom for safe cropping. Step a pace forward from the wall to soften the image; if patterns remain loud, rotate a few degrees or lower the camera to find calmer lines.
Using Poor Lighting or Flash
Overhead bulbs and bare phone flash create harsh shadows. Aim for soft, directional light by using a sheer curtain, an open shade, or a beacon positioned at 45° and feathered past your face. Keep the brightest area near your eyes, use a white card under the chin, and if you must use flash, bounce it and lower the power.
Failing to Take Enough Shots
One or two frames rarely capture expression, posture, and light together. Work in short bursts of 3-5 images, pause, and adjust one thing—chin height, shoulder angle, or hand position. Mark your favorite as you go, so culling is quick.
Mastering the Art of Self-Portrait Photography
A calm routine beats improvising: steady support, soft directional light, clean background, and a reliable trigger. Set exposure once, keep focus consistent, and move through a few planned poses before changing anything. Tidy small distractions, then finish with a light edit that keeps texture real and eyes clear. With practice, the process becomes quick and repeatable—a simple way to tell your story and create portraits that feel intentional and personal.
FAQ
How Do I Get Creative with Self-Portraits?
Work with one twist at a time: a prop, a mirror, a backlight, or a bold crop. Try hands-only frames, silhouettes, or reflections. Shoot short sets, review, and keep what feels honest. Rotate locations and outfits to refresh the mood.
How Can I Make My Self-Portraits Look Professional?
Use soft, directional light; set manual exposure; keep verticals straight; and step away from the background for depth. Guide attention to the eyes, tidy distractions, and finish with a light edit for color and small blemishes.
What Gear Is Essential for Self-Portrait Photography?
A phone or camera, a tripod/solid support, and a remote or timer. Add a small LED or window diffuser, a reflector (white card), and a microfiber cloth. That’s enough to get clean light, steady framing, and sharp eyes.
How Do I Take Good Self-Portraits Without Help?
Stabilize the camera, use a 2-10 s timer or remote, and mark your standing spot. Face soft window light, keep the background simple, and run 3-5 frame bursts while you vary chin height and expression. Cull quickly and keep the best one or two.
What Are the Best Camera Settings for Self-Portraits?
Start with 1/125-1/250 s, f/2.8-f/5.6, low ISO. Lock white balance, use manual exposure for consistency, and focus at eye level (face/eye AF or pre-focus on a stand-in, then manual). Shoot short bursts and review on a bigger screen.