July 28
9 min. to read
How To Brighten Face In Photo - Light Up Your Pictures
The world of portrait photography is full of neat tricks to get the best out of your image, and today we’re going to focus on one of the most effective techniques: face brightening. For this guide, we’ll be using Luminar Neo, a versatile editing software designed to help you get the best from your photos across all genres.
There’s an added bonus to using Luminar Neo. It uses AI-powered technology to automatically detect the face for you, meaning you don’t have to carry out tedious tasks such as drawing paths or brushing carefully over your subject’s face. This saves you a great deal of time and allows you to finish your edit faster and get back out shooting sooner.
You may also like: How to Fix Closed Eyes in a Photo?
Why We Need to Brighten Faces?
 On a trip to the mountains, I snapped a shot of my friend standing at the cliff’s edge during sunrise. The sky was unreal—pinks and golds everywhere—but her face turned out as a dark outline. In person, she was glowing; in the photo, you couldn’t tell.
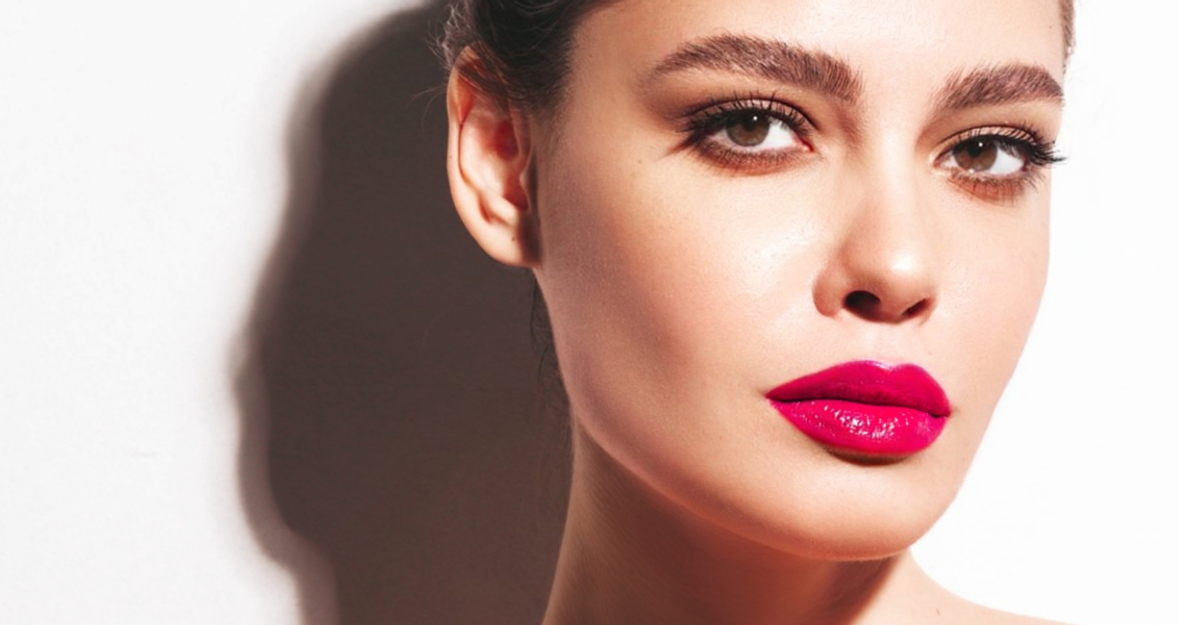
That moment made me realize how much the face carries the feeling of the shot. A well-lit face shows warmth, connection, and the little details that make a portrait worth keeping. When the face is hidden in shadow, even the most beautiful scene can feel distant.
Your AI-Powered Photo Editor for MacOS and Windows
Discover Now!Common Mistakes When Brightening the Face
 Before we brighten your subject’s face, it is worth knowing these common mistakes so you can avoid them and get professional results.
1. The Face is Too Bright
We want to make the face eye-catching, but not for the wrong reasons. If it is too bright, it will be distracting and ruin the quality of your image. A good test is to apply your changes and take a step away from the photo for a short period. Come back to it and see if the subject’s face looks in harmony with the rest of the image.
2. Face Textures Ruined
As mentioned earlier, the face is the key element of your portrait photo. To deliver a high-quality image, we want to preserve skin textures. These can be destroyed if you boost the highlights too far. Being mindful of this will help avoid an unnatural or over-edited look.
You may also like: How to Get Smooth Skin in Your Images: Simplest Ways for Beginners
3. Uneven Balance in Group Shots
If you have multiple people in your shot, make sure their faces are evenly lit. If one face is noticeably brighter than the others, the viewer’s attention will go straight to that person and overlook the rest. This imbalance can affect the storytelling and feel of your photo.
How to Brighten Up Your Face in Luminar Neo: Step-by-Step
Now let’s get started with brightening the face of your subject in Luminar Neo. We’ll run you through the process with a step-by-step guide.
Step 1: Import Photo
 Head to the catalogue window and drag and drop your image. You can also create a new album if you have a series of images you want to work on.
Step 2: Base Edit (Essential Step!)
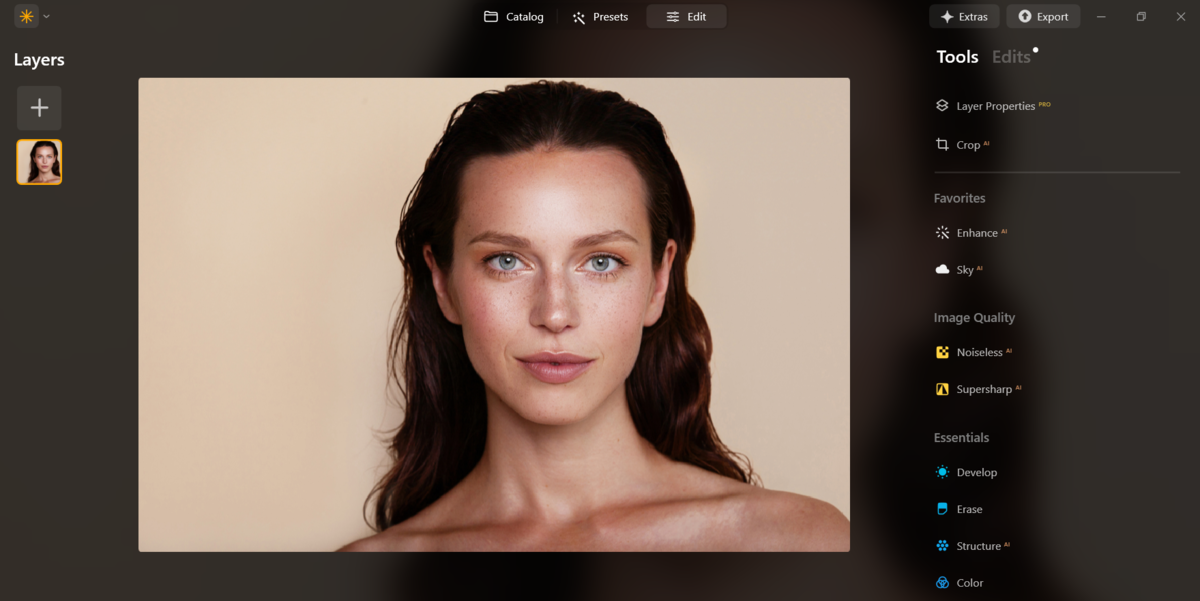 It’s extremely important to do a base edit for your photo before brightening the face. If you happen to do this the other way round, your subject’s face may get increasingly brighter as you adjust the highlights and exposure globally. Ensure your base edit is complete before moving on to the next step.
Step 3: Brighten the Face
 Now head down to the Portrait tools and open Face AI. Inside, you’ll find the Face Light slider, where you can control the strength of application. It automatically detects the face of your subject, speeding up your editing time and helping you avoid complicated pathing processes. You’ll also be able to brighten the eyes of your subject here too in the Eye menu underneath.
Alternative Approach
 There is also a manual method for removing shadows from photos using the Dodge and Burn tool, found in the Professional menu. Using the dodge tool, you can brush lightly over your subject’s face to gradually lift the brightness.
Explore the Power of AI with Luminar Neo
Try it for free!And if you’re wondering how to brighten your face in a photo on iPhone, check out the Relight AI tool in Luminar Mobile.
Essential Rules to Remember
 Let’s do a quick recap on how to get the best results when brightening the face:
Complete your base edit first. That’s how you can balance your image with the face more easily. Remember that if you do this the other way, your subject’s face will become gradually brighter with global adjustments, which may destroy skin textures and lead to overexposure.
Preserve skin textures. This is key for getting professional results. Zoom in as you brighten to check where the textures begin to lose detail. Adjust accordingly.
Don’t overdo it. The face should be bright enough to attract attention, but not so bright that it looks detached from the rest of the photo. Step away from the image for a short while, then return with fresh eyes to check whether the face still looks natural.
The Bottom Line
 Brightening the face is one of the many techniques portrait photographers use to make their images stand out. It’s an essential step that draws attention to the most important part of a portrait: the face. Luminar Neo’s AI-powered tools make this process quick and effective, saving you from tedious manual editing. Just remember to keep the skin textures intact and avoid pushing the brightness too far. With this technique in your editing toolkit, your portraits will look even more polished and professional.
 >
>
