
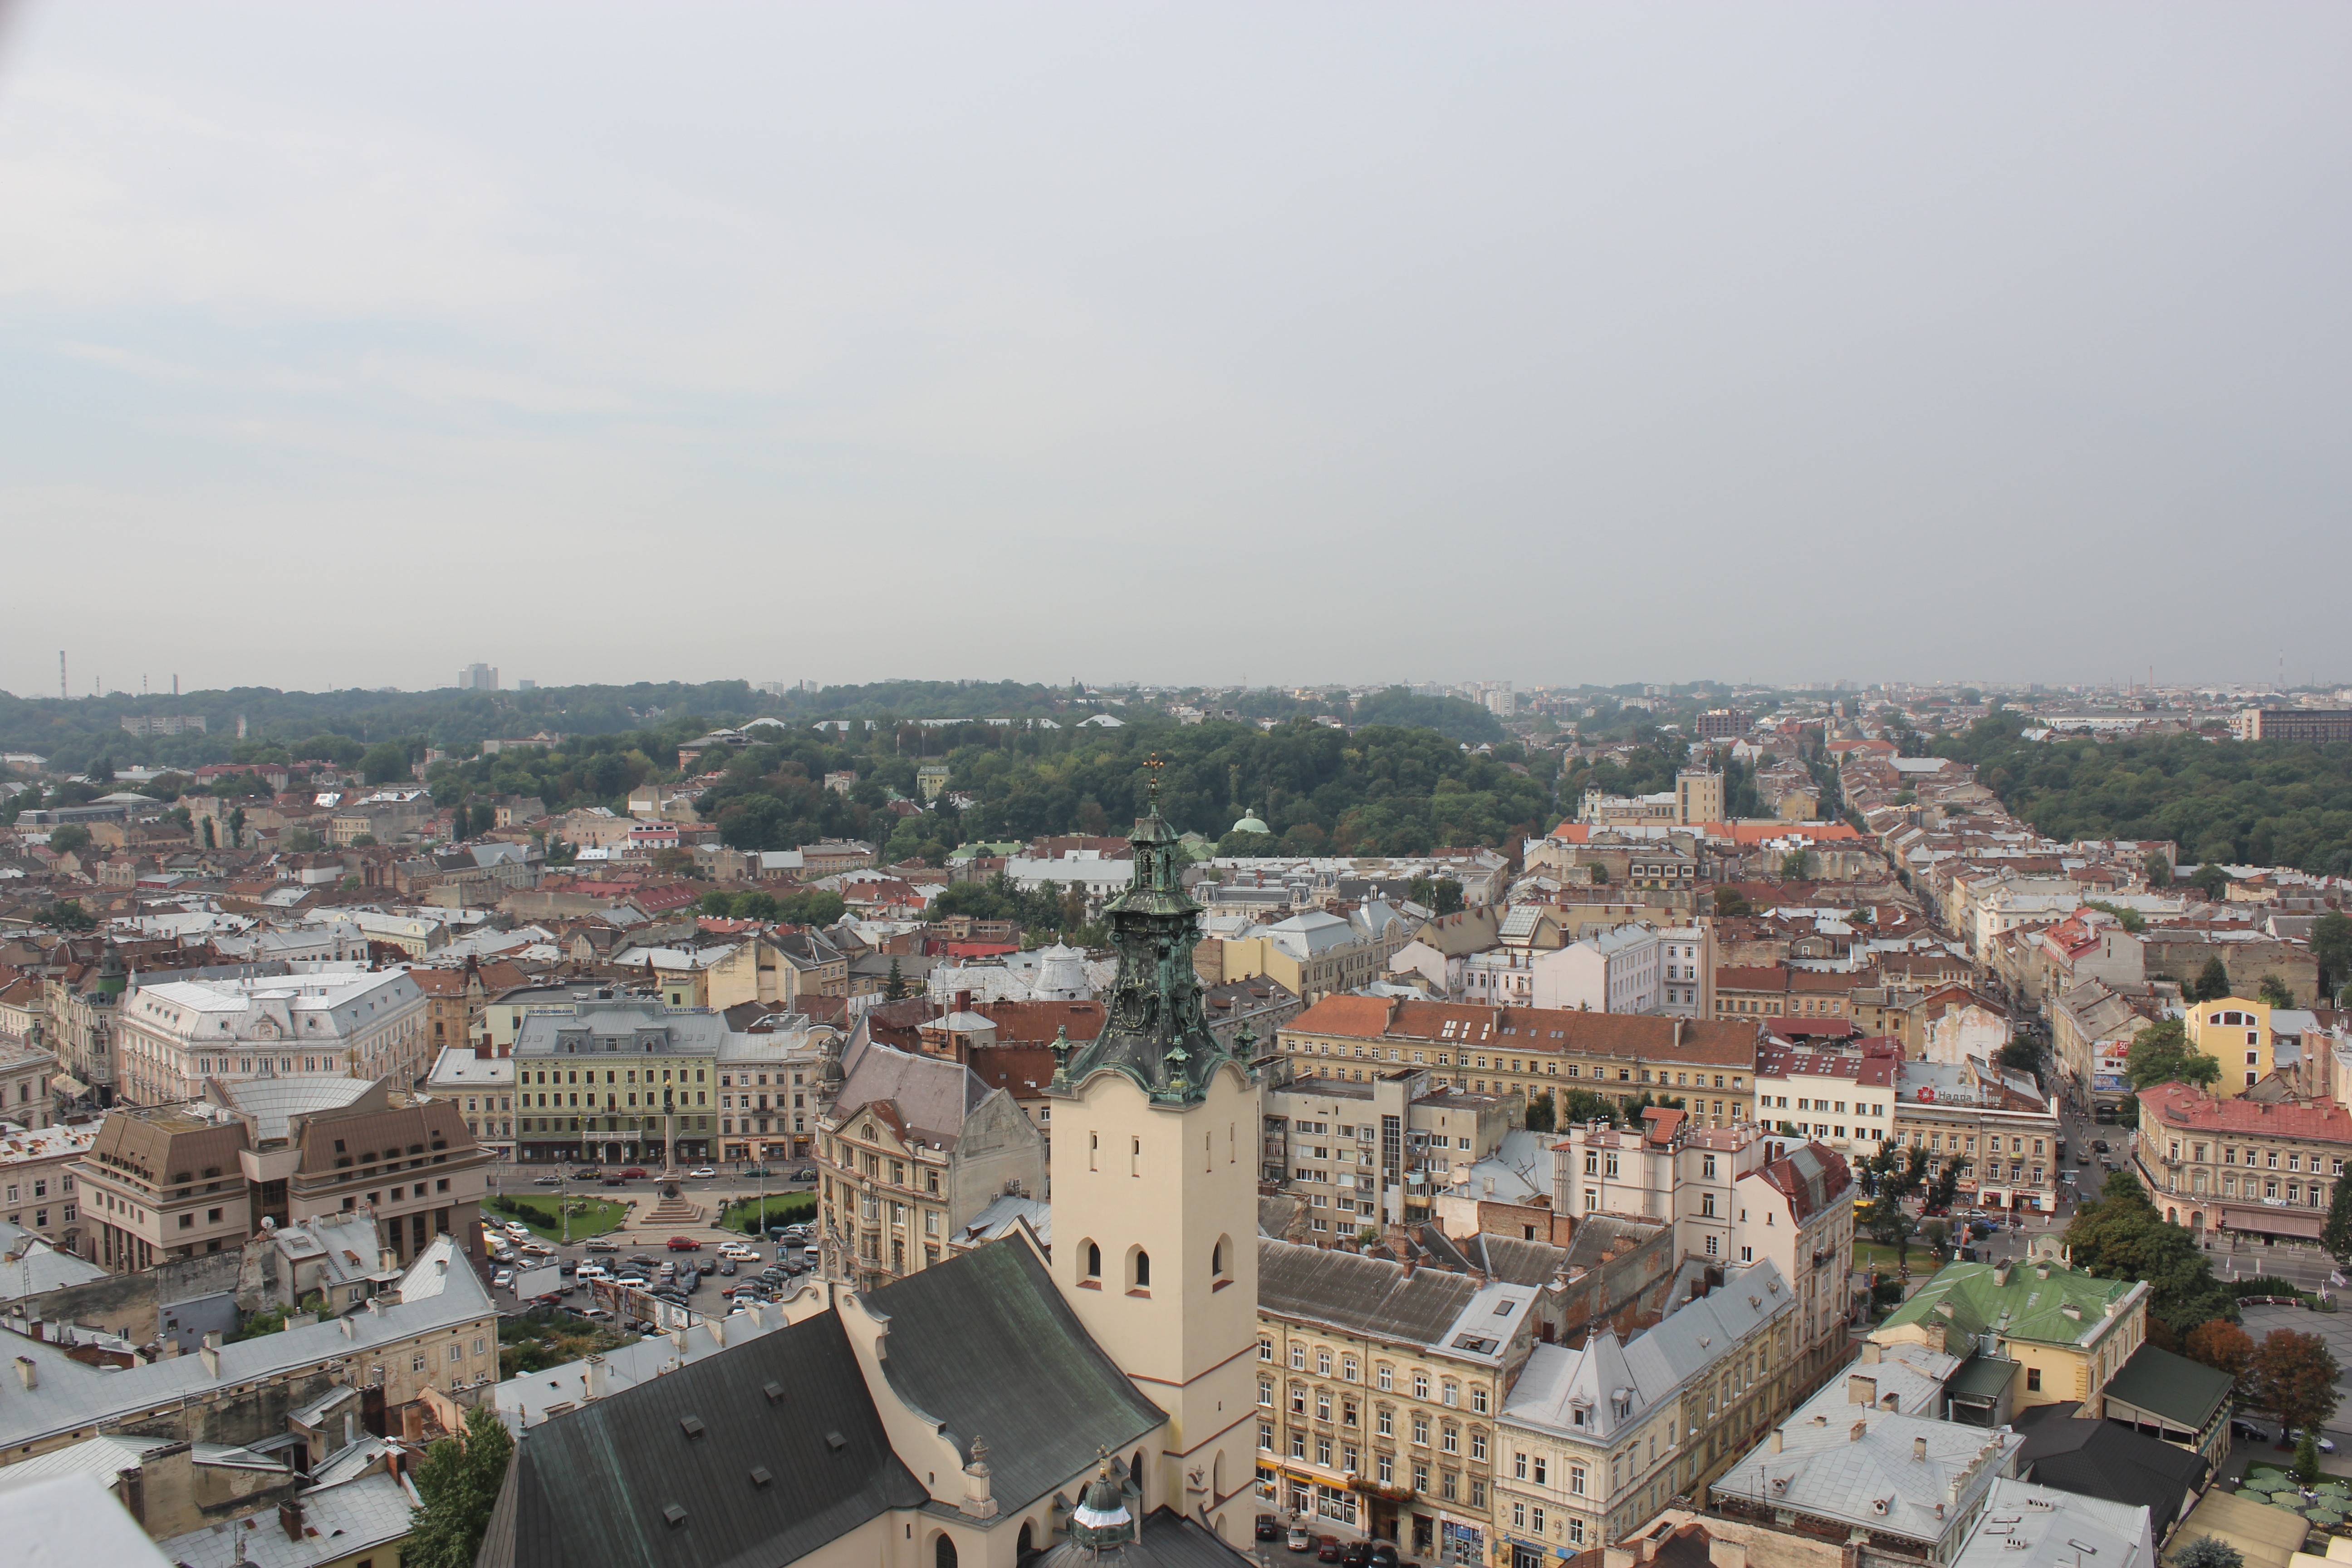
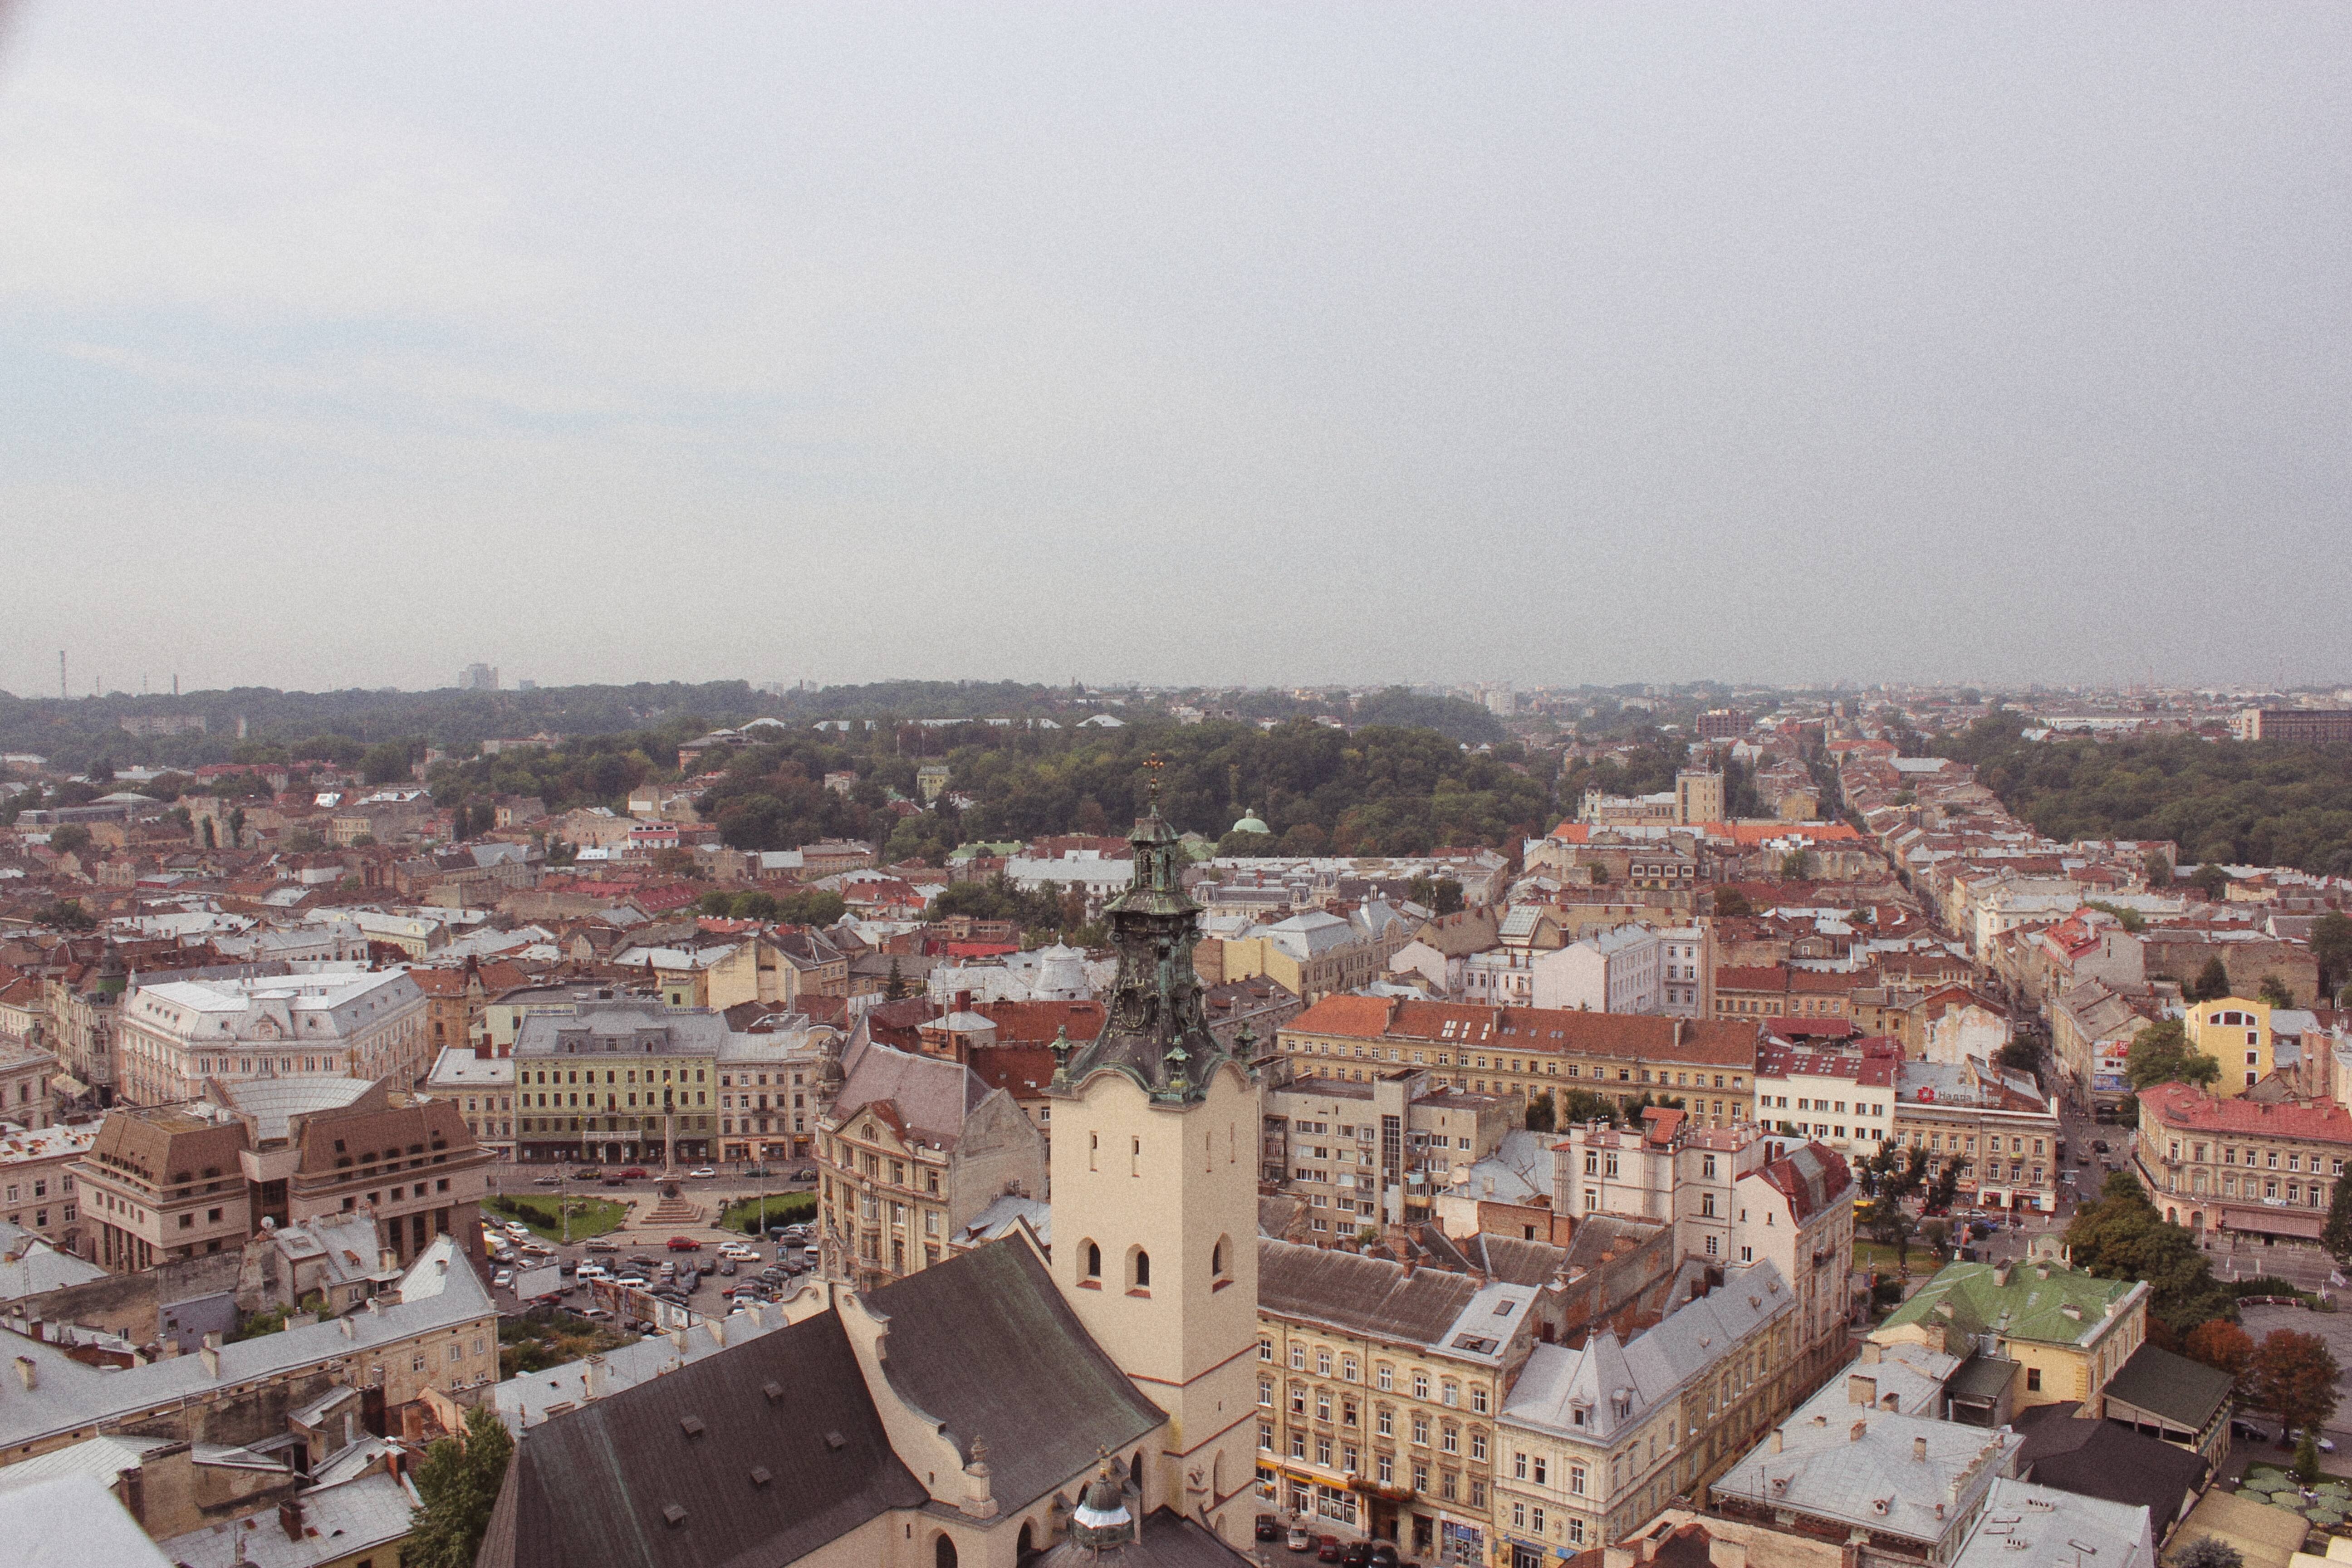
Tilt Image for Perspective Shift
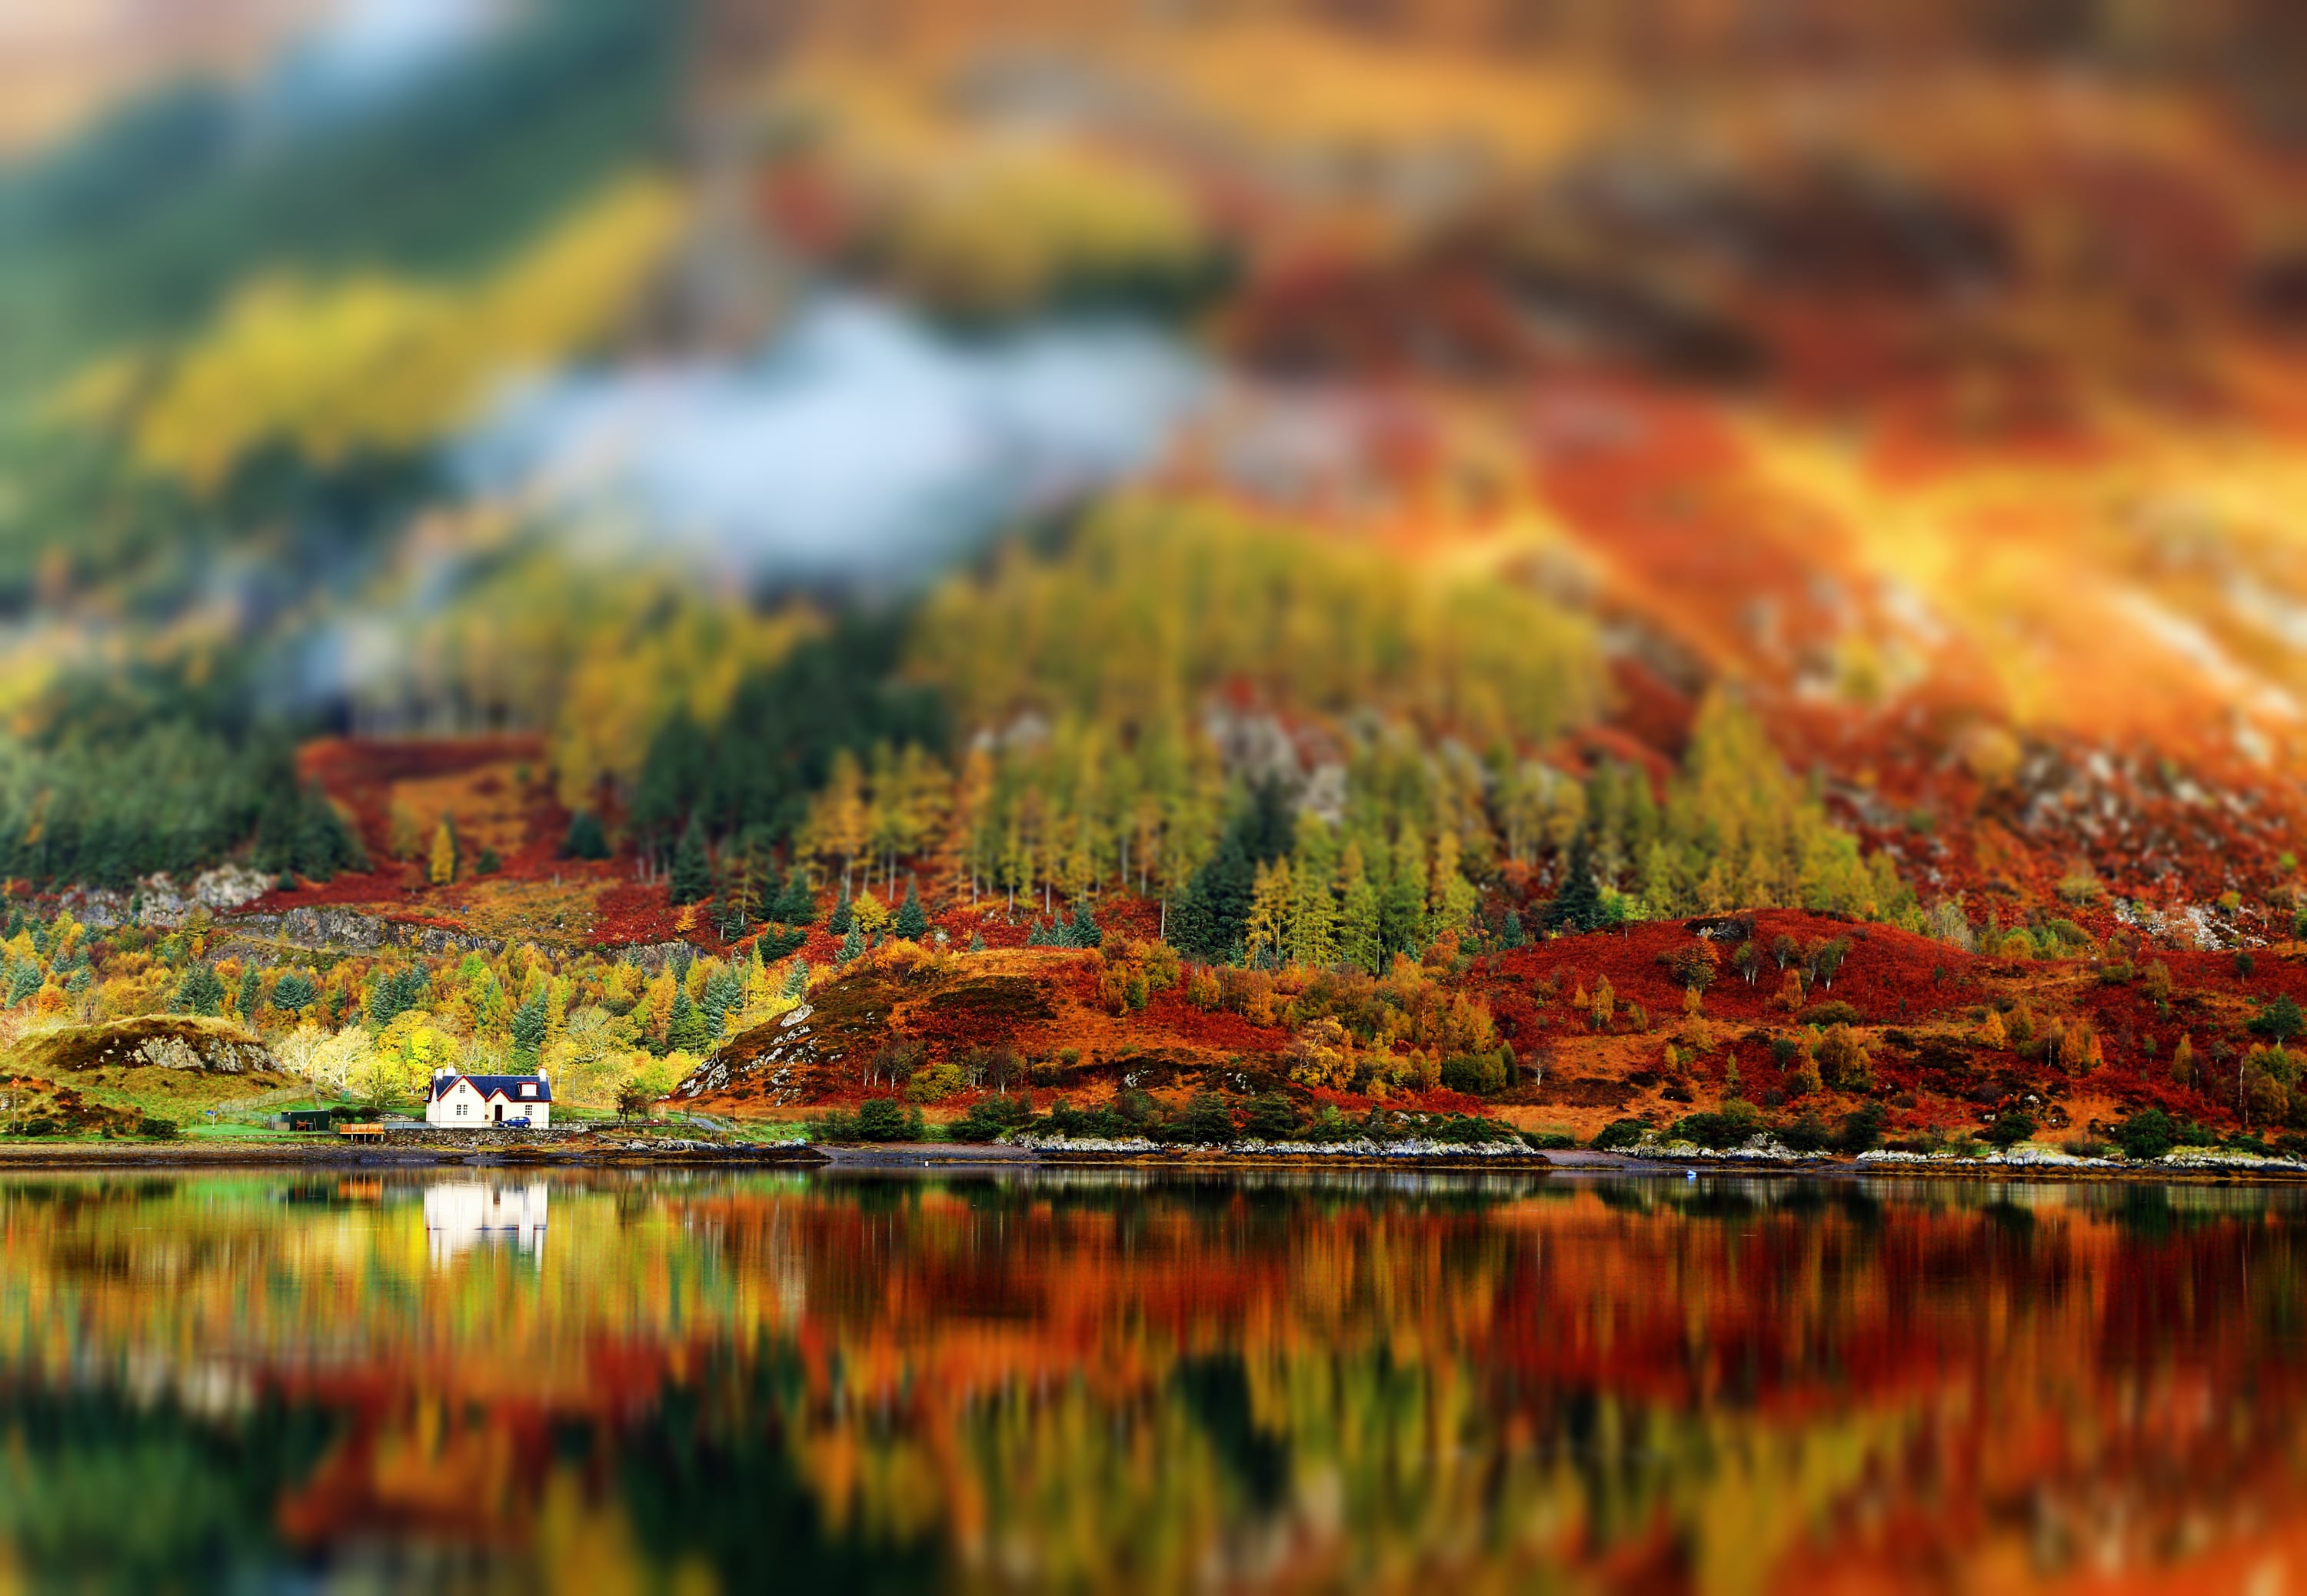
One of the most common uses of tilt-shift is to create a miniature effect. By manipulating the tilt and shift mechanisms of the lens, you can blur certain parts of the image while keeping specific areas in sharp focus
View plans© inlovepai
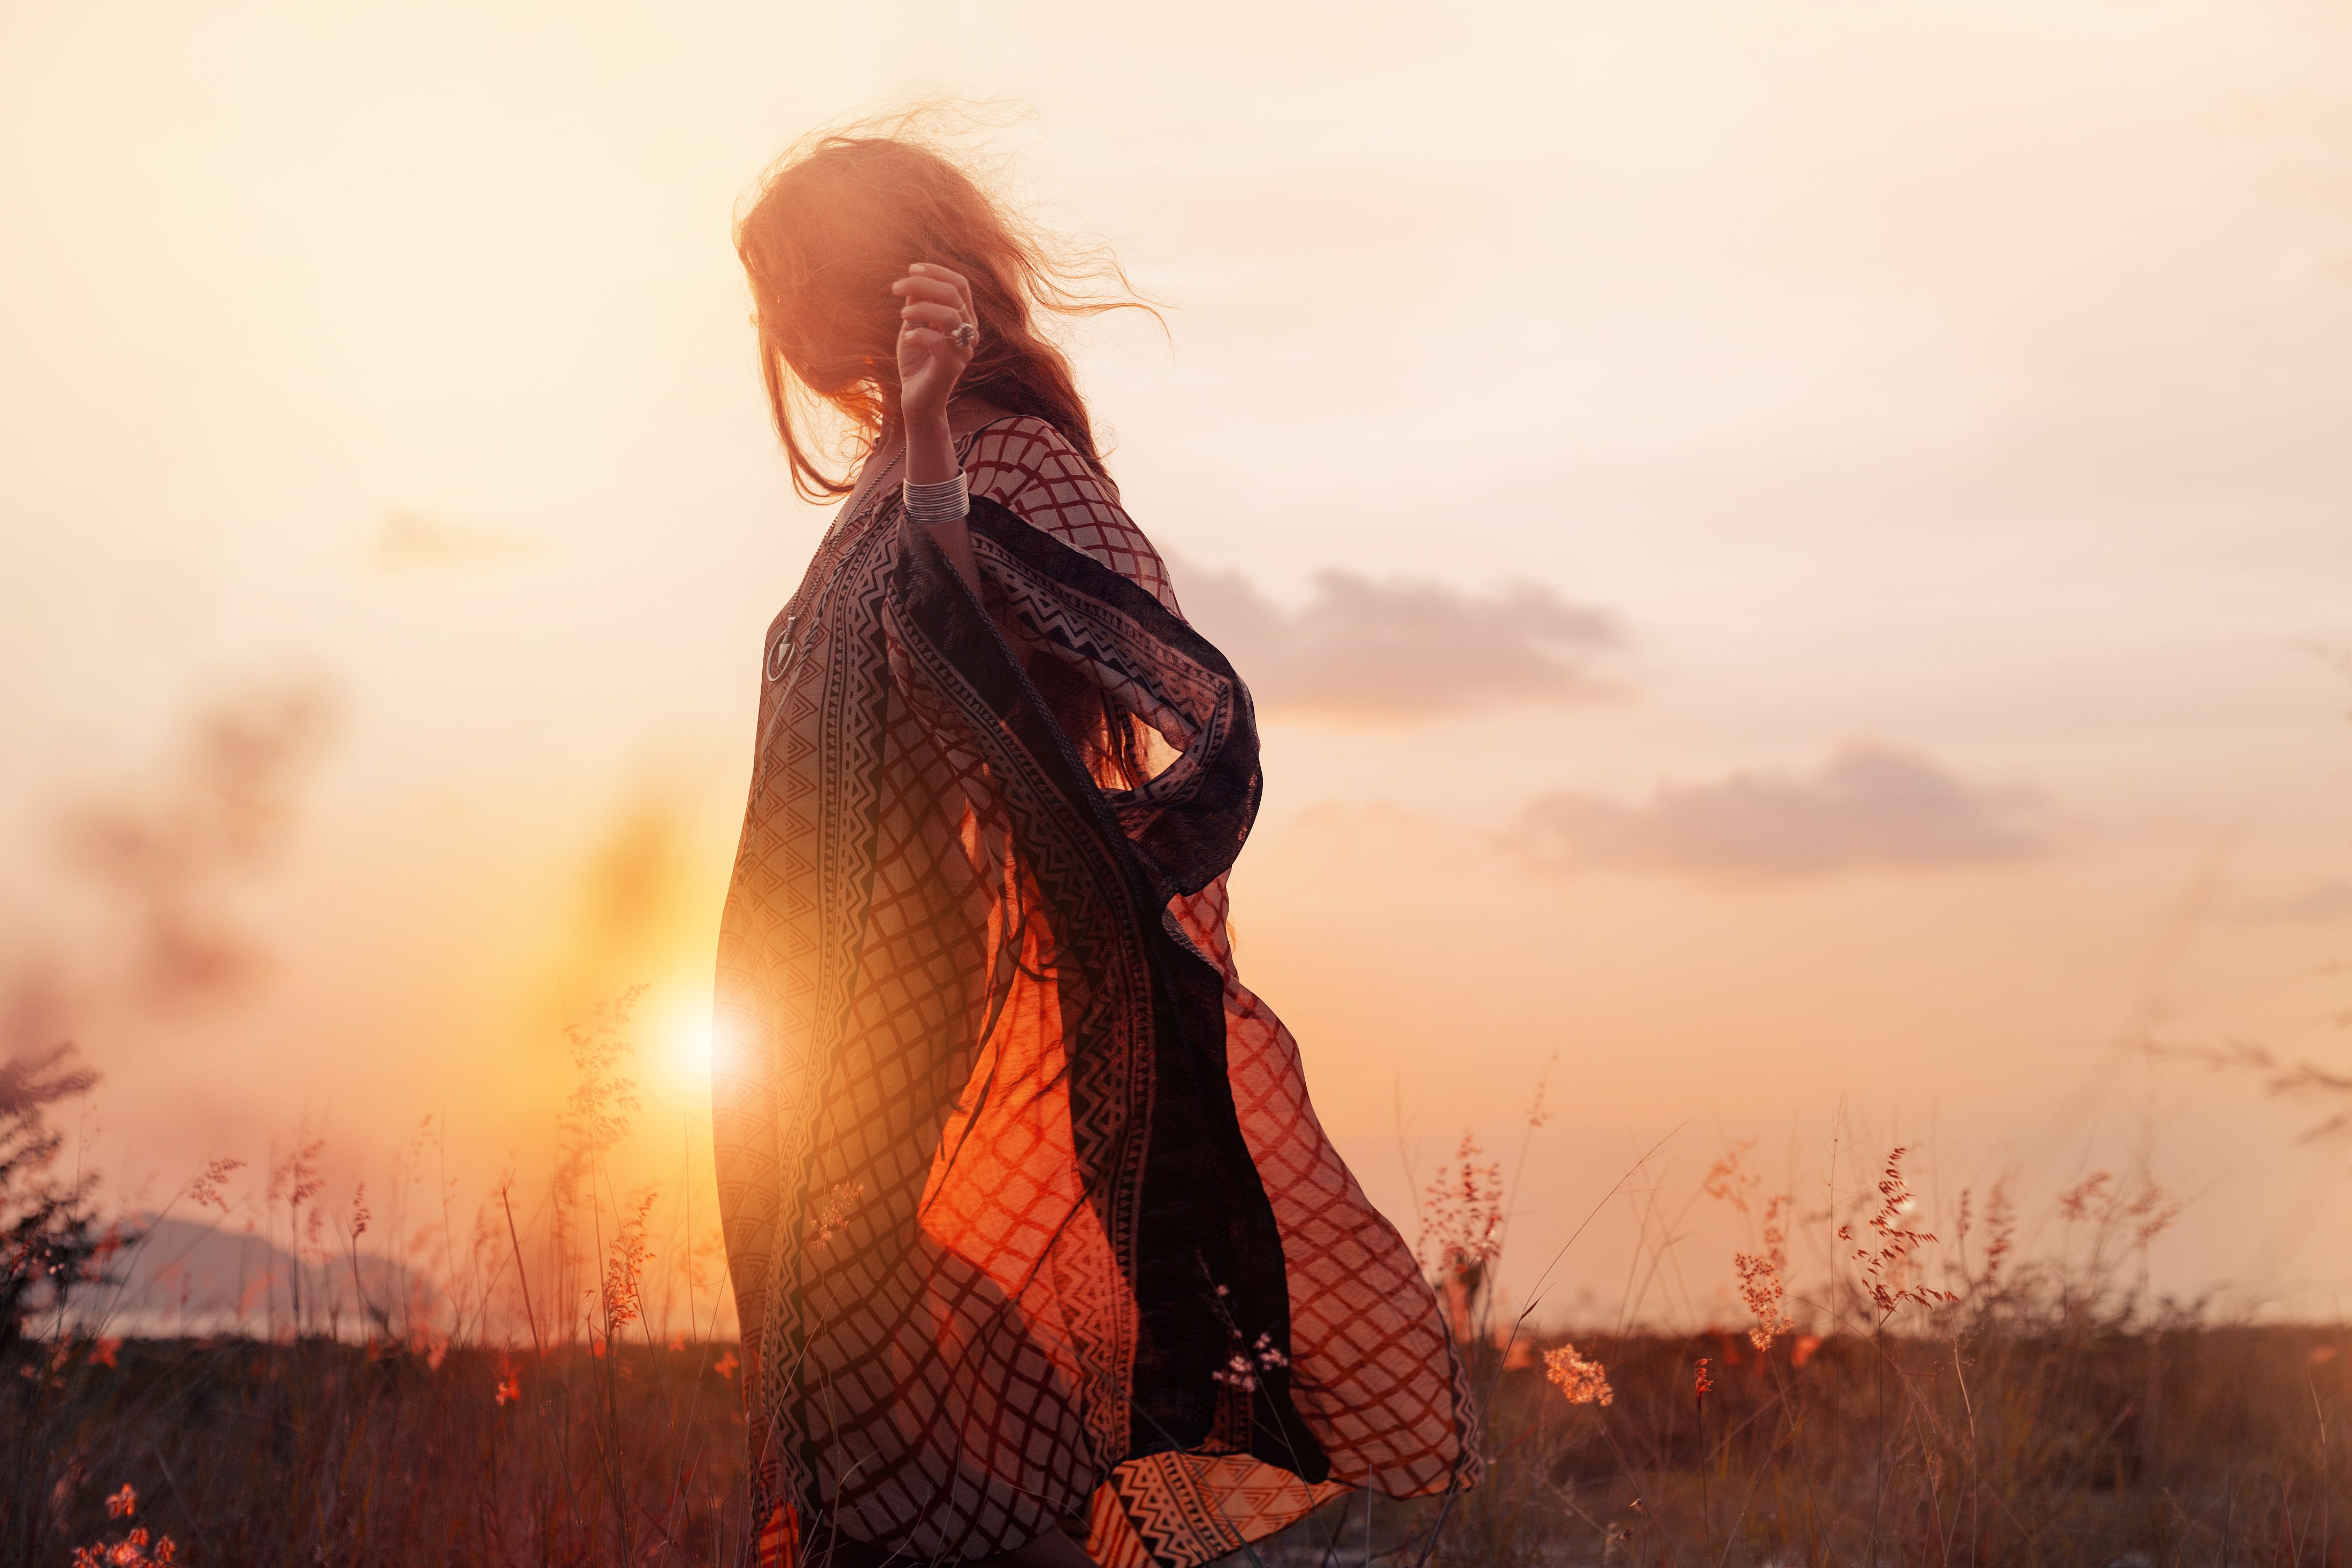
How to Create Dramatic Tilt Photo Depth Effects?
Originally, tilt shift was done by manipulating the lens, but now you can achieve this effect of a tilt photo in editing software, including the powerful photo editor Luminar Neo.
It has a designated tilt shift tool that can help you create this effect with one click of a button.
It has a designated tilt shift tool that can help you create this effect with one click of a button.
Why Tilt-Shifted Photos are Your Secret Weapon?
Tilt-shift editing can enhance the visual appeal of photographs. By selectively blurring parts of the image and keeping certain areas in sharp focus, you can draw attention to specific subjects or elements, making the photos more aesthetically pleasing and engaging.
This selective blurring mimics the shallow depth of field often seen in photographs of miniature models, making real-life scenes appear like tiny, toy-like versions.
This selective blurring mimics the shallow depth of field often seen in photographs of miniature models, making real-life scenes appear like tiny, toy-like versions.


© mumemories


© shutterstock
Miniature Illusions and Cinematic Depth
Creating the miniature effect through tilt-shift editing can be enjoyable because it transforms ordinary scenes into what looks like miniature models. It's fascinating to see real-life scenes—like cityscapes, landscapes, or crowded streets—transformed into tiny, toy-like settings, adding a whimsical and playful element to the photos.
Transform Everyday Scenes with our Tilt-Shift Magic
To give your images the tilt-shift effect simply open the Blur tool. You’ll see a button called Tilt-Shift. Press it and voila! Remember, that you can manipulate the effect by using masking. There are also other types of Blur to experiment with:
• Gaussian;
• Twisted;
• Motion;
• Tilt-shifted
• Gaussian;
• Twisted;
• Motion;
• Tilt-shifted

© silverjohn
Explore Other Features
Luminar Neo has plenty of other features to help you edit faster and easier
Blend Two Images

© shutterstock
Blend Two Images
Elevate your photography to new heights by seamlessly blending two images
Supersharp AI
© Ksenia Kazak
Supersharp AI
Revive Your Blurry Photos with Supersharp AI! Use our cutting-edge technology to naturally restore the sharpness of your cherished memories.
GenSwap
© Lisa
GenSwap
Transform your photos with GenSwap! Effortlessly replace dull elements with AI-generated visuals that blend seamlessly into your images.
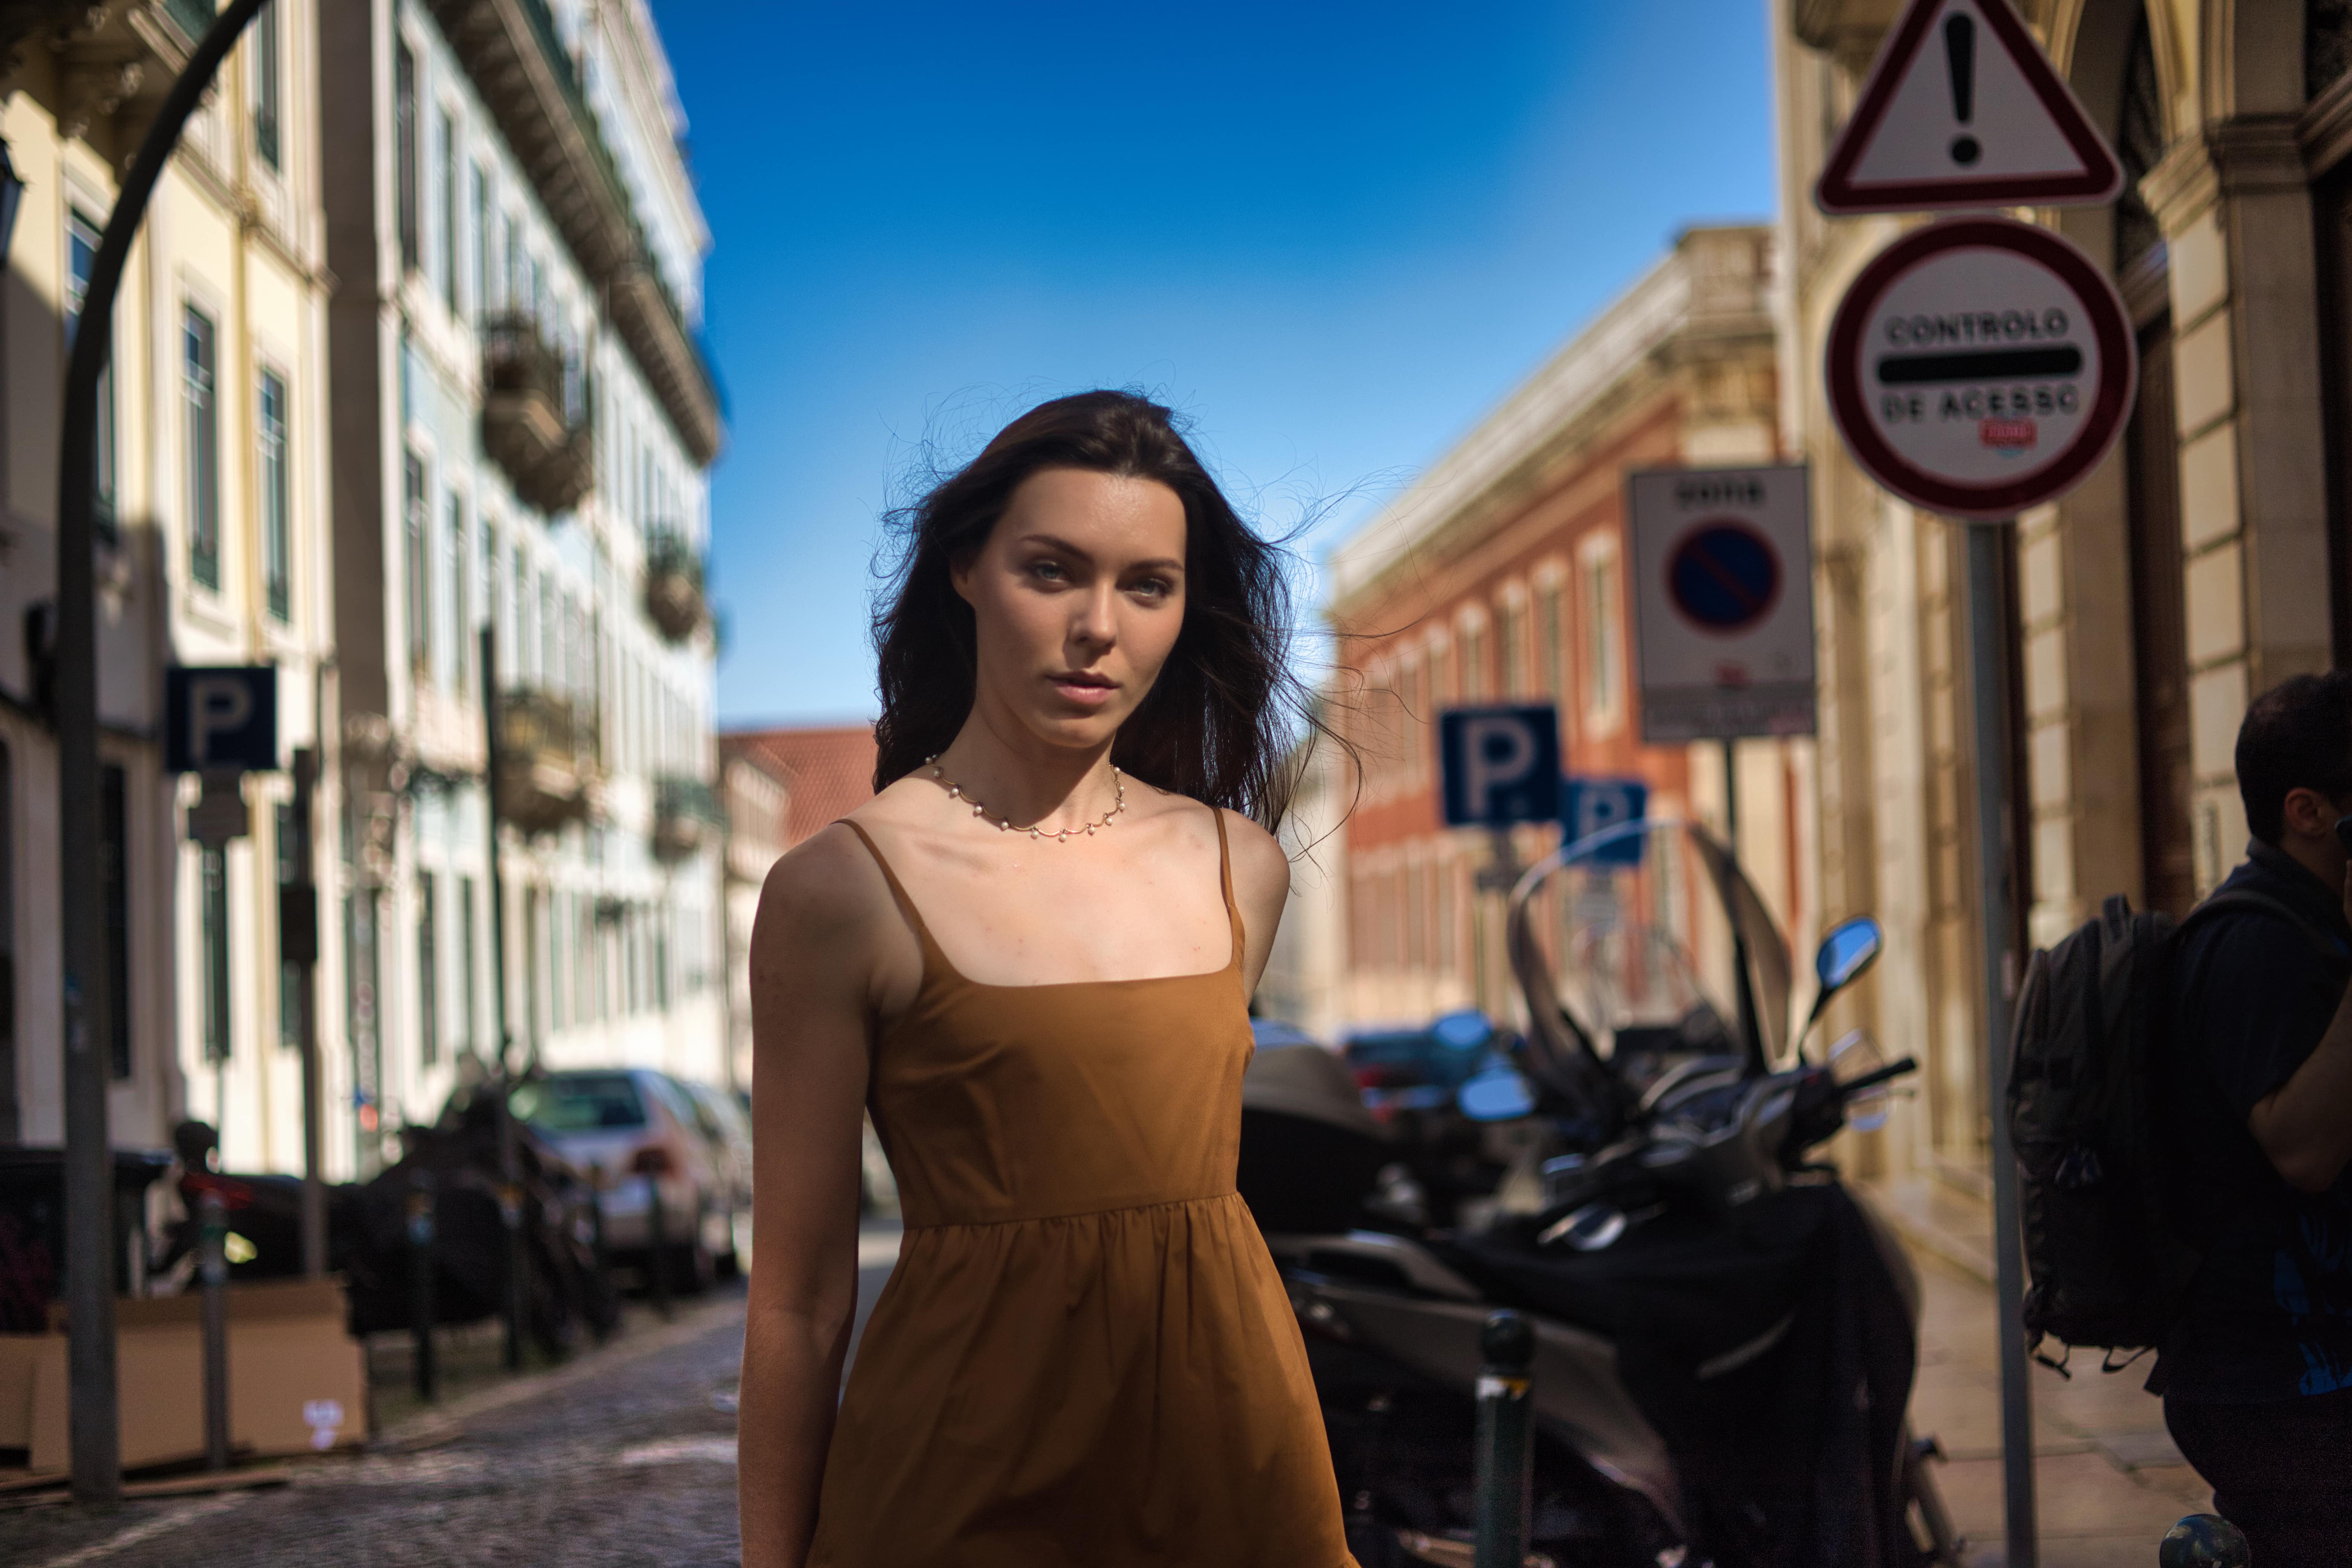
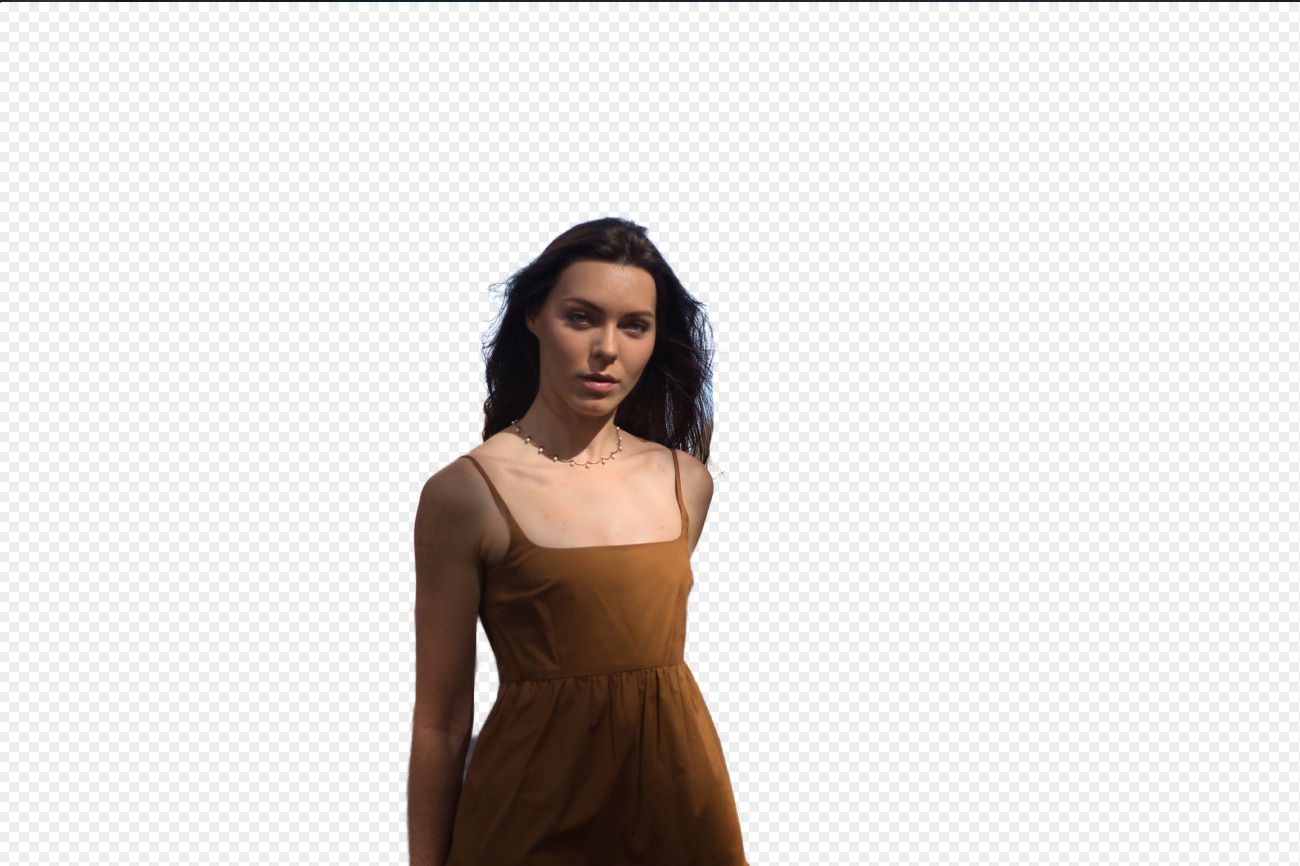
Background Removal AI
© Ksenia Kazak
Background Removal AI
Use our advanced tool to automatically erase backgrounds behind any object in your images.
Enhance-AI
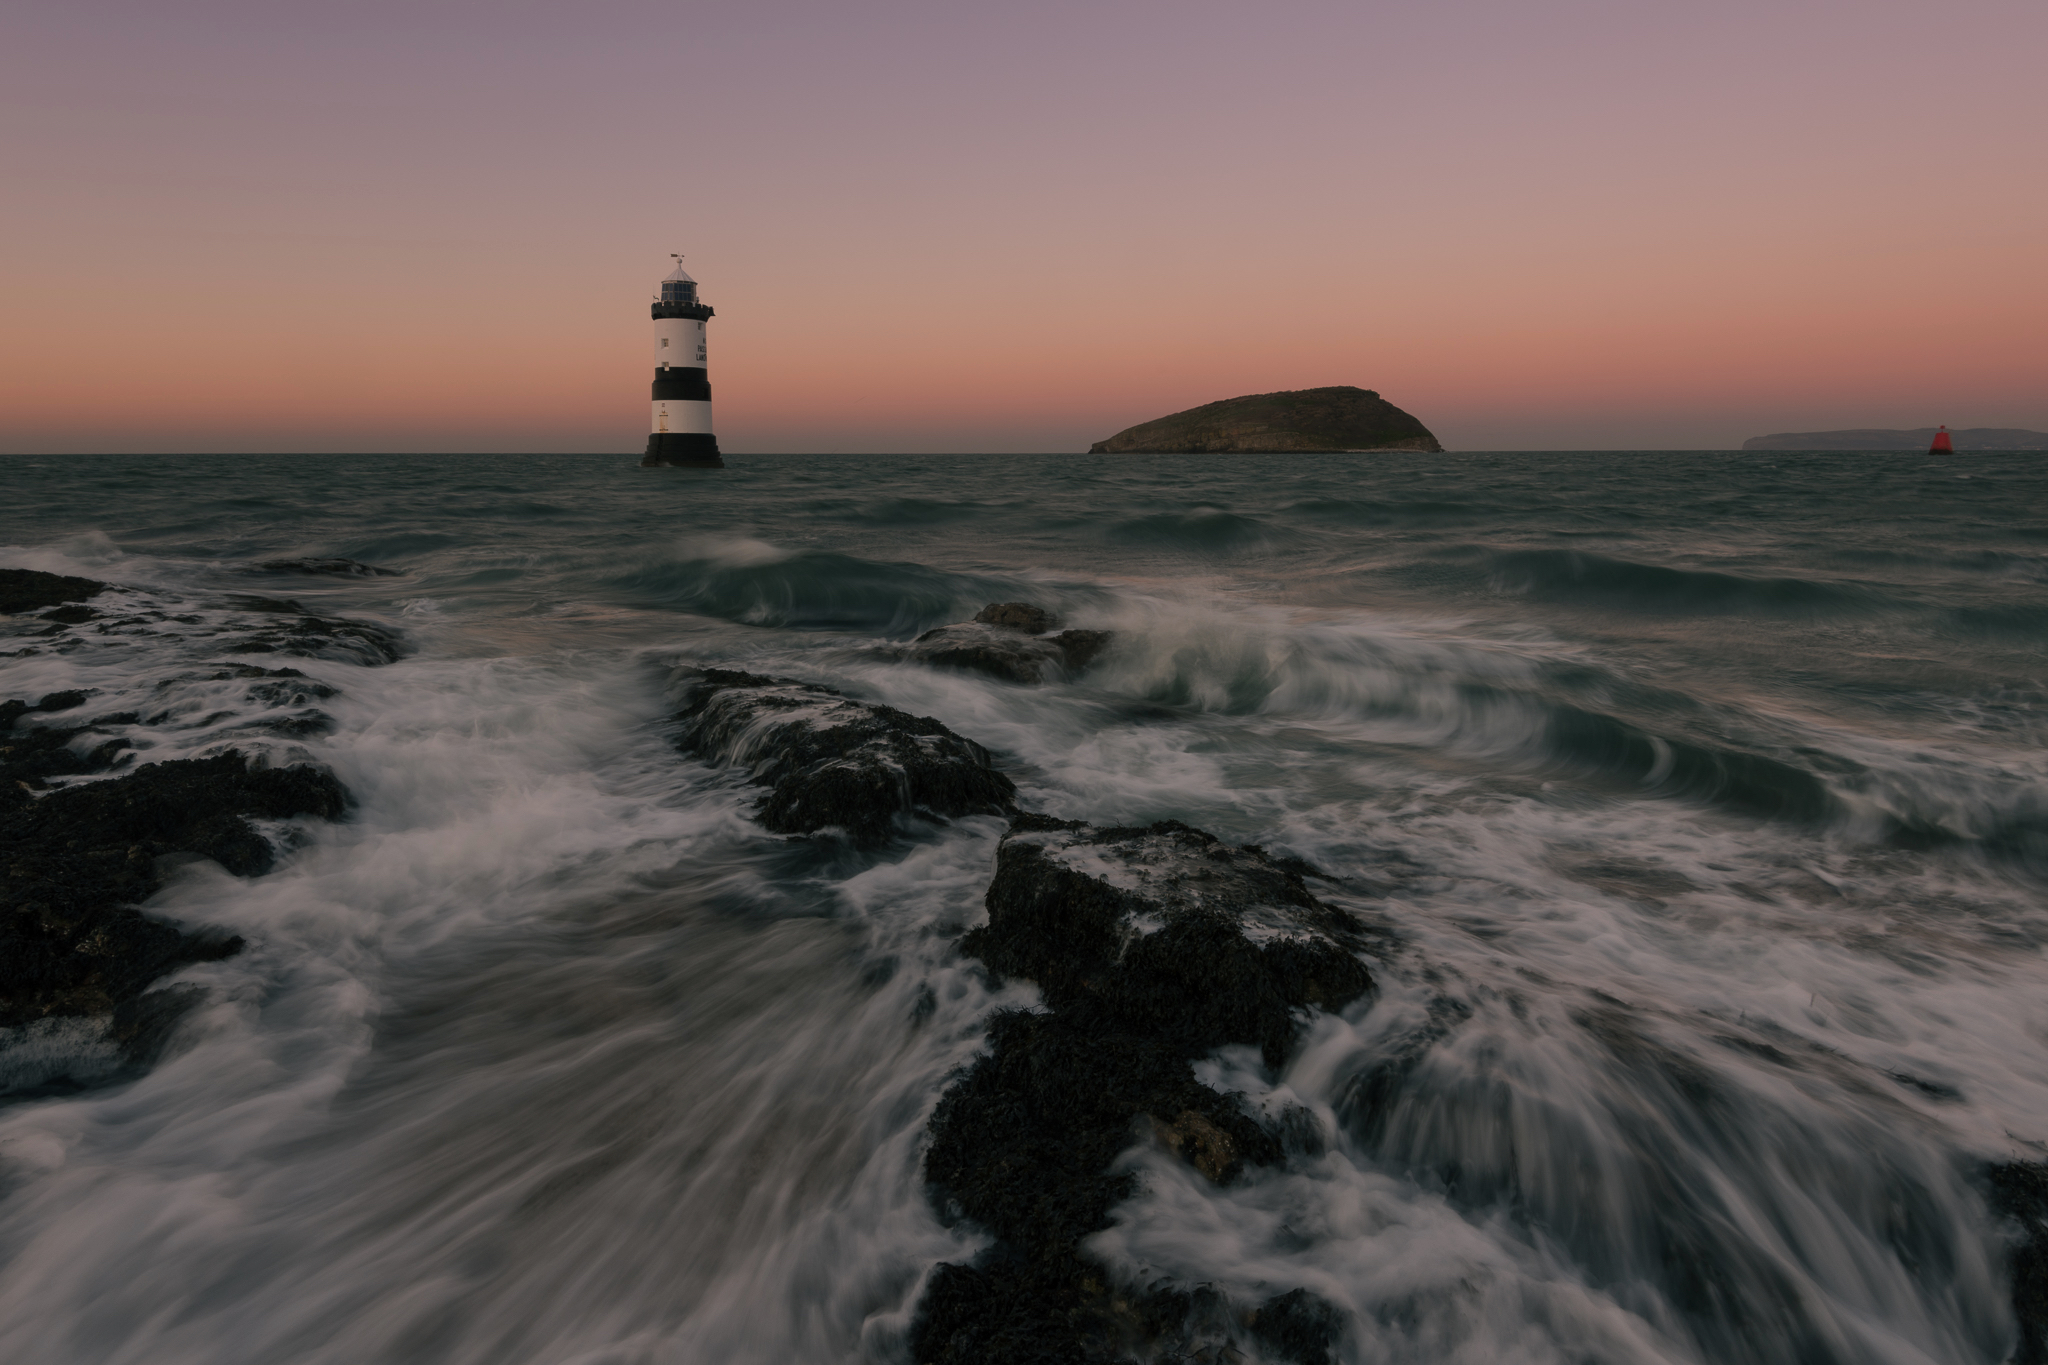

© mathewbrowne_anglesey
Enhance-AI
Simplify your workflow and amplify your results. Experience the convenience of managing multiple adjustments with a single, AI-driven slider.
Hue Changer


© reewungjunerr
Hue Changer
Easily correct tones, experiment with new looks, or add unique creative effects.
An application & plugin
For macOS & Windows
- High-performance AI editor
24/7 technical support
30-day money back guarantee
Join community of Luminar Insiders
Frequently Asked Questions
How to use photo shift with Luminar Neo?
Find tilt-shift button in the Blur Tool in Luminar Neo. With this tool you can easily create tilt-shift images.
How do I apply the tilt-shift effect to my photo?
Simply click the Tilt-Shift button in Blur Tool, and the tilt lens effect will be automatically added to your photos.
Can I control the direction of the tilt-shift effect?
Yes! You can manipulate the effect however you like.
Does the tilt-shift effect work better in color or black-and-white photos?
There is no difference. Think whether the tilt-shift filter will be helpful to enhance the concept of your photo.