
Captivating Image Smoother
Smoothing can give images a more polished and visually pleasing appearance, which is often desirable in photography, graphic design, and other visual arts. Plus, a smooth image can convey a sense of professionalism and quality.
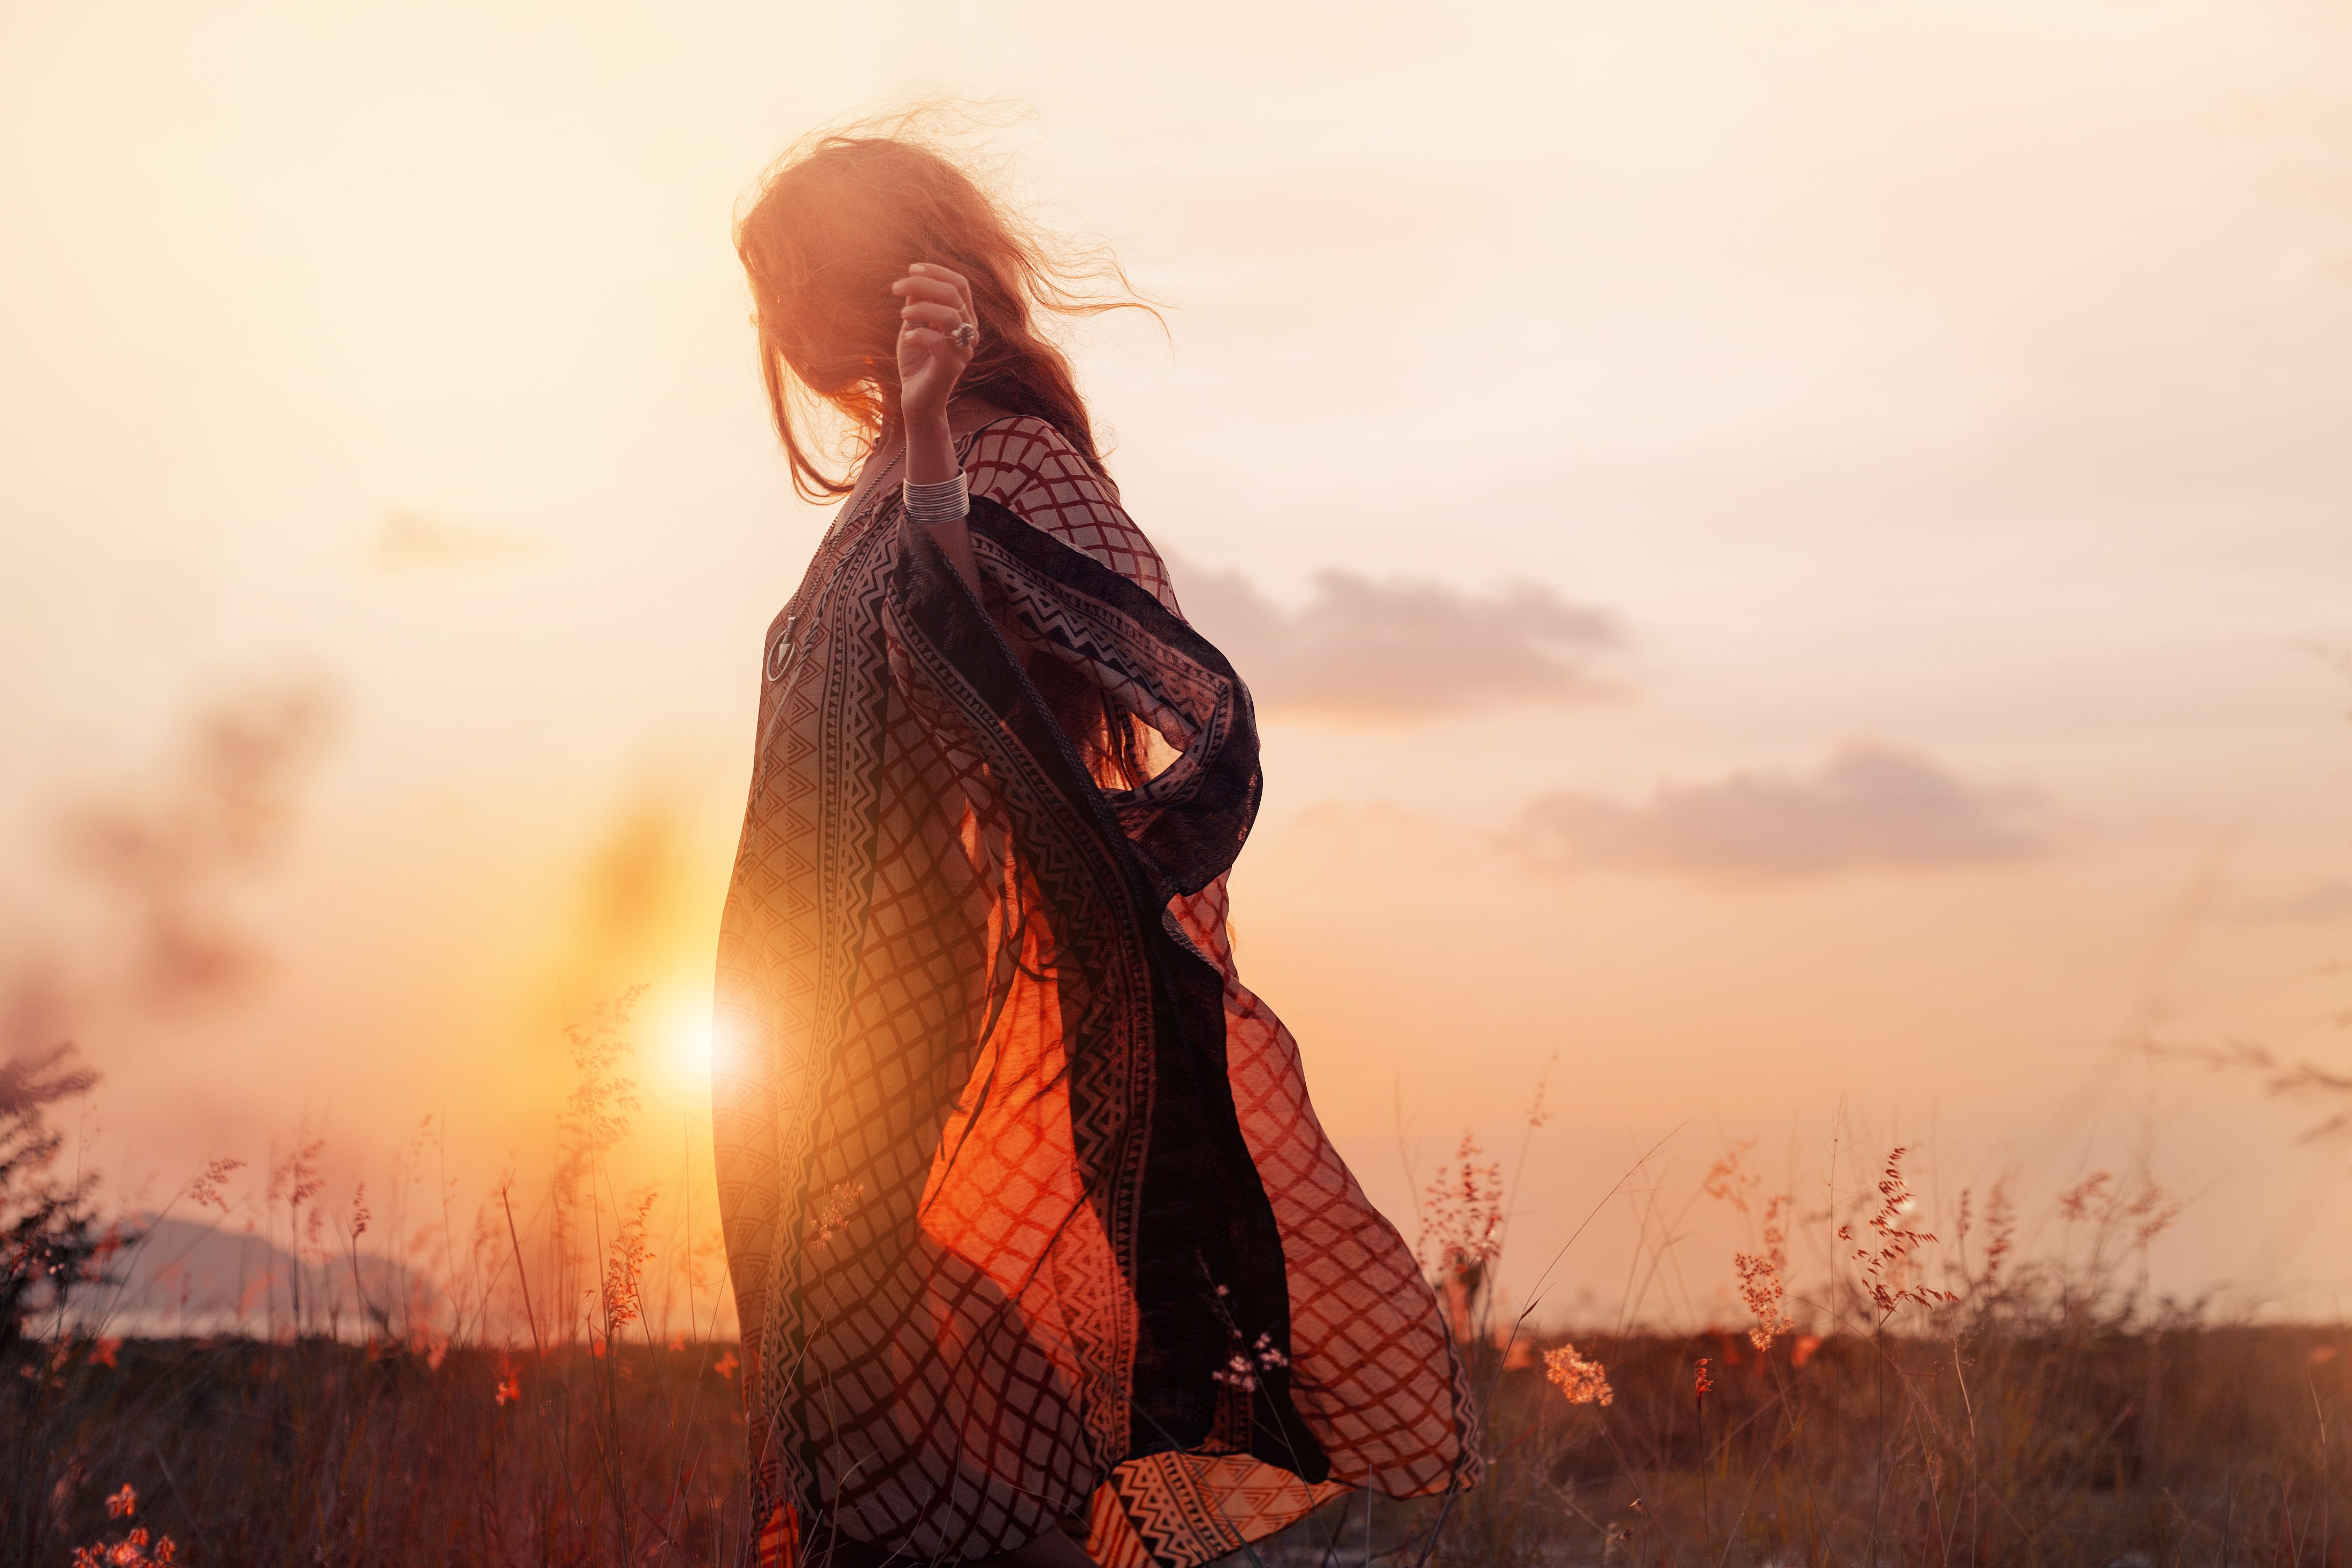
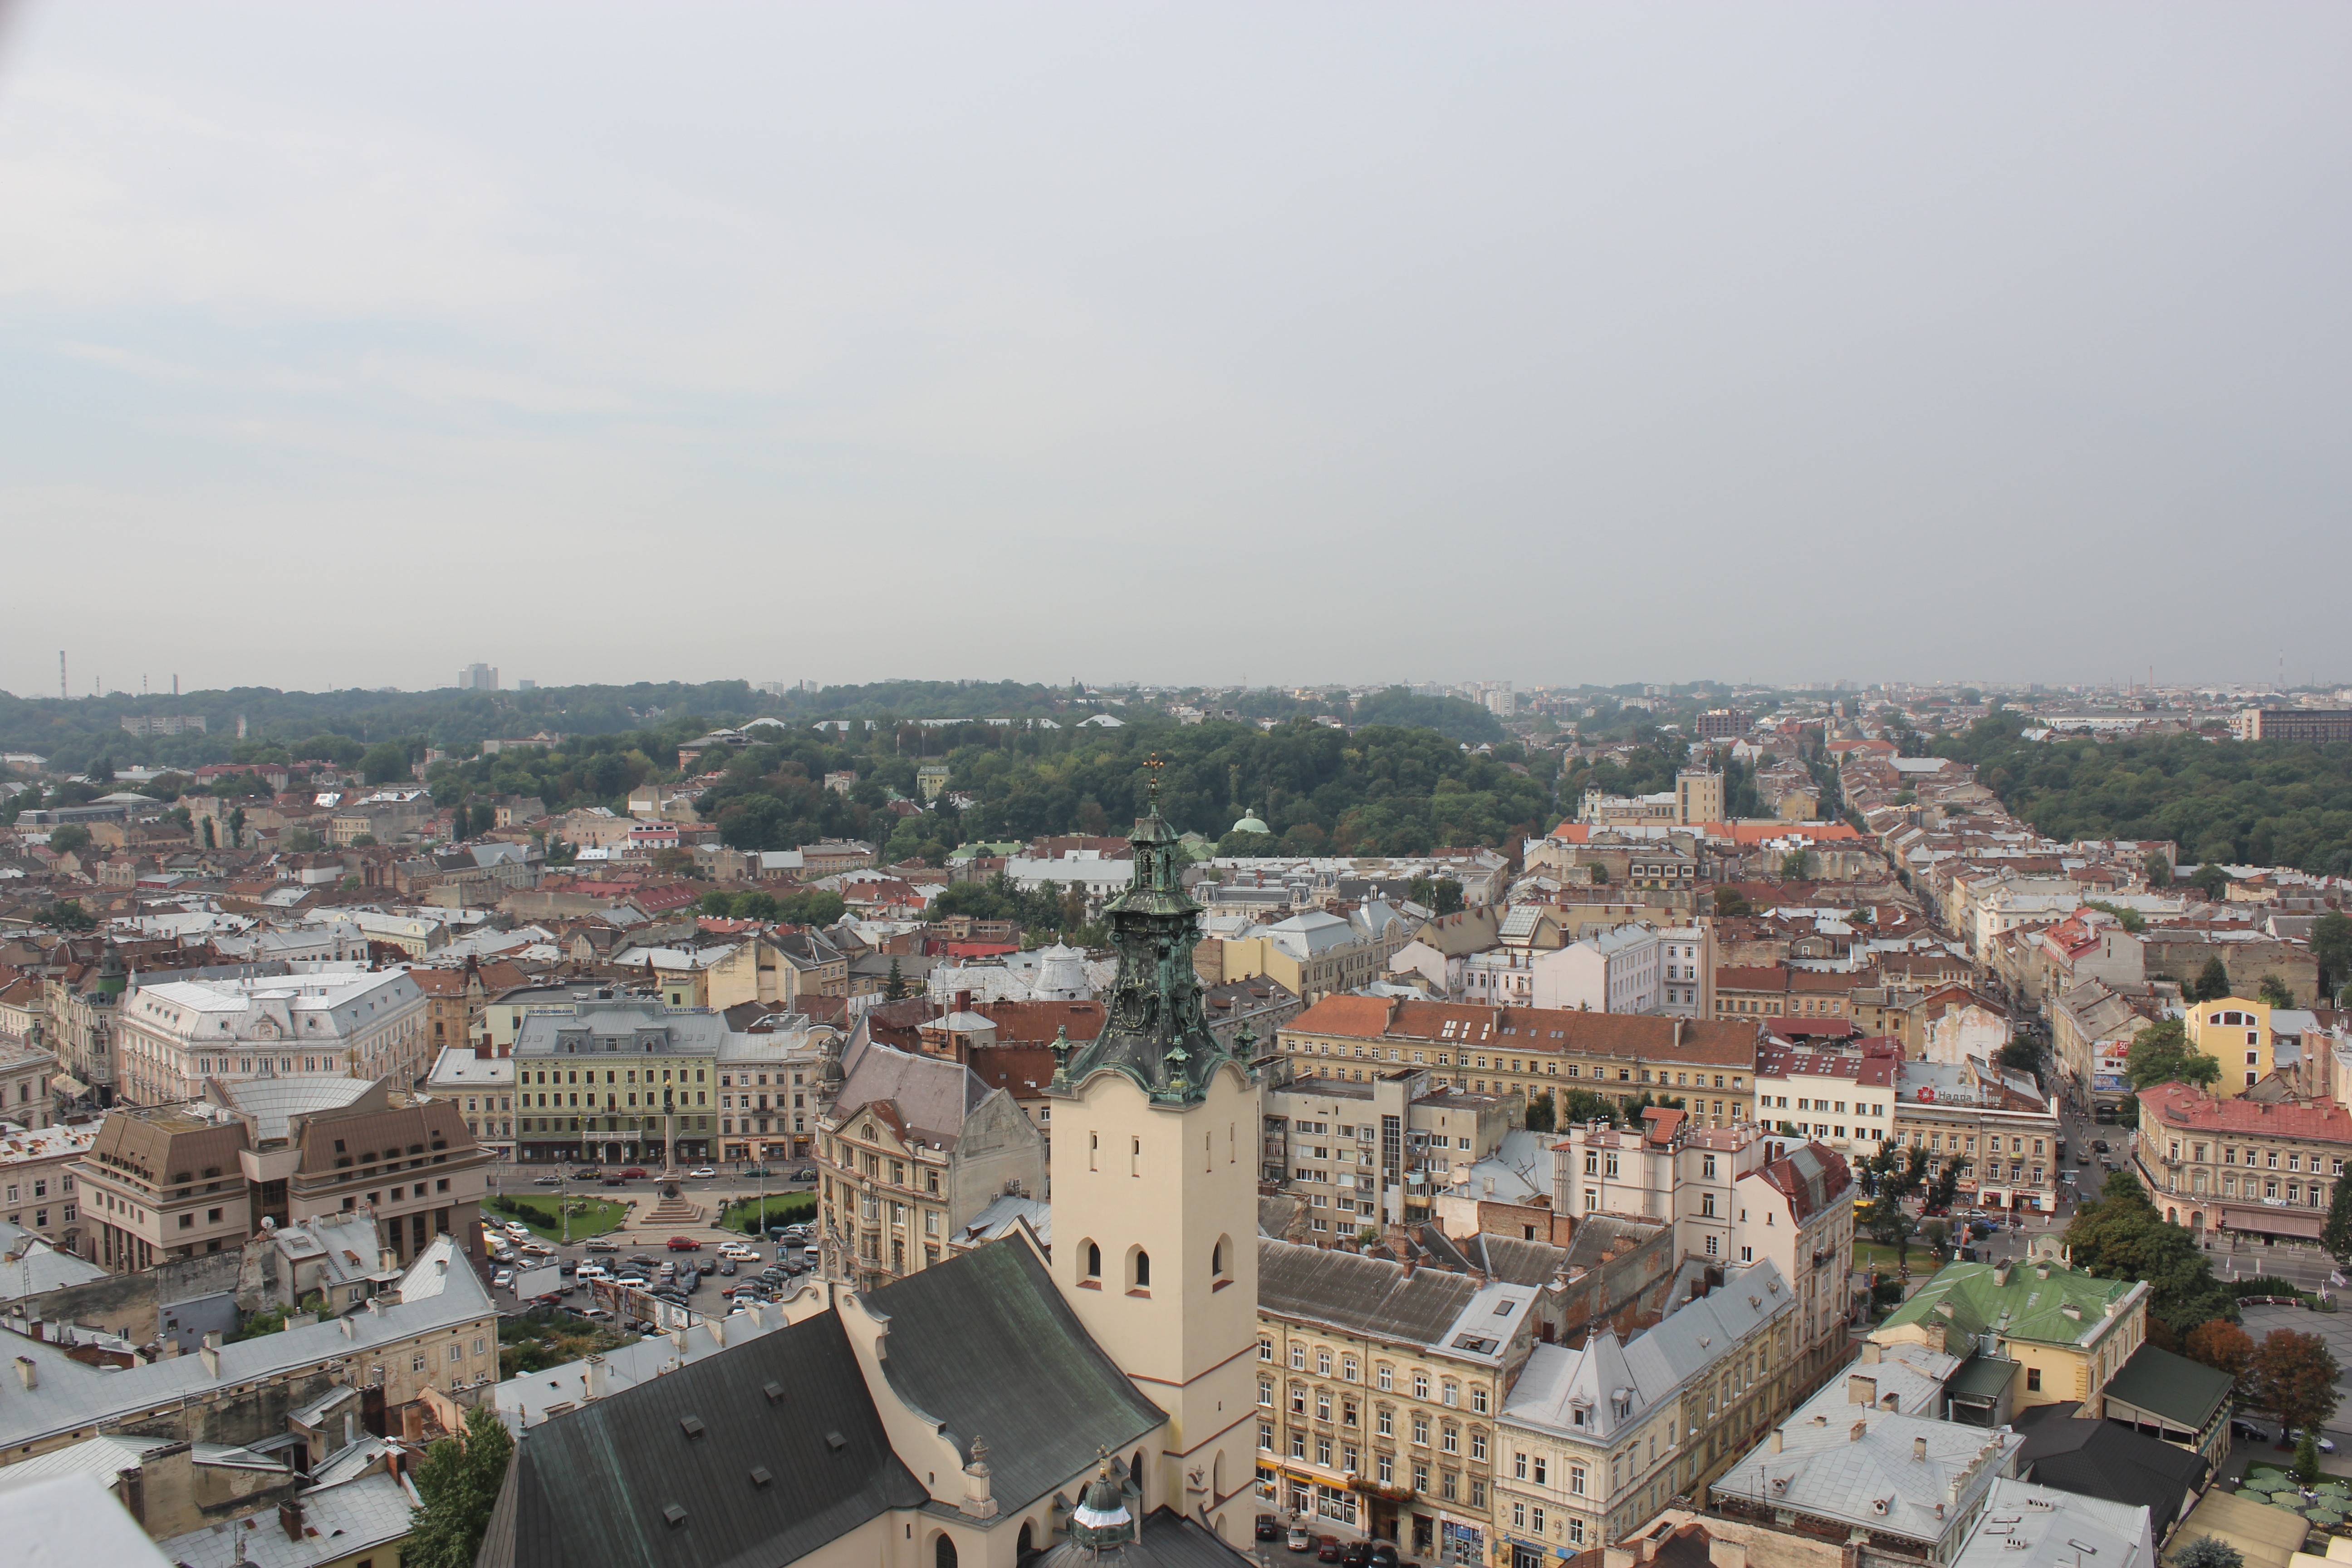
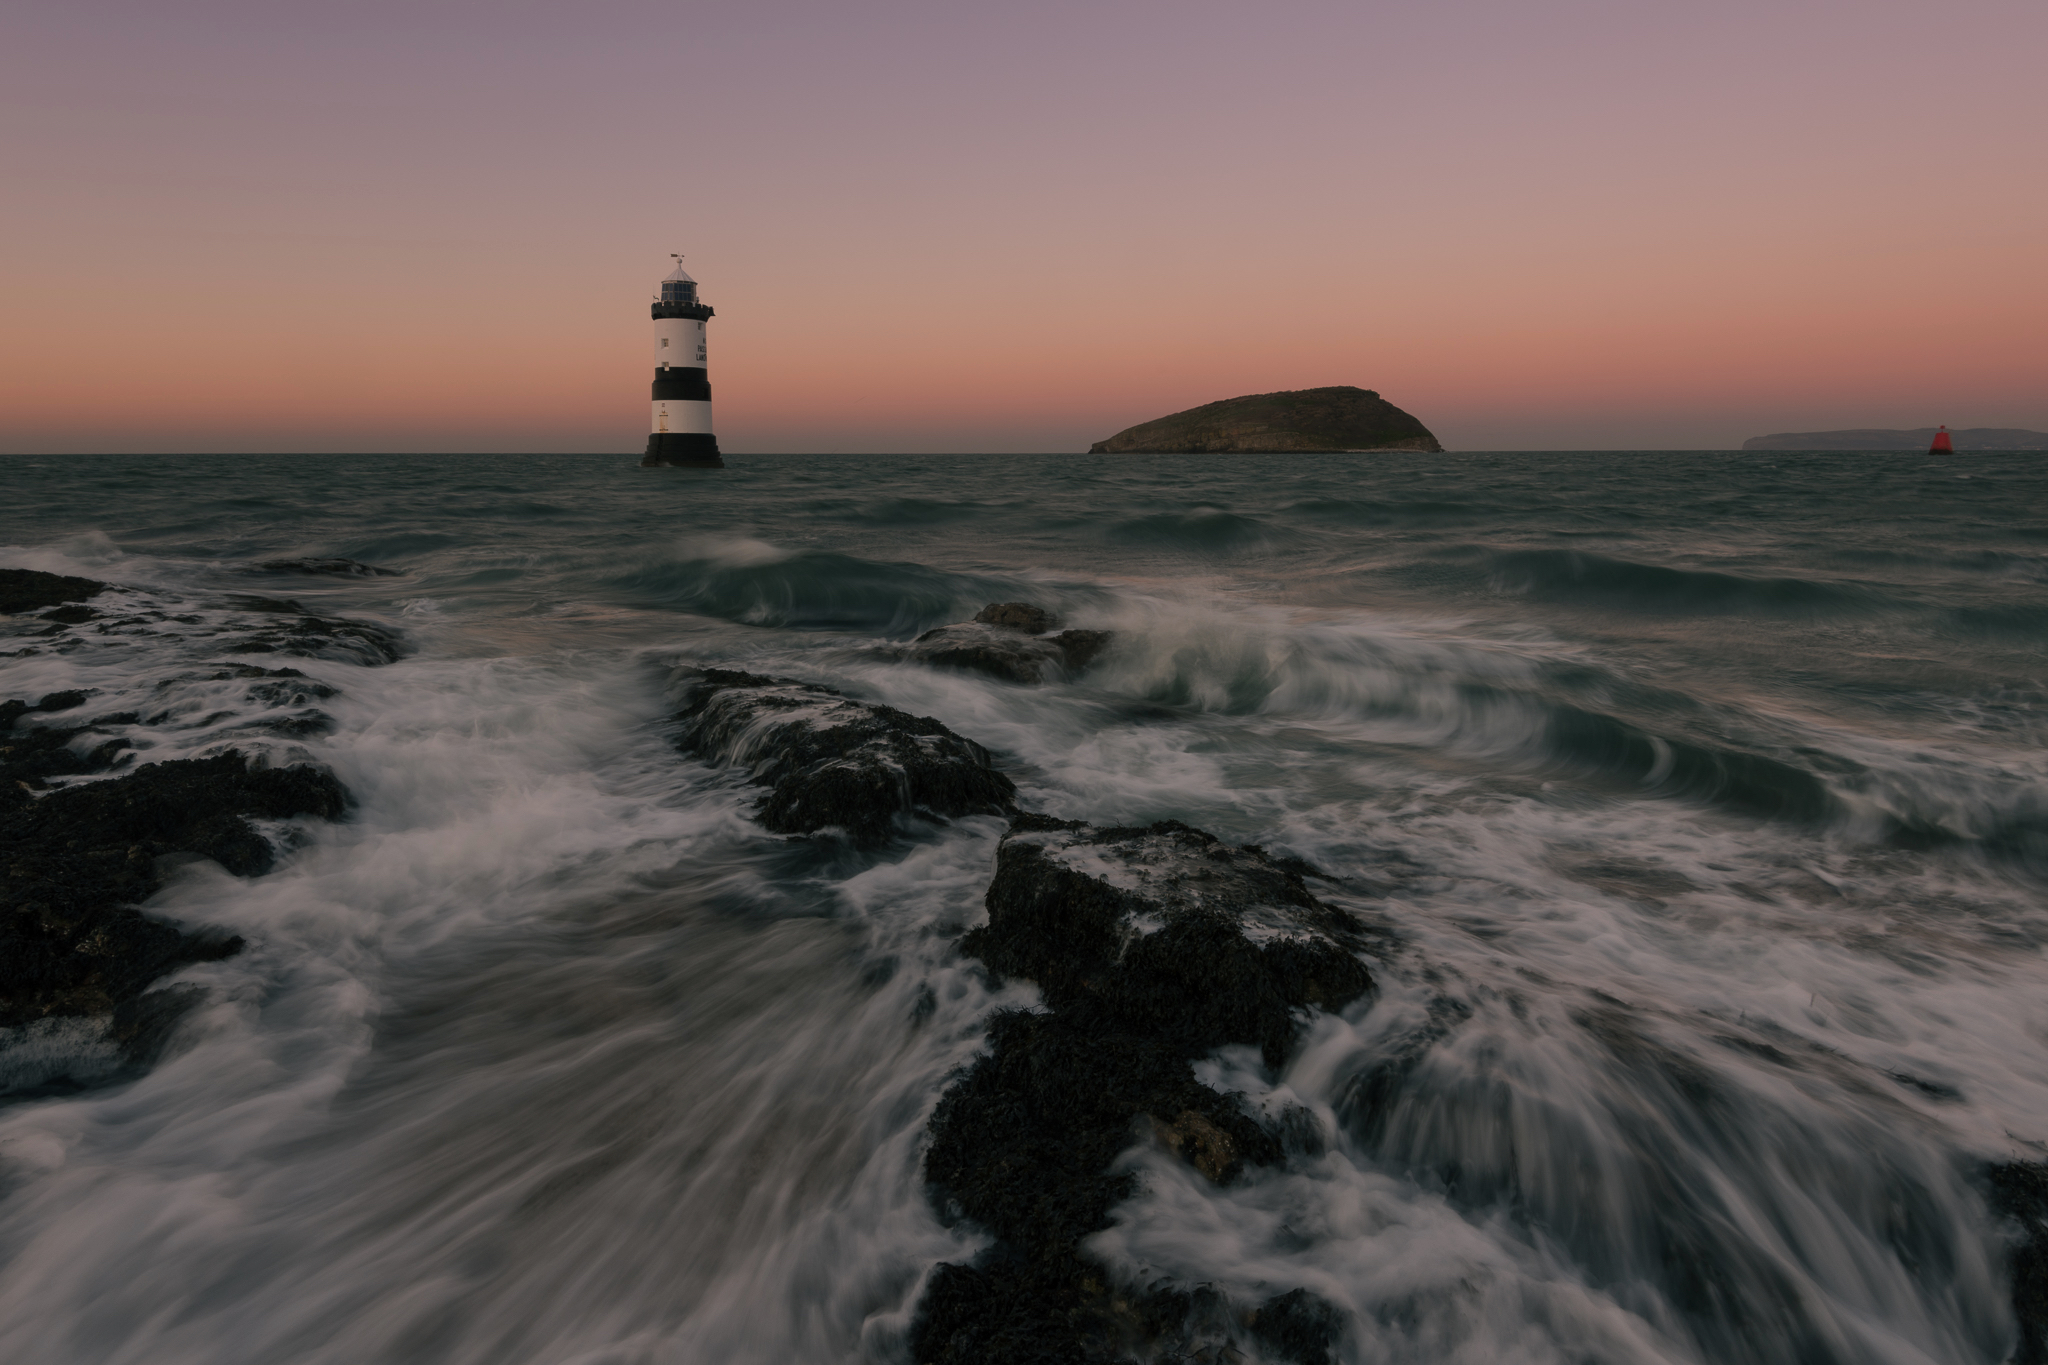
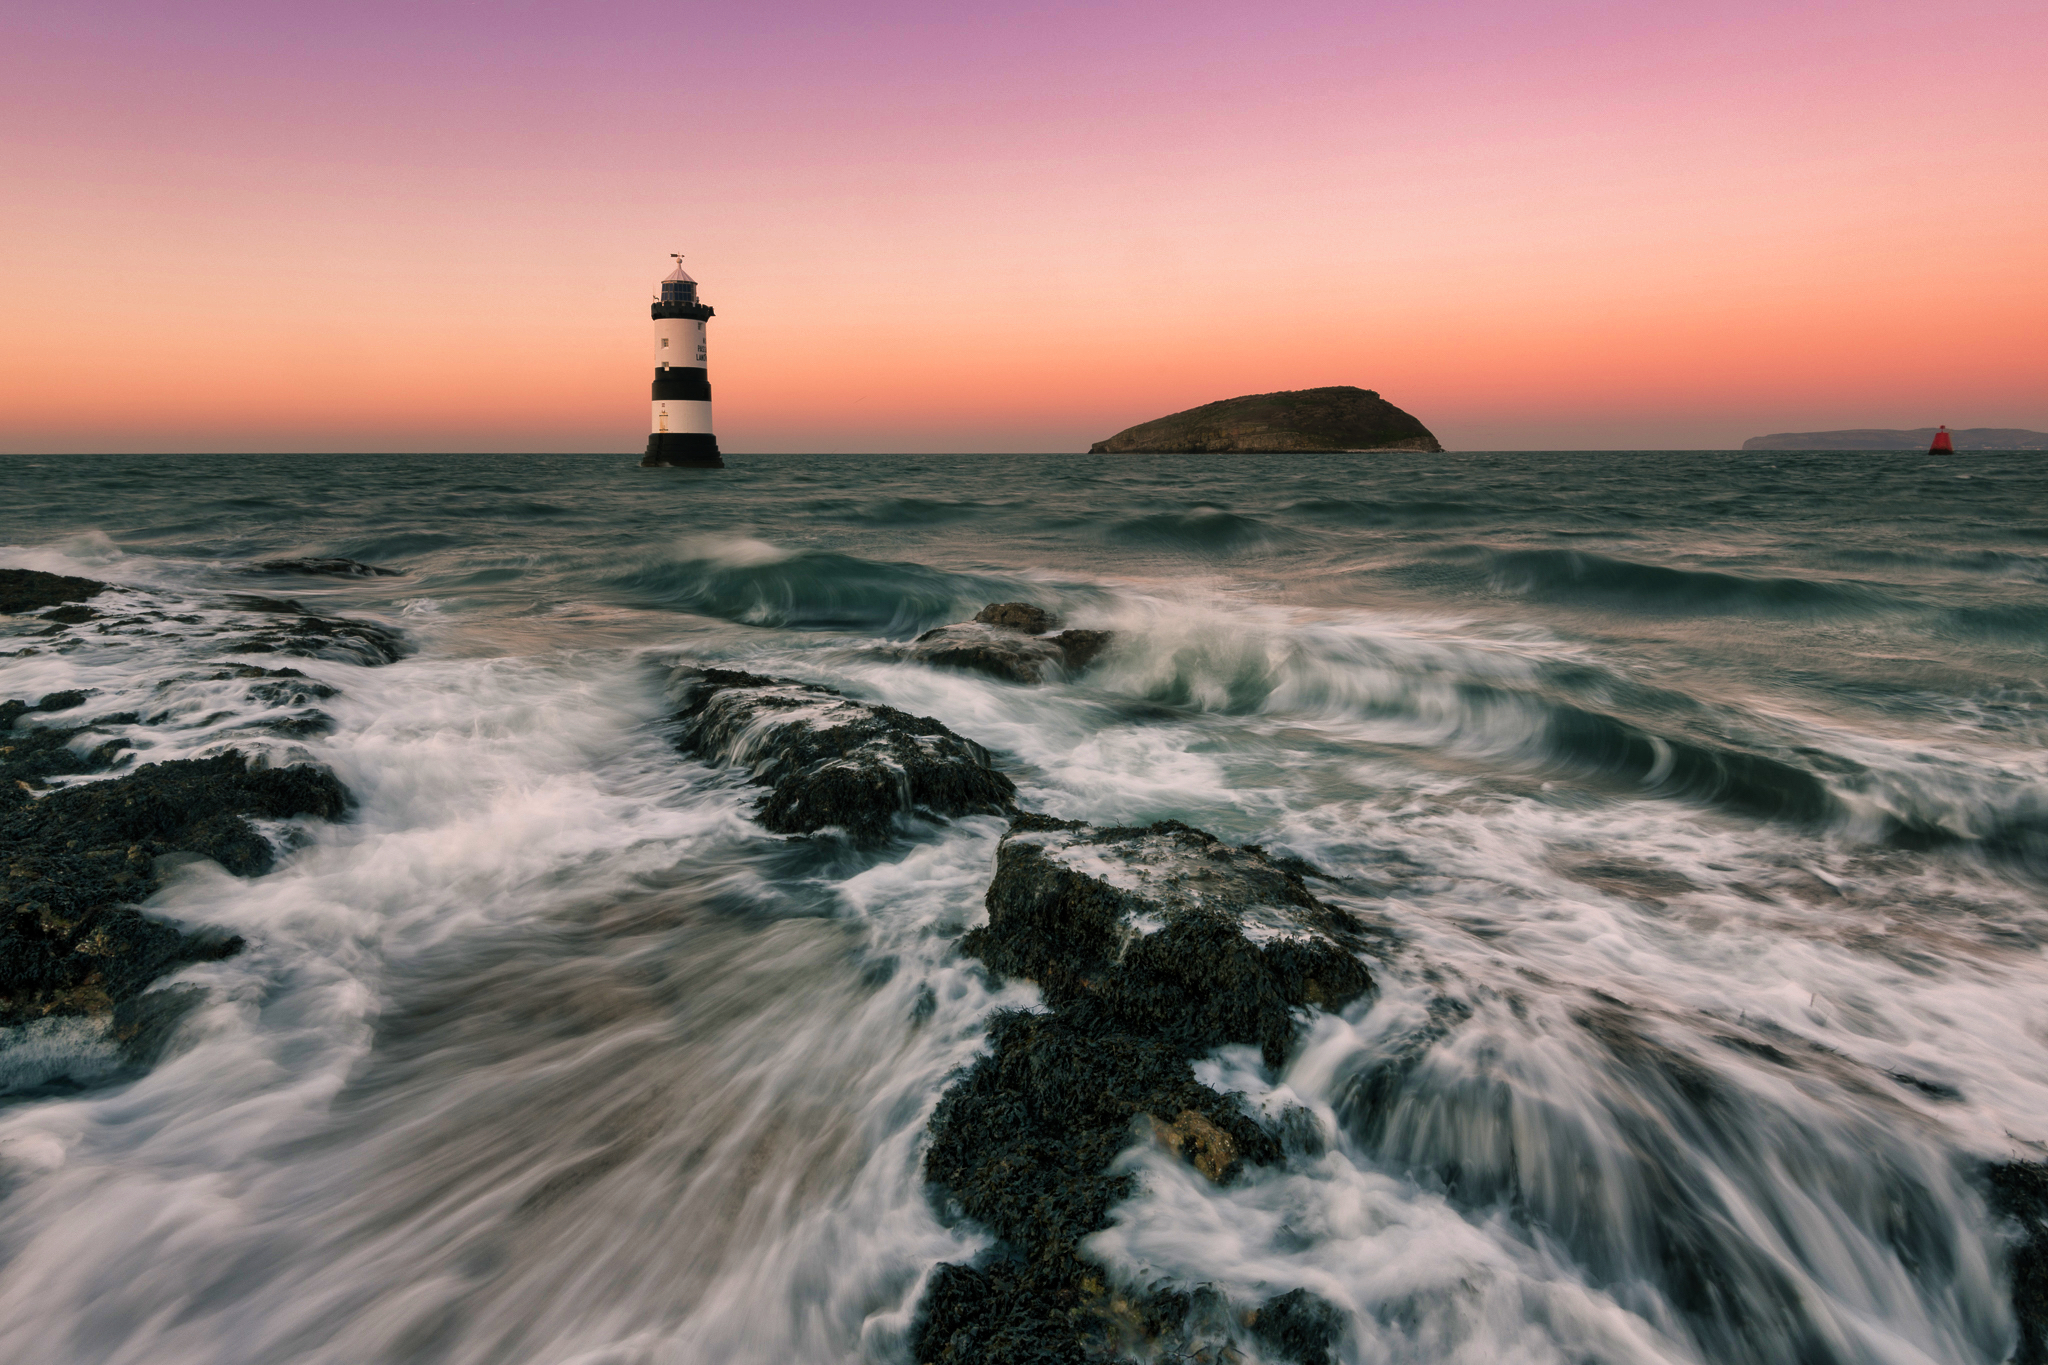
View plans© Ksenia Kazak
How to Say Goodbye to Grainy, Uneven Details?
The Luminar Neo photo editor has plenty of AI-powered features that can give you a smoother and more polished look. AI image smoothing is a fast and efficient way to get the results you want.
Why the Power of Precision and Smoothness Matters?
Smoothing can help reduce noise in images. In photography, noise is unwanted variations in brightness and color that can be introduced by factors like low-light conditions or high ISO settings. Smoothing helps to eliminate or minimize these imperfections.


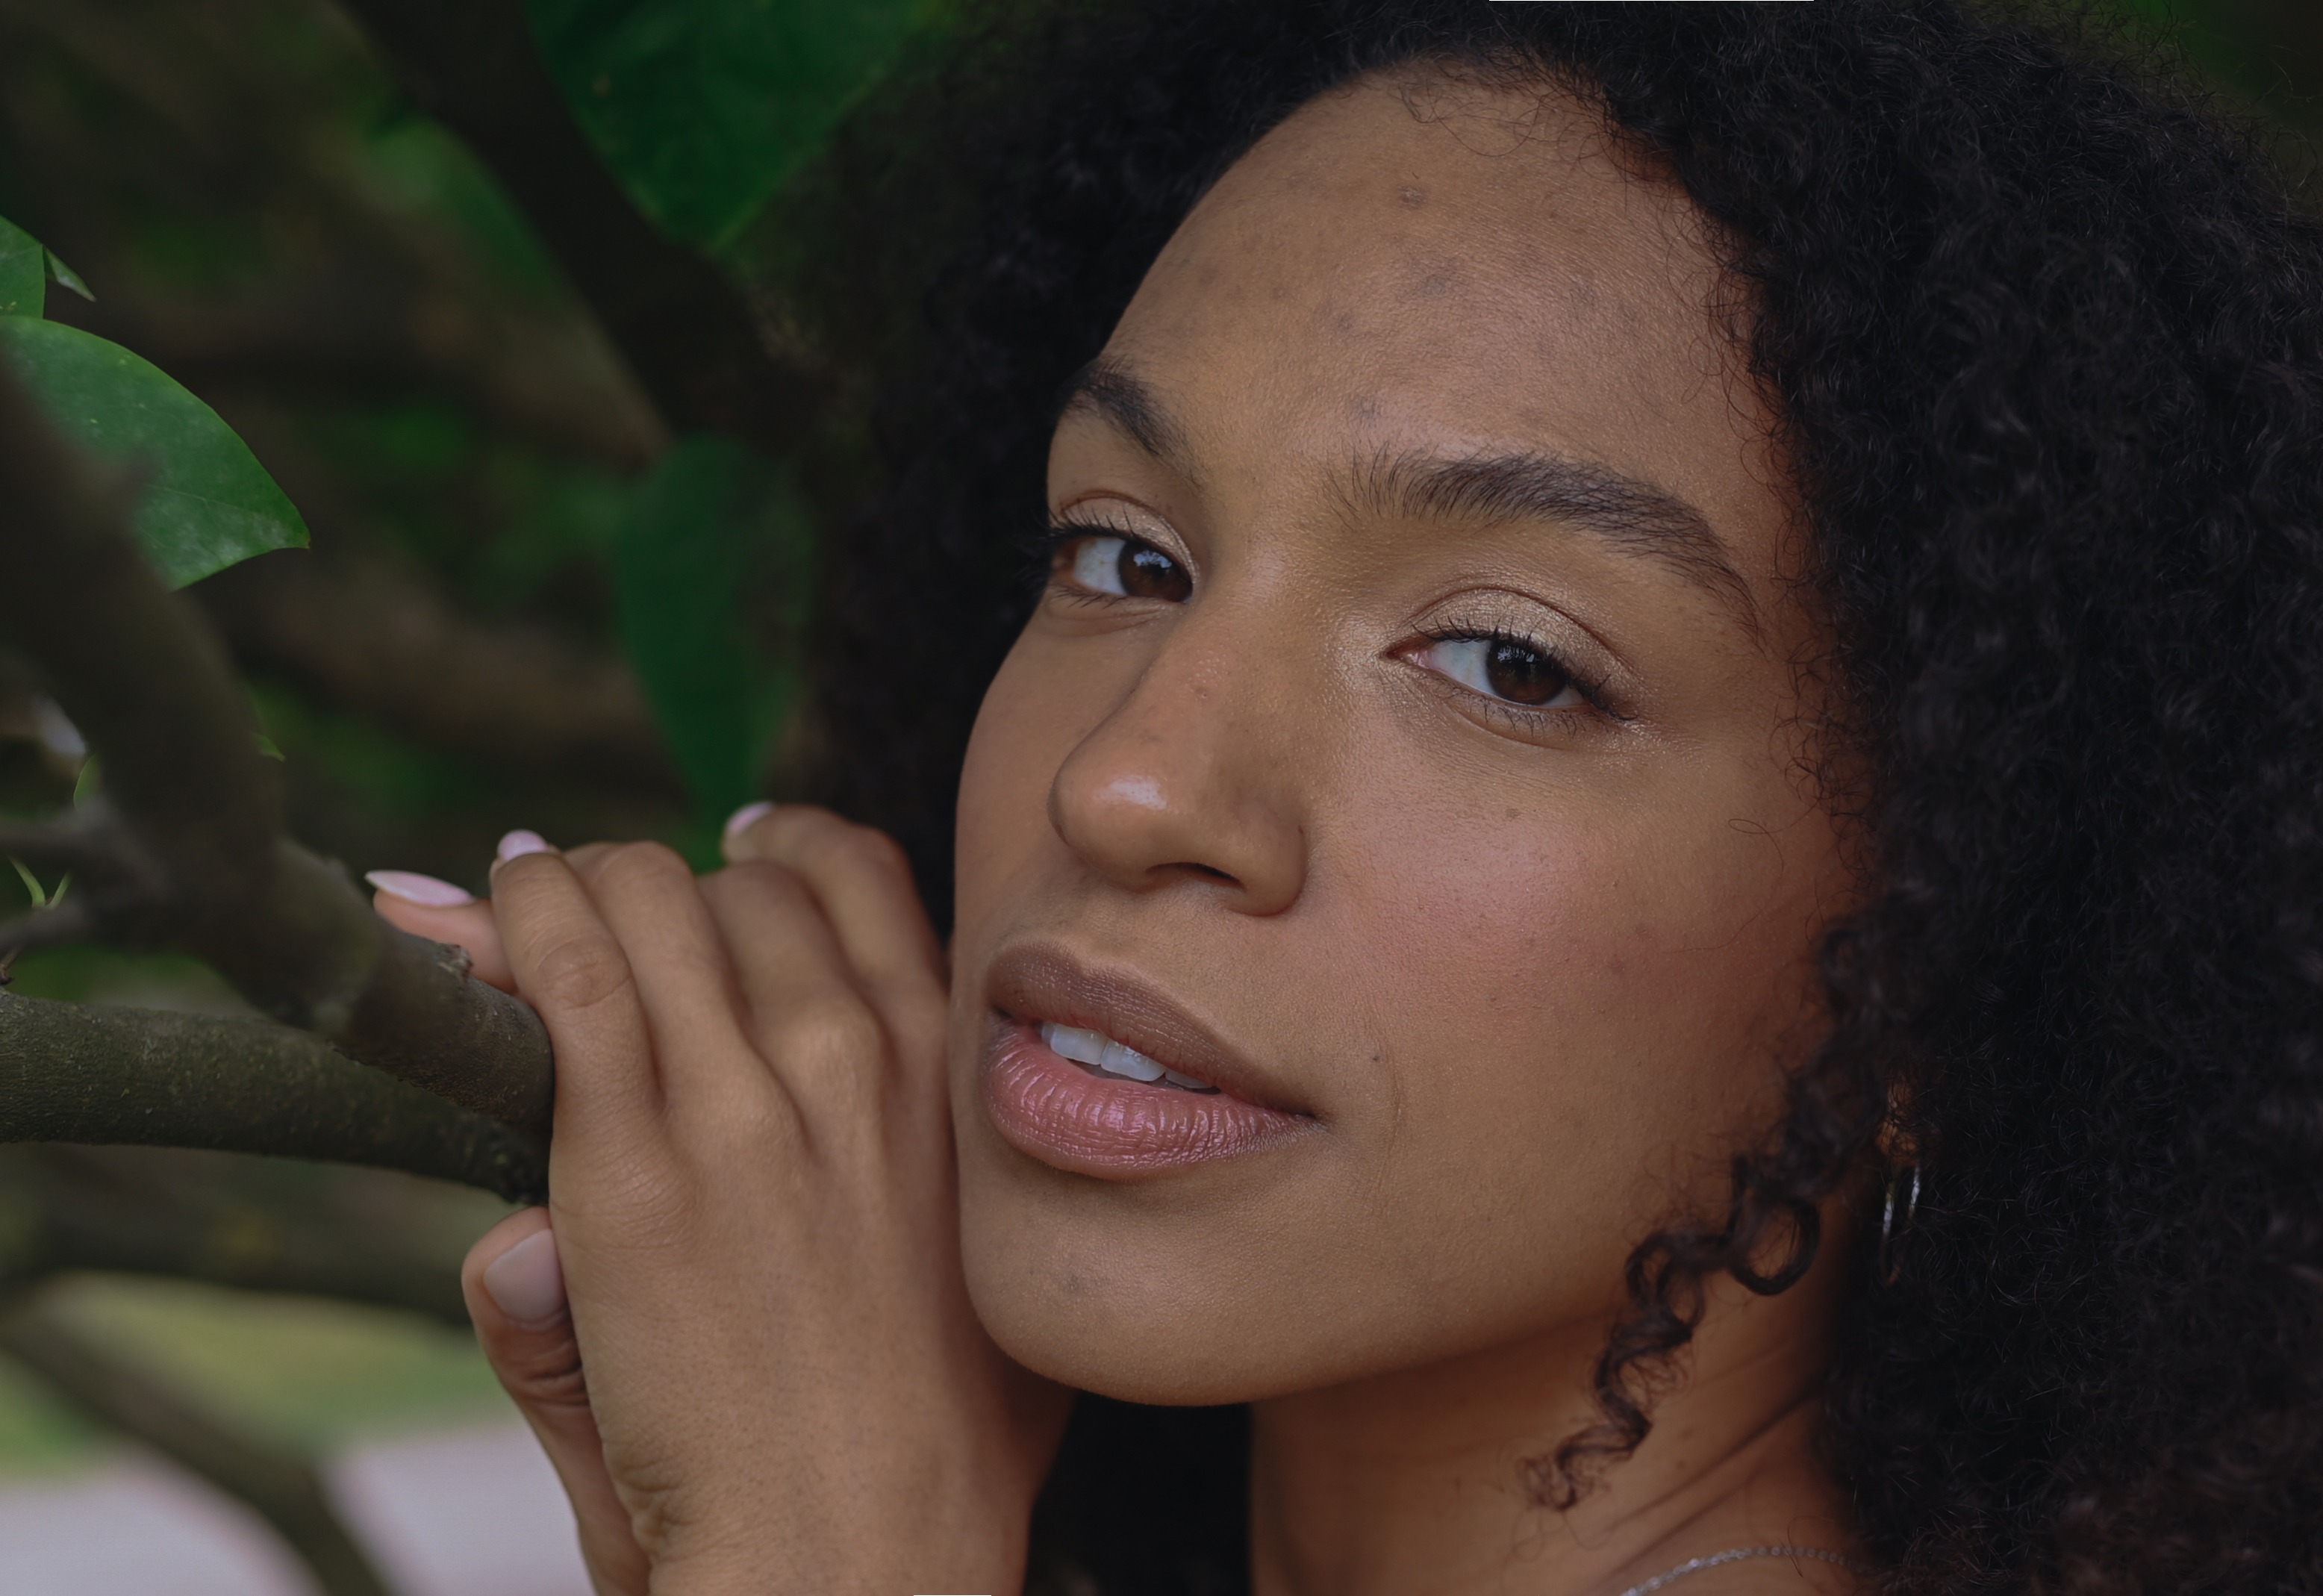
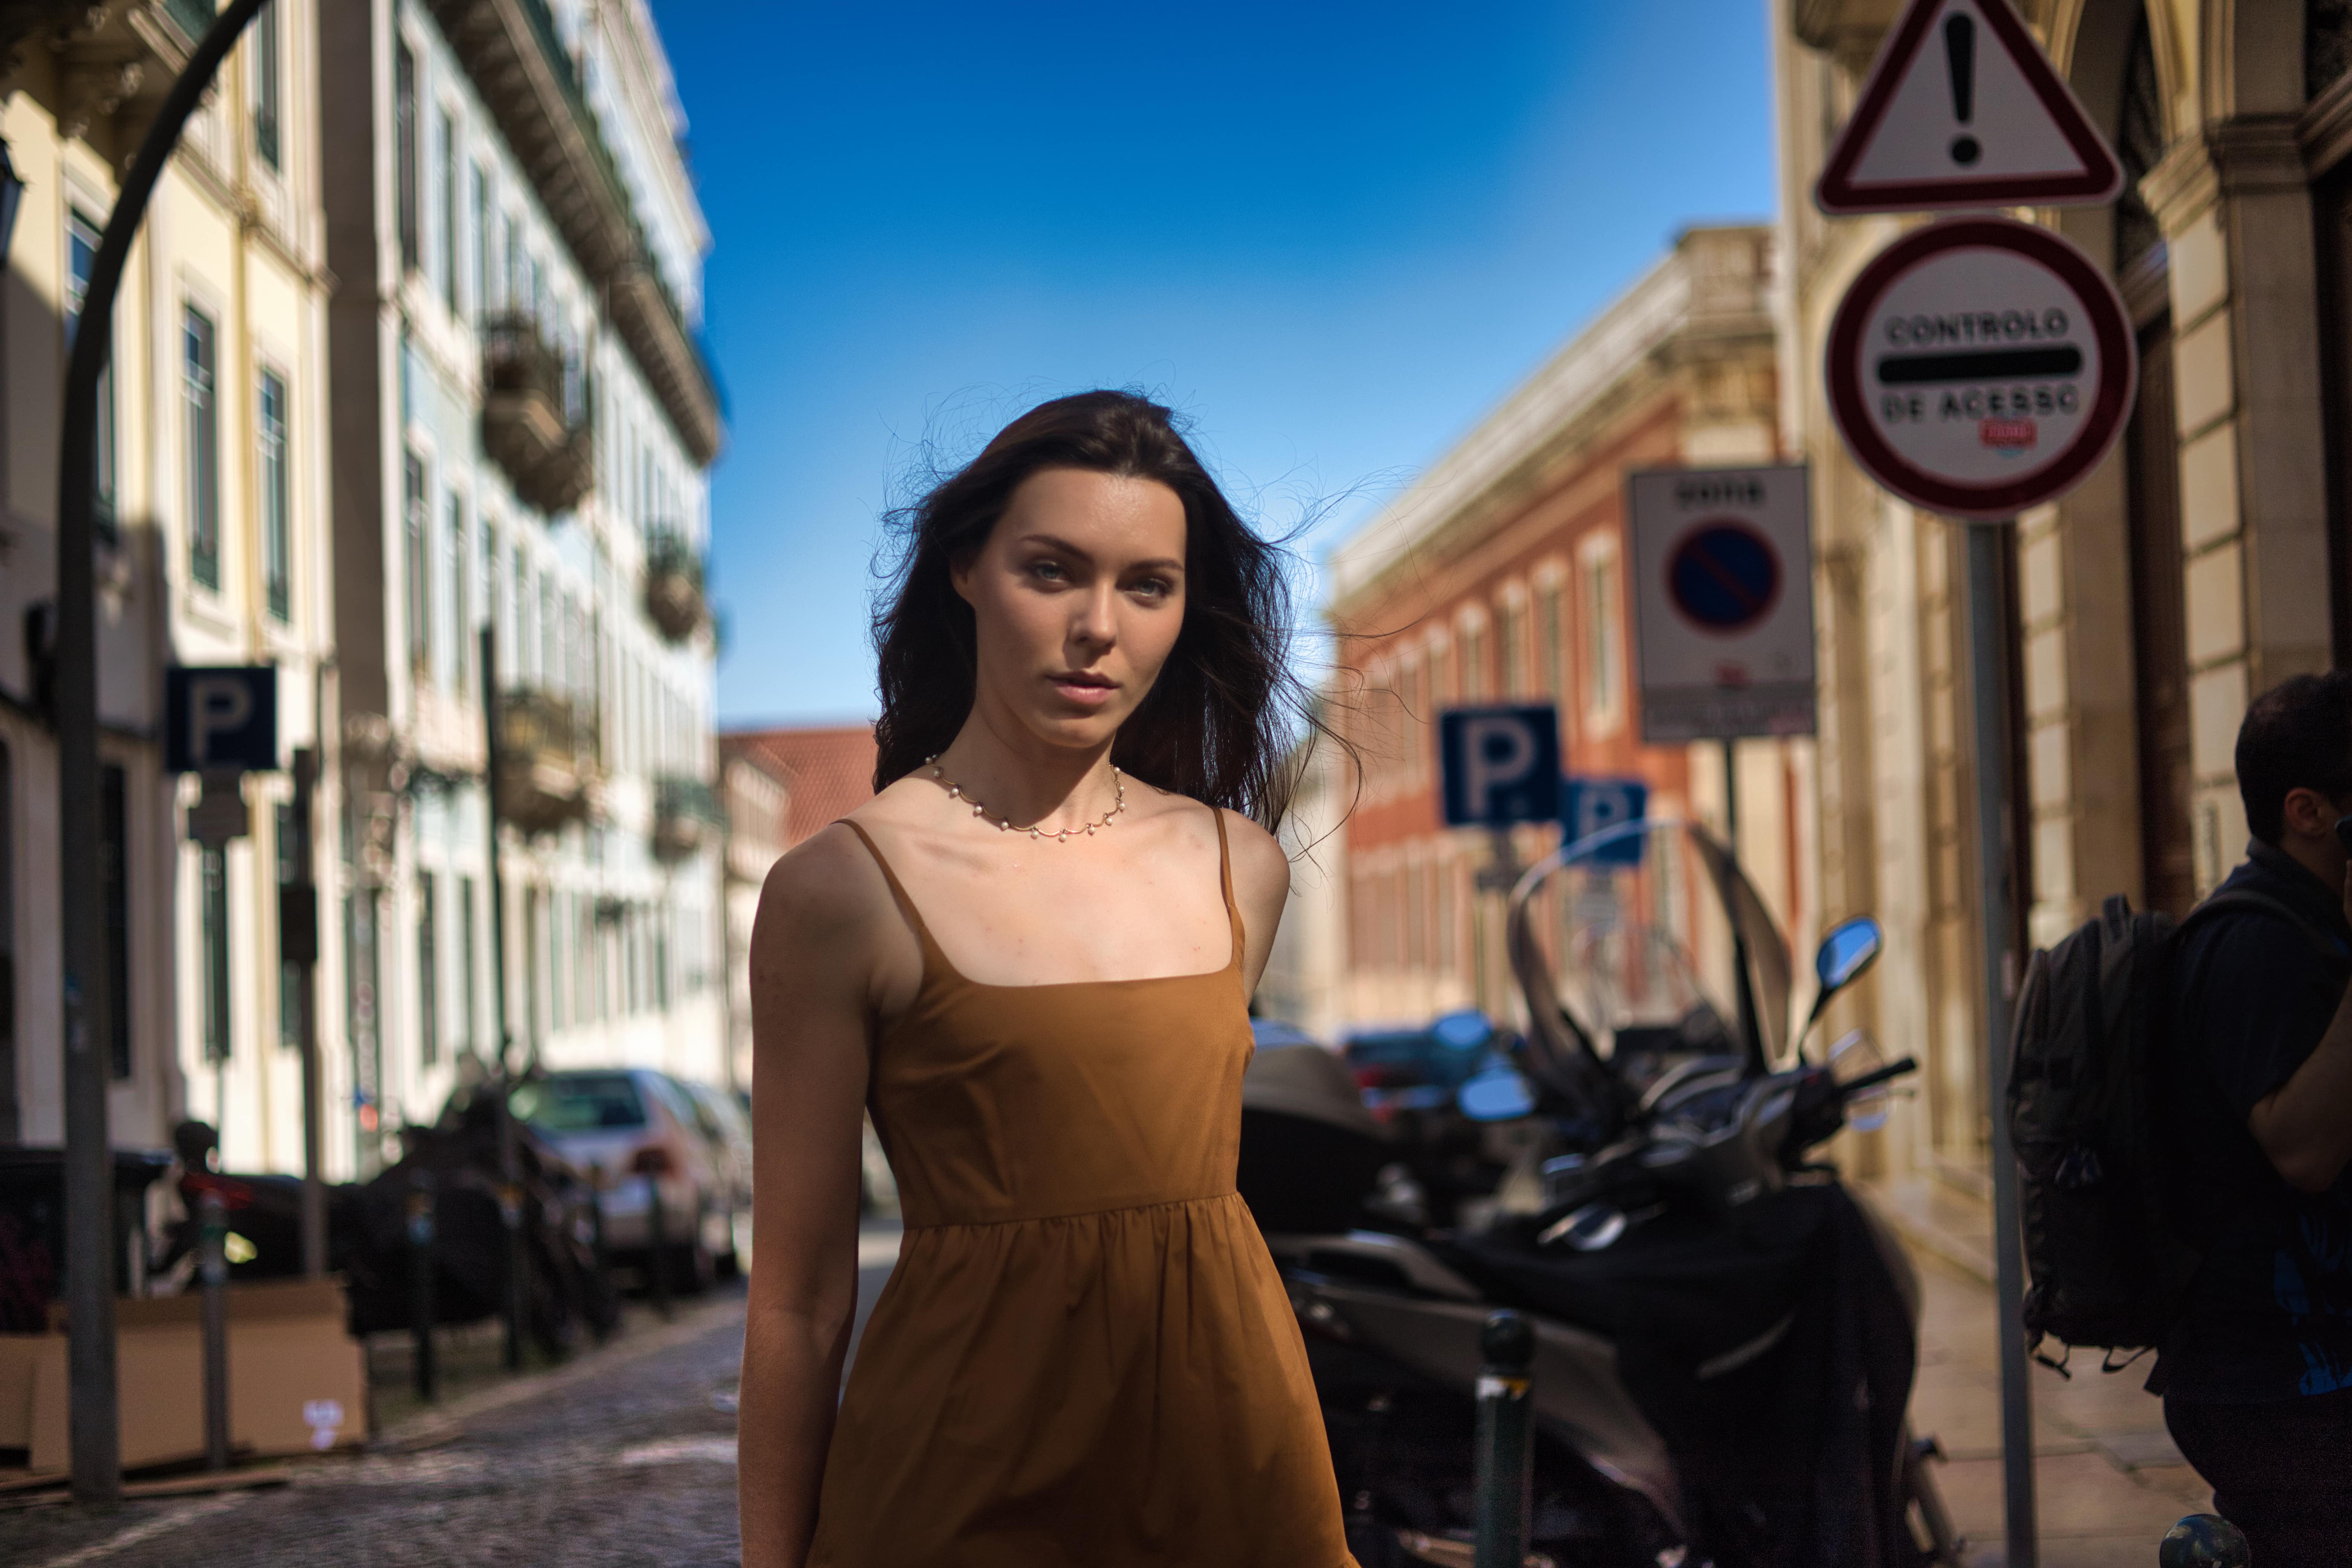
© Ksenia Kazak


© alinatroeva
Image Smoothing Made Simple
Depending on thecontents of the image, there are different tools you can use to achieve to achieve a softening photos effect. Discover Skin AI for a smoother skin in portraits, Enhance AI for an overall polished look, the Noiseless AI Extension for reducing grain efficiently and smoothing out your image, but not too much.
Unleash the Potential of Crisp, Professional-Grade Images
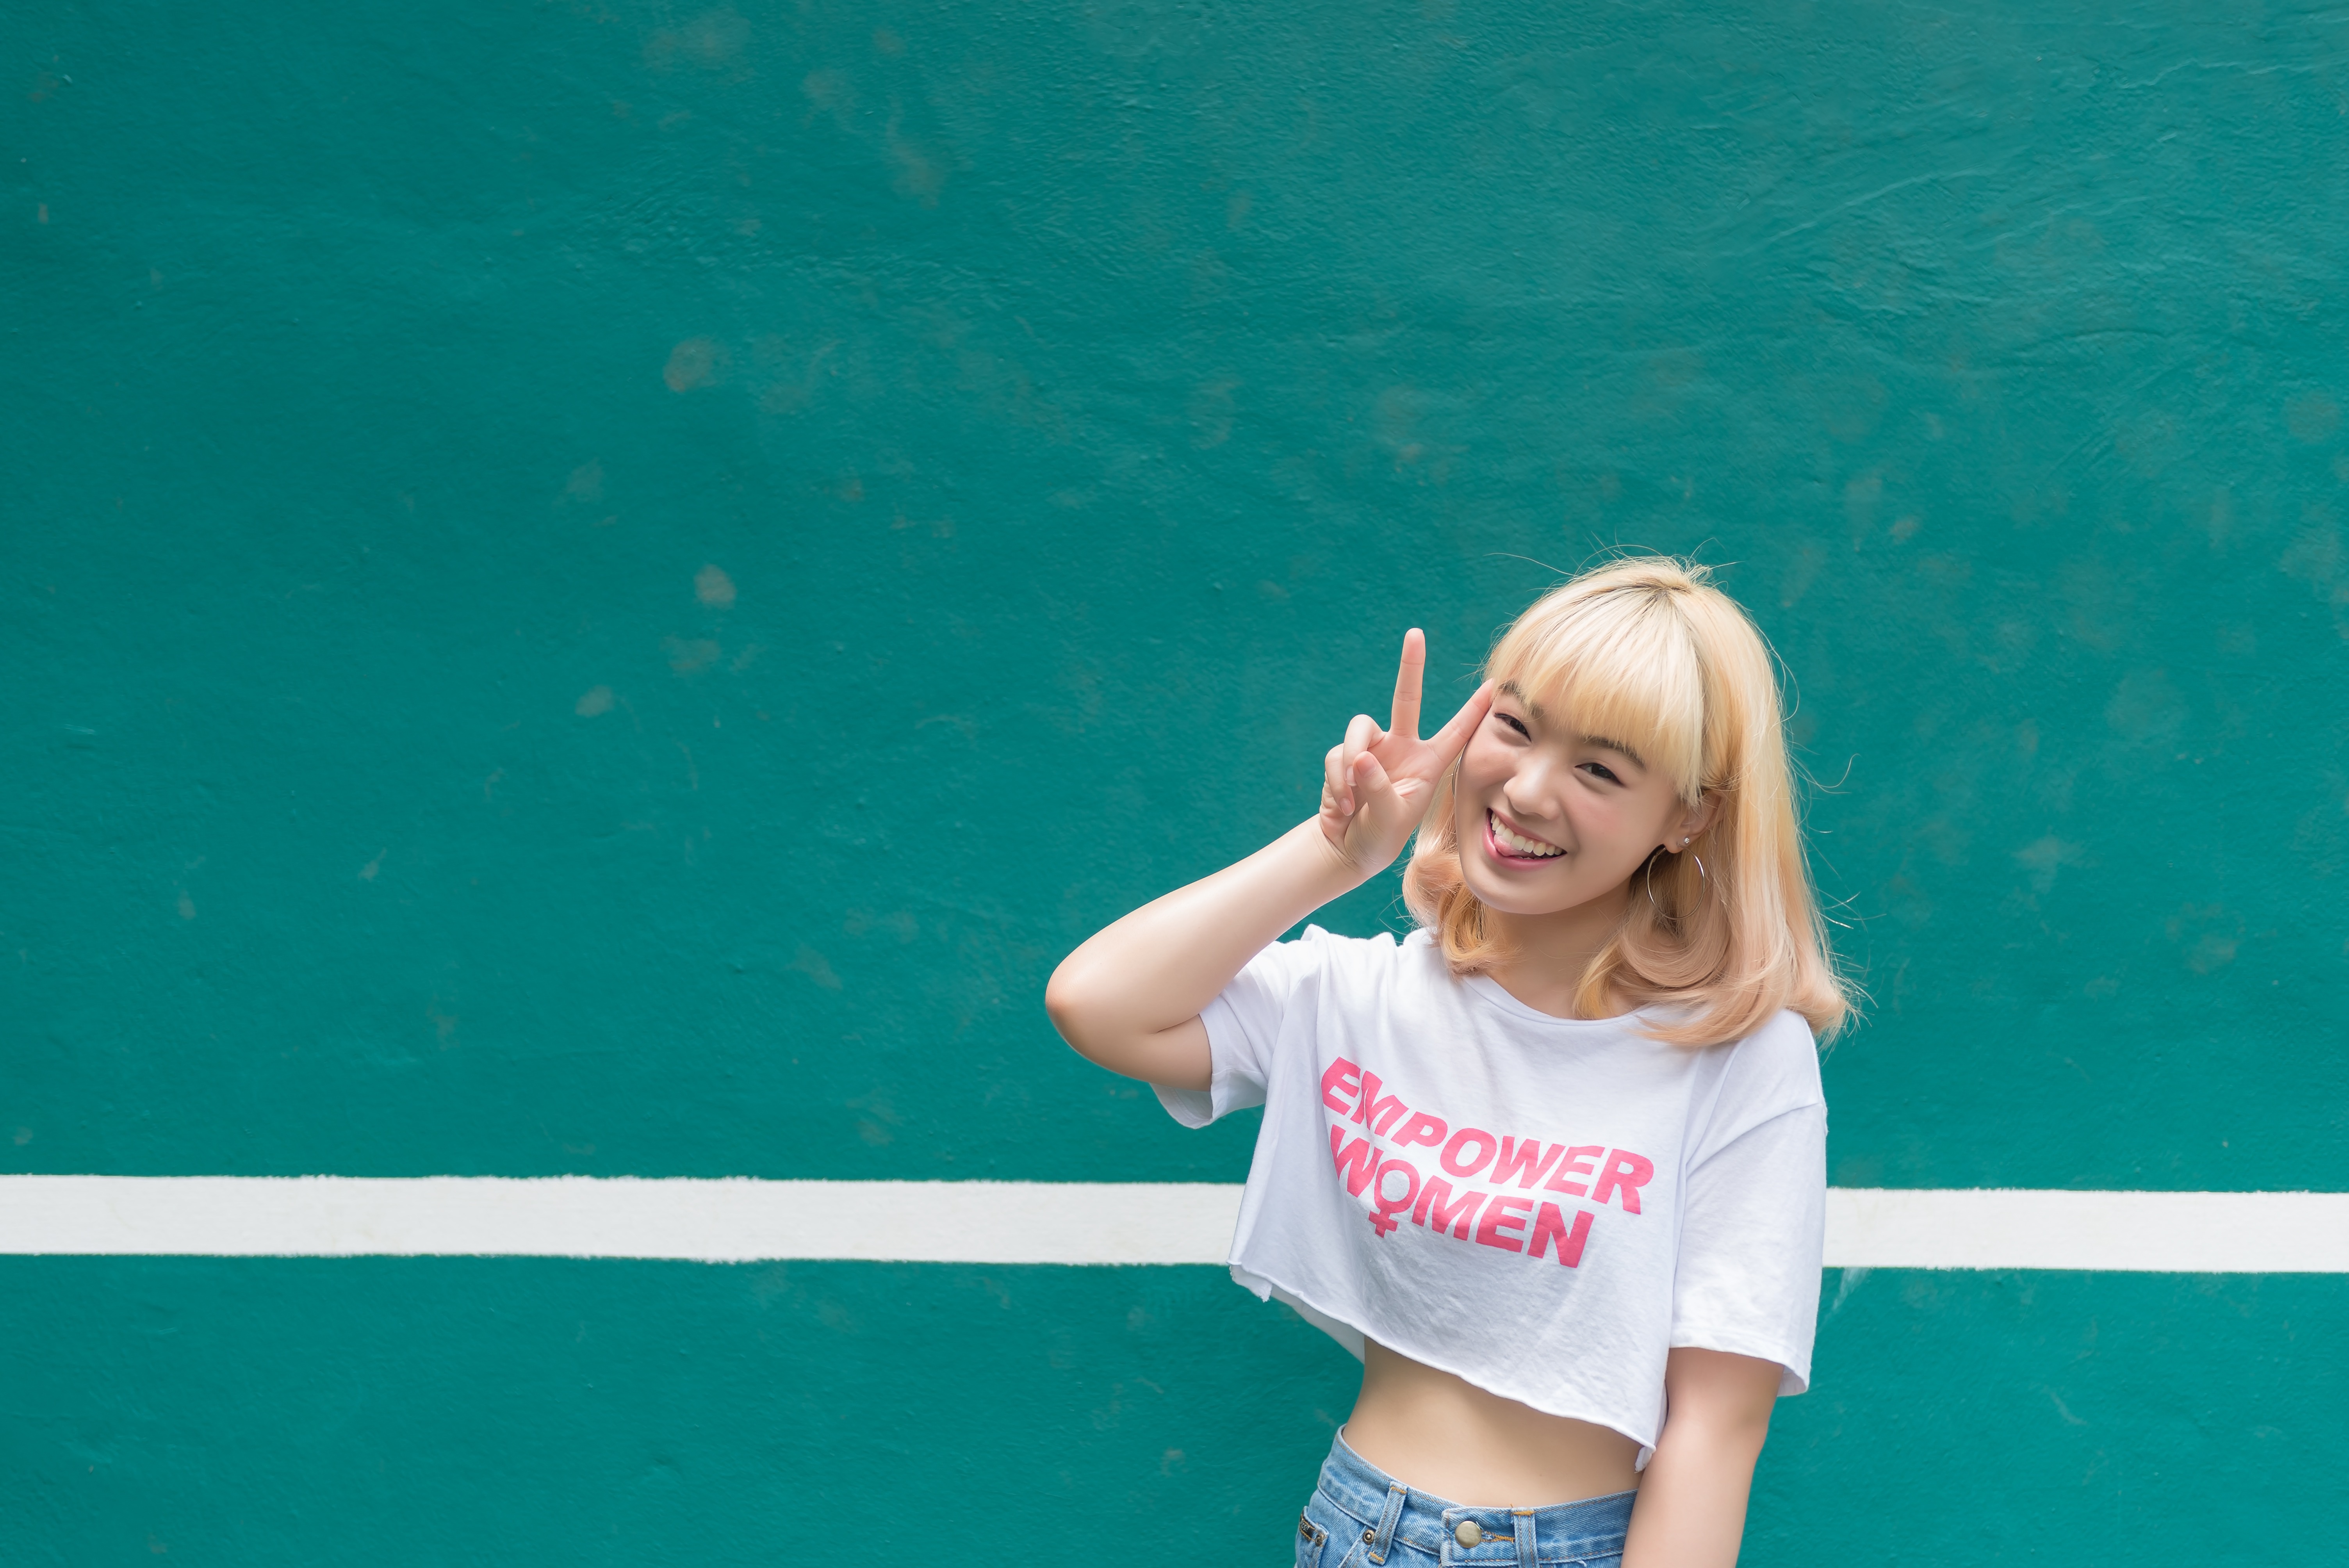
Want a smoother image, for example, a portrait? Use Skin AI that can smooth the skin but make sure small details like hair and eyelashes are sharp.
• Amount. Excessive shine on the forehead or cheeks ruins an otherwise perfect photo. The Shine Removal tool generates realistic-looking skin to restore patches of the face that were washed out by excessive light. This slider adjusts the intensity of the Shine Removal effect.
• Shine Removal. Excessive shine on the forehead or cheeks ruins an otherwise perfect photo. The Shine Removal tool generates realistic-looking skin to restore patches of the face that were washed out by excessive light. This slider adjusts the intensity of the Shine Removal effect.
• Skin Defects Removal AI. Select this checkbox to remove skin defects in a portrait automatically.
Explore Other Features
Luminar Neo has plenty of other features to help you edit faster and easier
Blend Two Images

© shutterstock
Blend Two Images
Elevate your photography to new heights by seamlessly blending two images
Supersharp AI
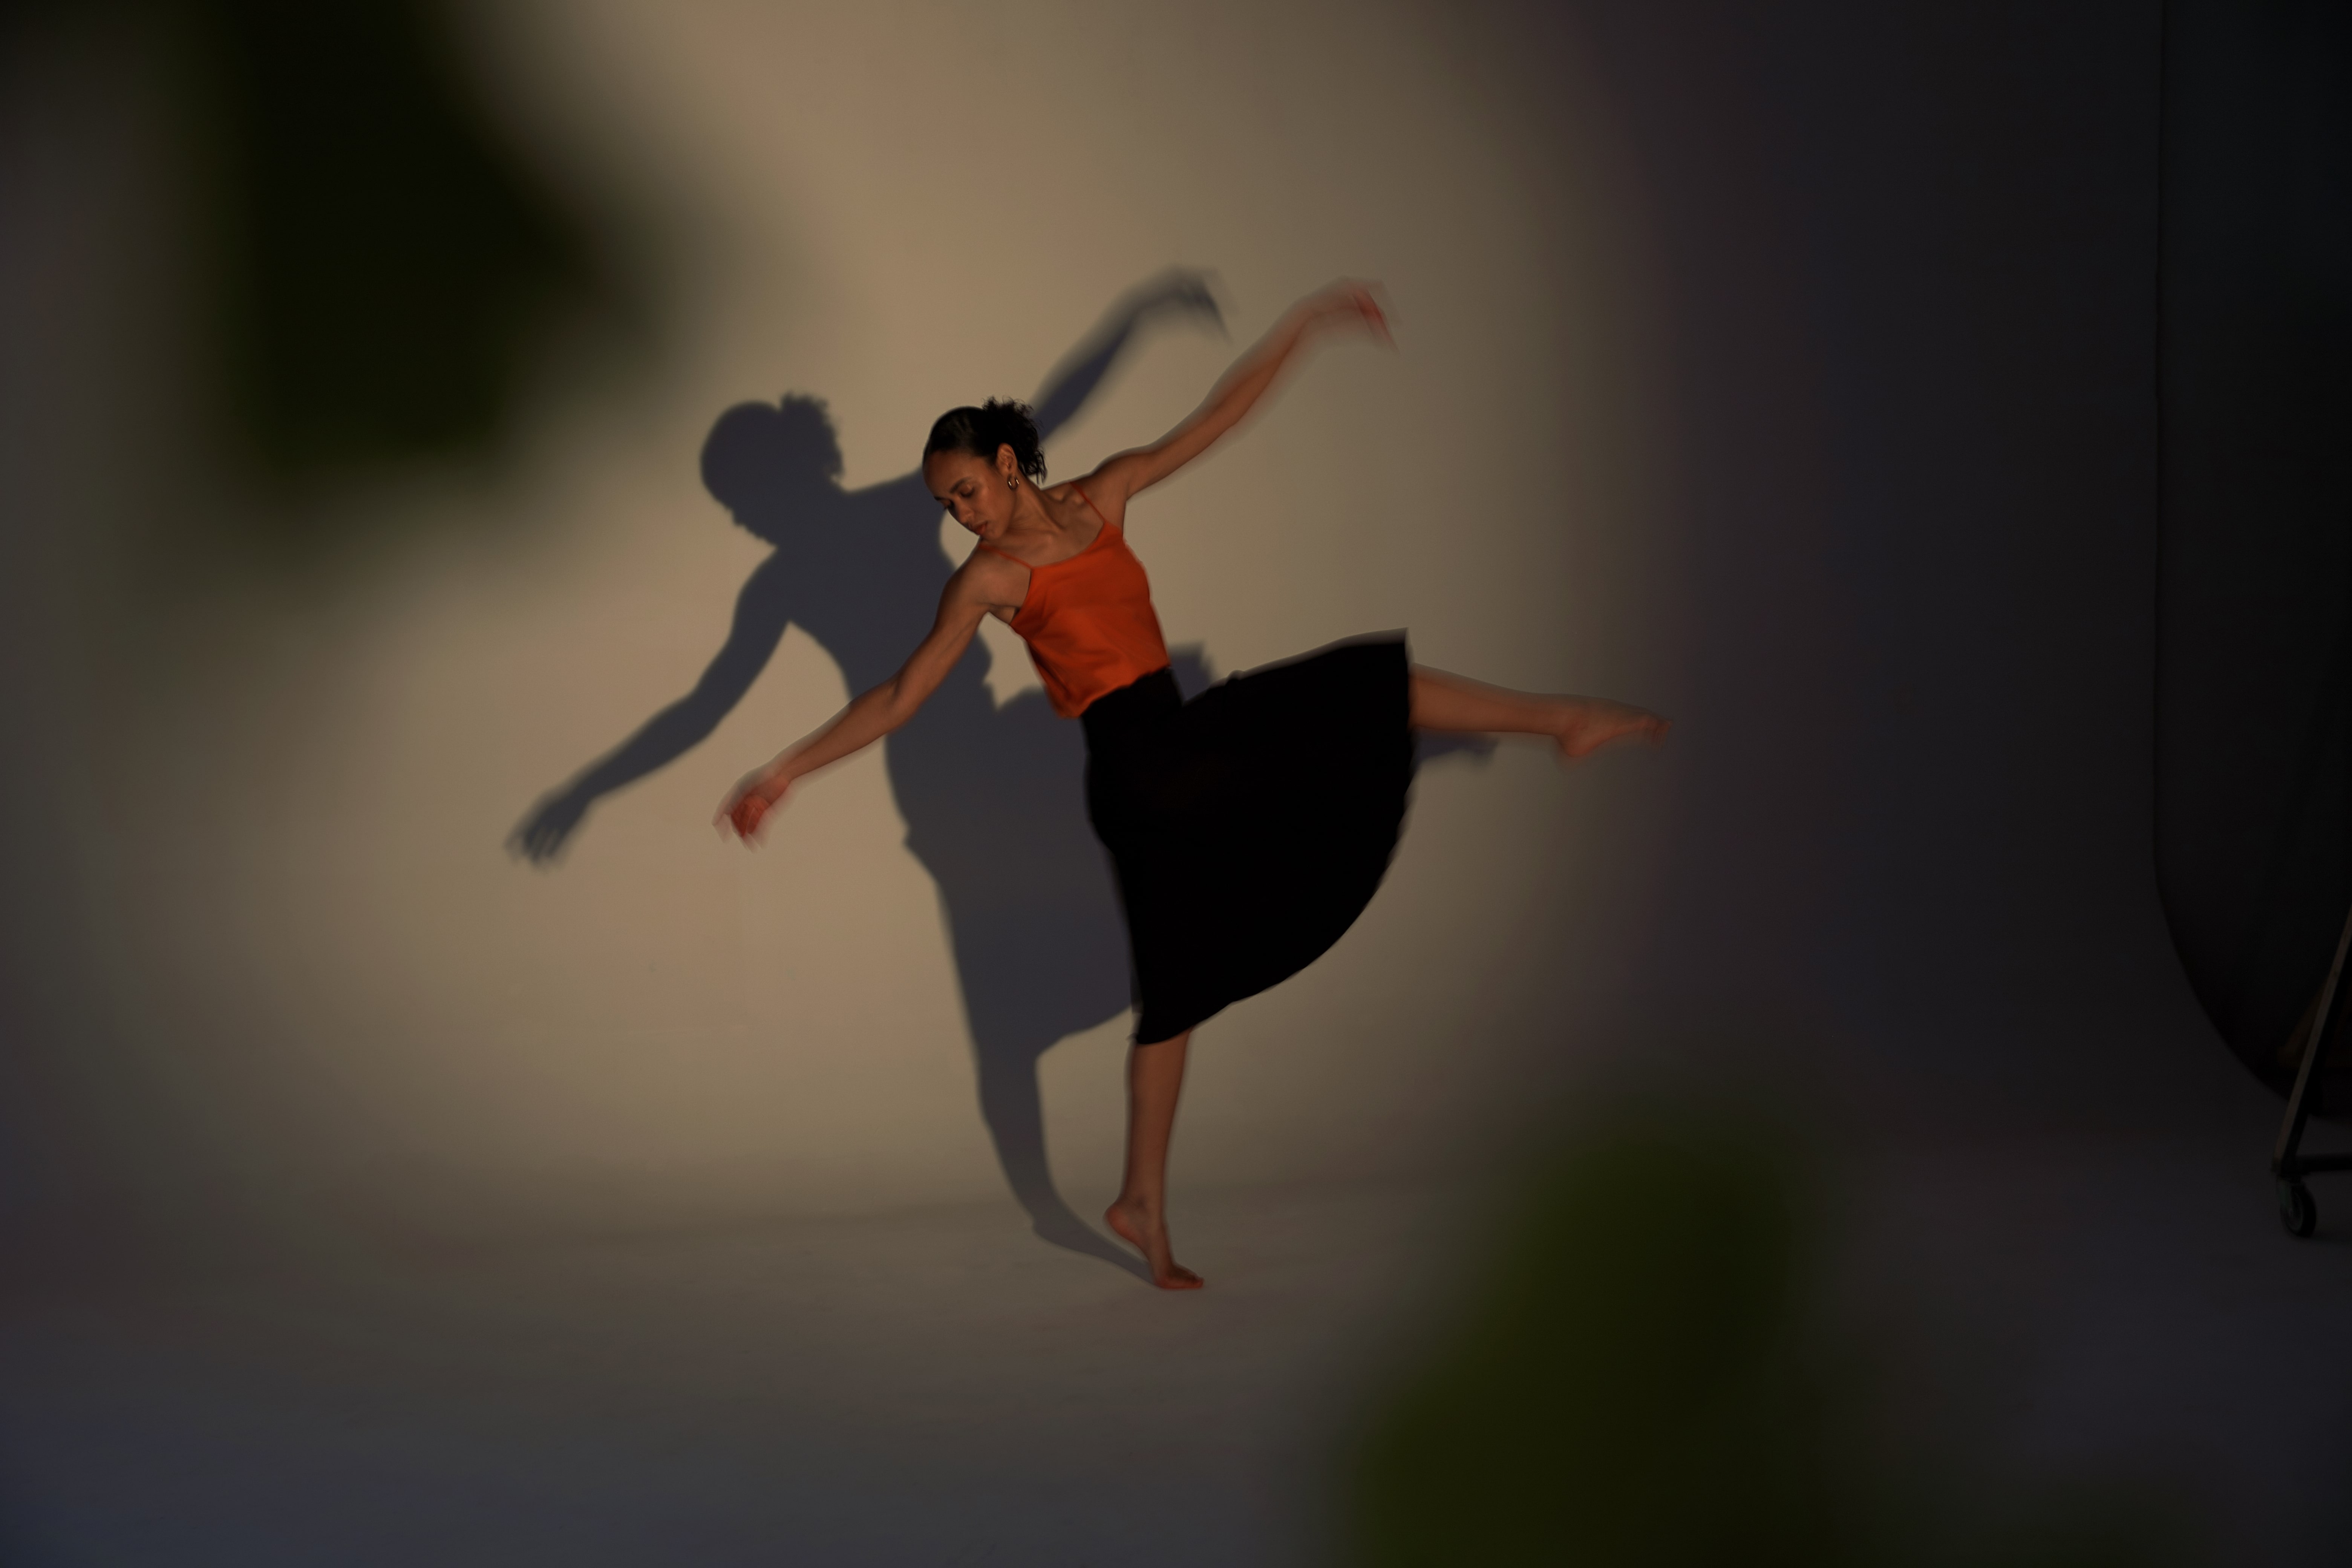
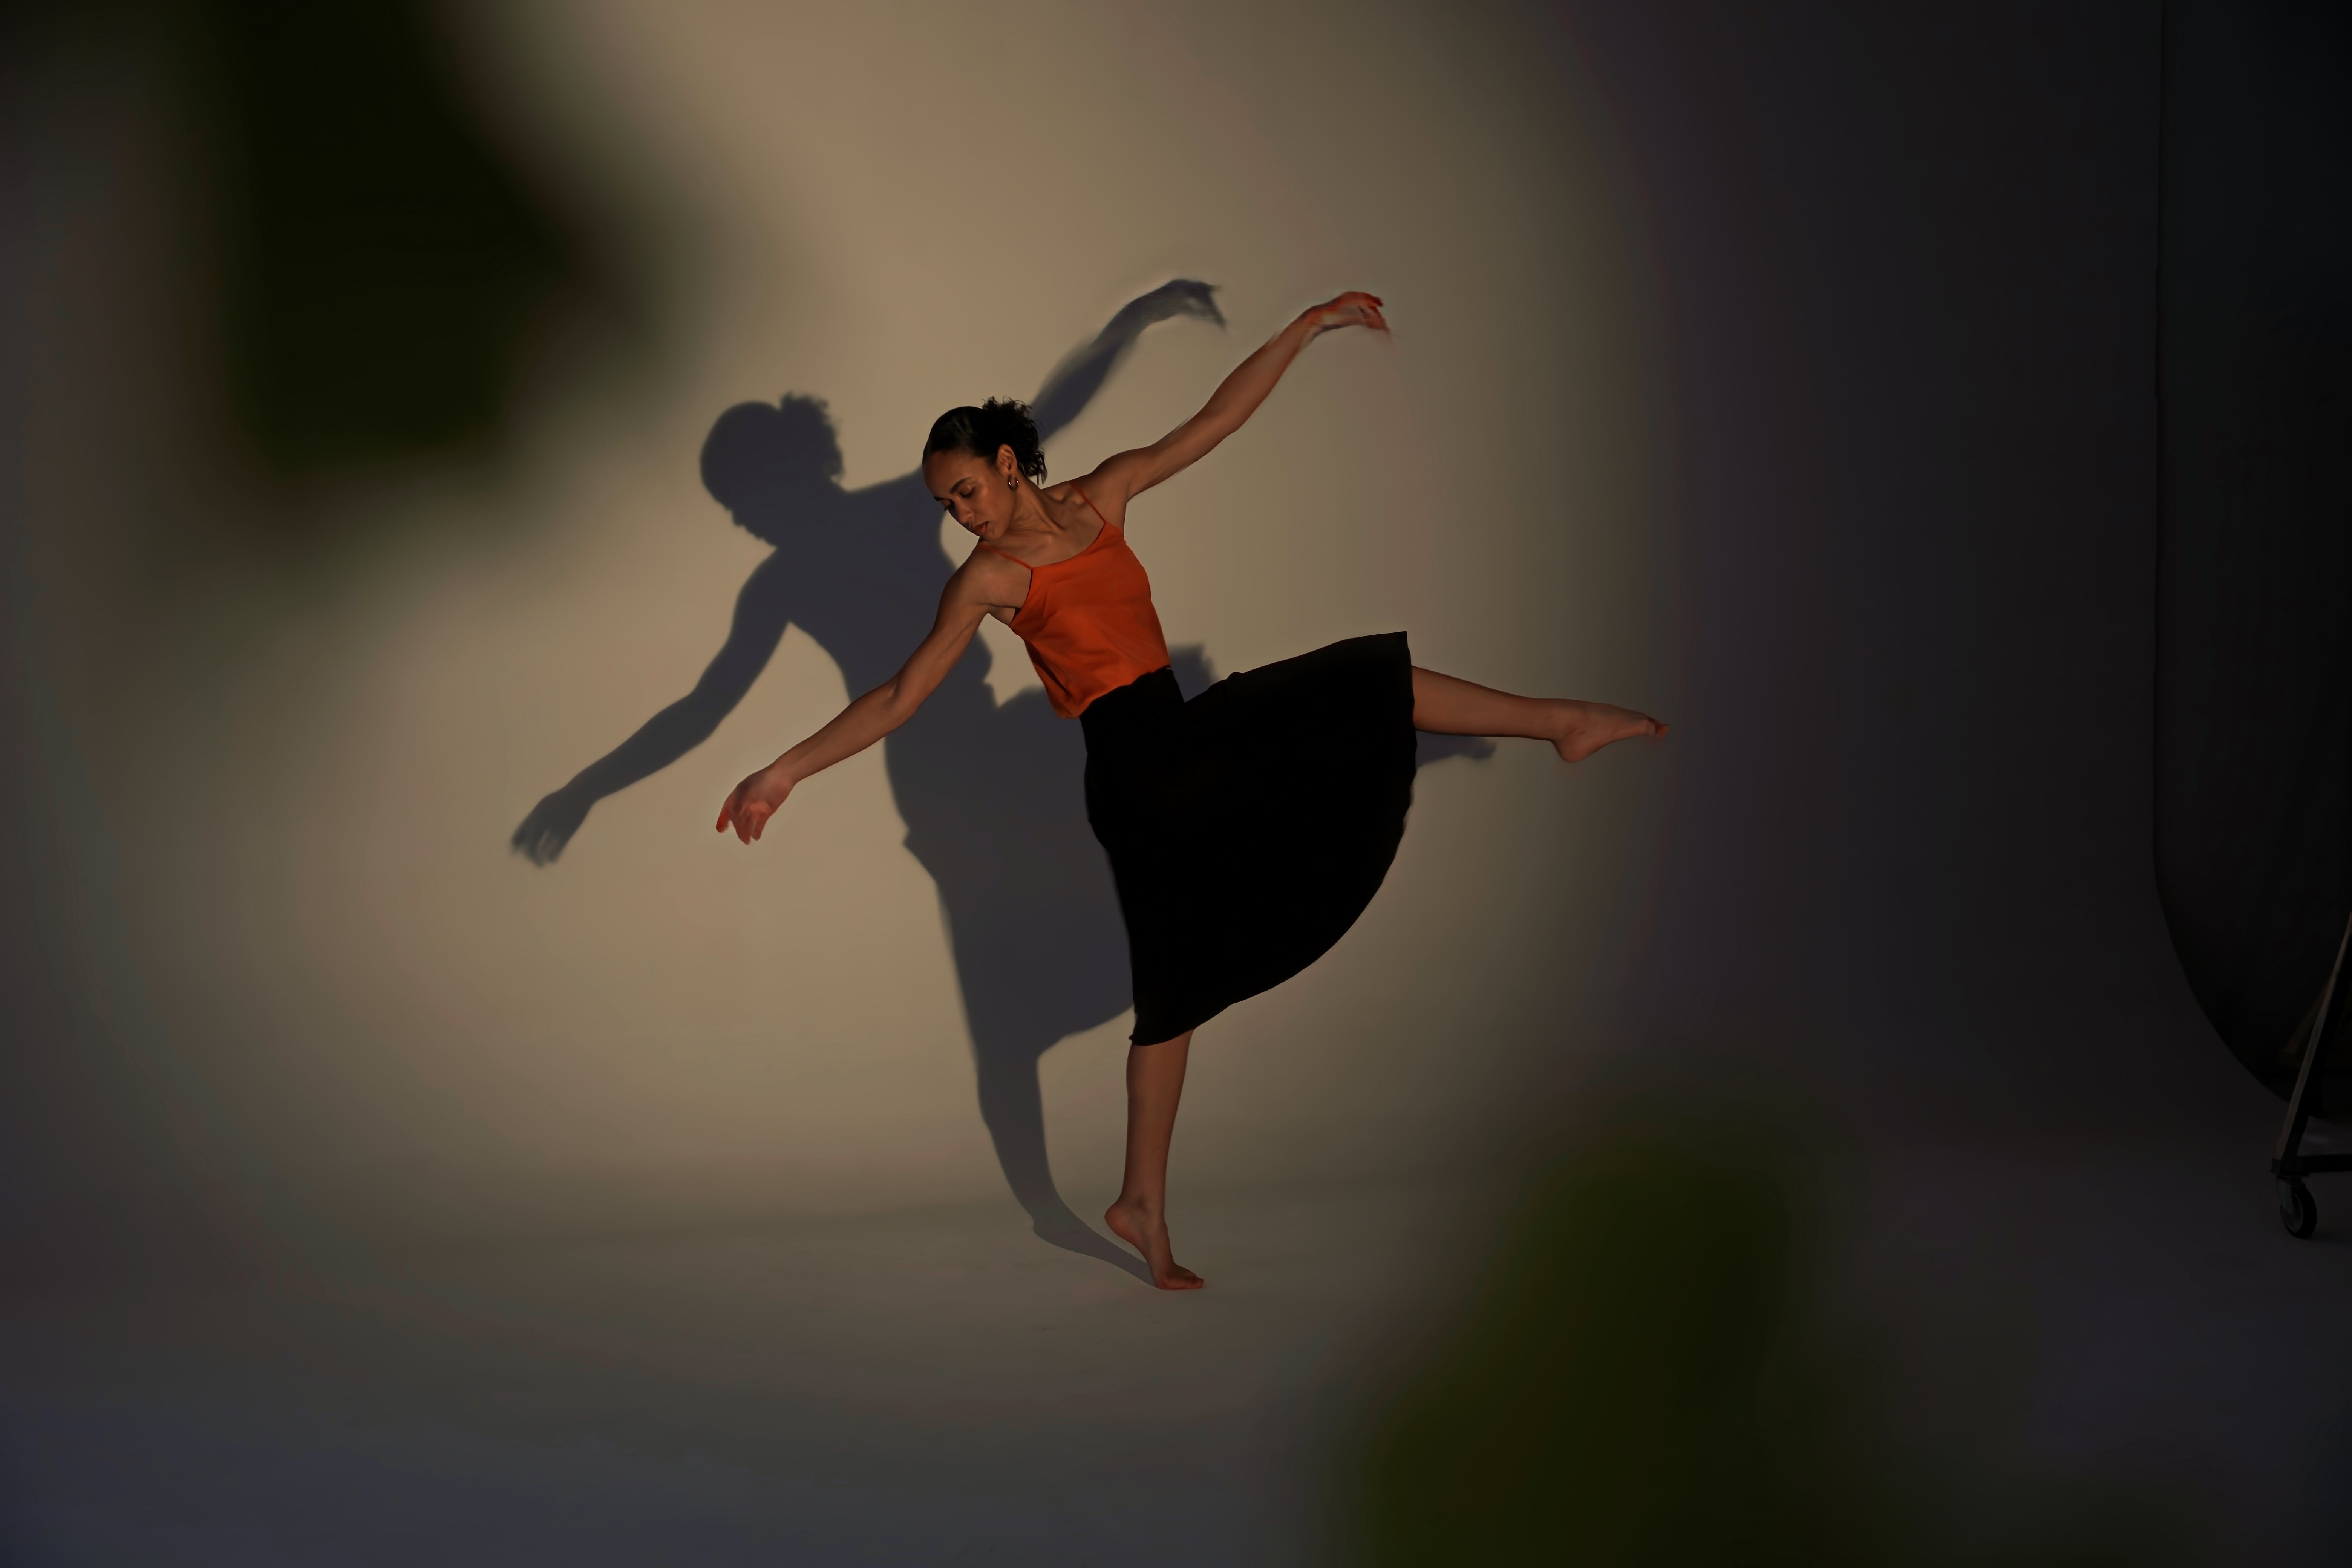
© Ksenia Kazak
Supersharp AI
Revive Your Blurry Photos with Supersharp AI! Use our cutting-edge technology to naturally restore the sharpness of your cherished memories.
GenSwap
© Lisa
GenSwap
Transform your photos with GenSwap! Effortlessly replace dull elements with AI-generated visuals that blend seamlessly into your images.
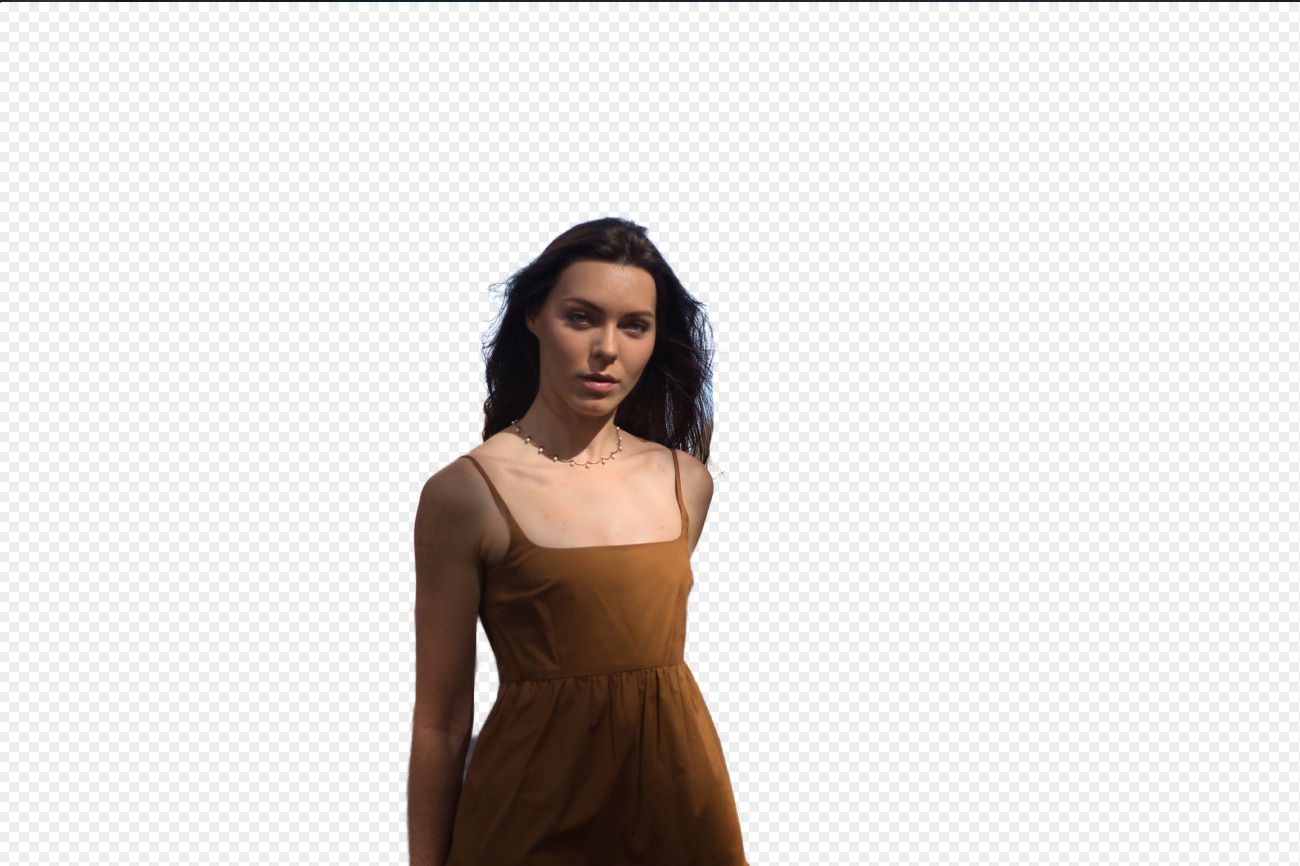
Background Removal AI
© Ksenia Kazak
Background Removal AI
Use our advanced tool to automatically erase backgrounds behind any object in your images.
Enhance-AI
© mathewbrowne_anglesey
Enhance-AI
Simplify your workflow and amplify your results. Experience the convenience of managing multiple adjustments with a single, AI-driven slider.
Hue Changer

© reewungjunerr
Hue Changer
Easily correct tones, experiment with new looks, or add unique creative effects.
An application & plugin
For macOS & Windows
- High-performance AI editor
24/7 technical support
30-day money back guarantee
Join community of Luminar Insiders
Frequently Asked Questions
How to use AI image smoother tools in Luminar Neo?
Depending on your needs, you may want to use the Skin AI tool for portraits, Noiseless AI to get rid of grainy details, or Enhance AI for on overall more polished look.
Will using the image smoother affect the sharpness of my images?
You can use the Supersharp tool to restore sharpness if you need more detailed and sharp results. Luminar Neo gives you full control over your results.
Can I undo the smoothing effect if I'm not satisfied with the results?
Yes. Simply undo the step in the Edits tab and try again.
Can the image smoother be used for batch processing multiple images at once?
Of course! If you’re satisfied with the effect you have achieved on one image, you can easily copy and paste the adjustments in the catalog across multiple images.