
January 26
17 min. to read
How to Take Aesthetic Pictures That Truly Impress
Aesthetic photography is currently one of the most popular types of photography, as anyone can do it without needing expensive equipment. These photos evoke a sense of nostalgia and teach us to look at simple things in a completely different way.
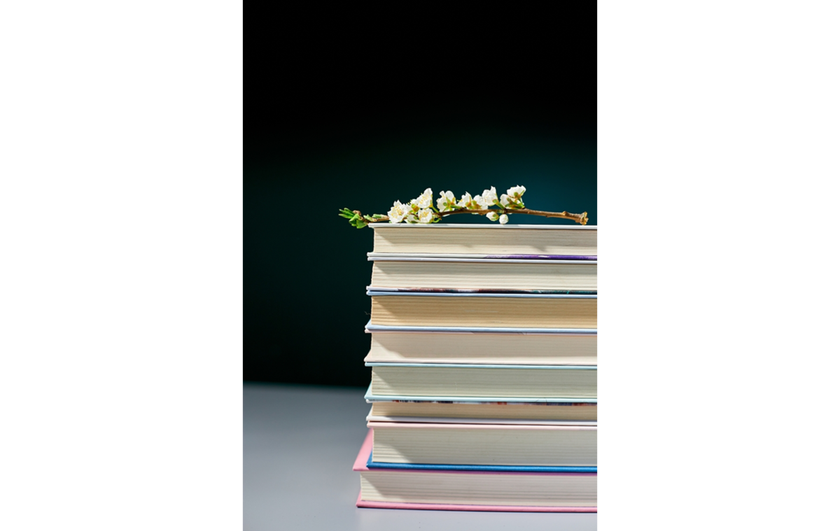
Literally anything can be used for this type of photo, as long as you follow a few conditions, which we will discuss later in this article. It could be a section of an empty road, a reflection in a puddle, a burning candle, a bookcase with books, and the list goes on and on, which is why taking aesthetic photos can quickly become a daily habit.
The main features of such photos are simplicity and attention to lighting. In this article, you will learn to see the aesthetics and beauty in simple things, convey them through the screen of even the oldest smartphone, add meaning to them, and process them so that they are pleasant to look at. You will find out whether it is worth planning such shots or just looking a little more closely at your surroundings.
Planning Your Aesthetic Photoshoot
Plans are always beneficial, as you already know in advance what emotions you want to convey, what specifically to depict, what settings you will need for this, where it is best to do it, and many other organizational details.
But is all this necessary when we talk about aesthetics? It is present in everything, it is different for everyone, and you need to learn to see it, but it's not like scheduled English lessons. You can simply take a coffee break and catch your aesthetic while standing by the office window.
But since we've started talking about plans, we'll teach you how to take more aesthetic photos. The three points that should be considered are mood, story, and consistency. It can be a soothing, sorrowful, dramatic, or cheerful mood.
Your photo has a story that you should tell right, what is going on in it, and why you want to demonstrate it. Consistency, in this case, is used to describe the way all the parts of the picture fit together: mood, story, colors, lighting, angle, and composition.
One little life tip will involve just sticking to one main idea: one object, one mood, one place. In addition, compose a brief list of shots with variety: a wide shot to introduce the scene, a medium shot that is easy to use to display an object, and a detailed shot that provides texture or emotion (fog, hands, fabric, reflections).
In case framing is difficult, a helper can hasten decision-making. A composition AI tool can be useful for checking balance, cropping ideas, and whether the subject placement feels natural before the final export.
Choosing the Right Lighting for Stunning Images
Lighting is key in this whole story; without it, you wouldn't have any photos at all, but just because you have it and the subject is visible doesn't make your photos beautiful and unique. It also allows you to distinguish between a random photo and a purposeful one. The most popular source of light is a window, because it is soft and predictable.
Place the subject next to the window and turn it slightly so that soft shadows appear on the face, then take a step back so that the background is not too bright. Outdoors, open shade is the simplest and “safest” lighting option, especially on bright days. Neon signs in the evening will provide an interesting contrast, a cloudy sky will perfectly diffuse bright light, and table lamps, floor lamps, and fairy lights will create a cozy atmosphere.
Still trying to figure out how to take an aesthetic picture in any location, it is worth trying. You can do this when you have free time, such as riding the bus. Shoot one test shot, then make two tests: the shadows and the color. When the shadows appear sharp, then either shift the object nearer to the source of light or alternatively alter the point of view.
When the colors appear to be green, orange, or dull, then adjust the white balance of your camera or change of the light source you are using. This can be assisted by any editor.
Selecting Backgrounds That Enhance Your Subject
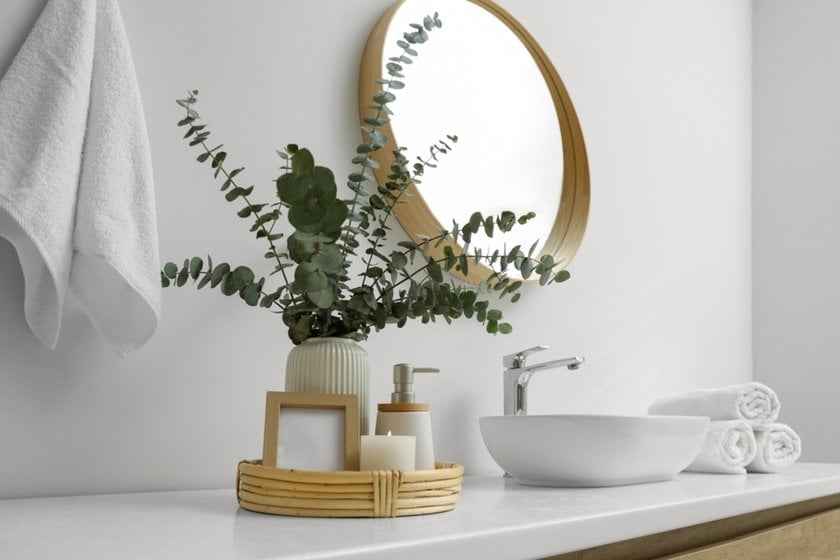
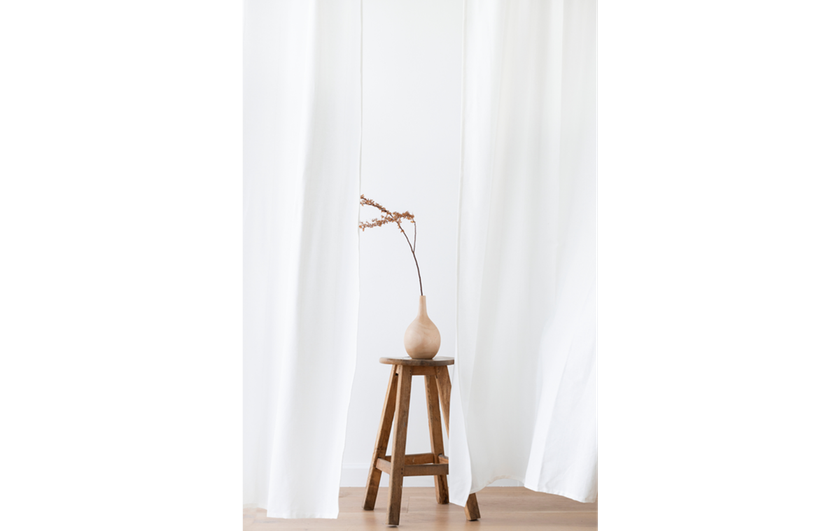
Aesthetic prints have backgrounds that support the subject, rather than fighting for attention. Start by looking for clean shapes and calm colors. A plain wall, curtains, a textured slipup face, or a simple road corner can all work if they match the mood.  Texture helps when it feels natural linen, wood grain, penstocks, or painted concrete.
Color harmony matters too. However, a warm-toned background keeps the image feeling unified. However, a quieter background helps them pop without looking loud, if the subject is bright.
Before you shoot, do a fast checkup of the frame and remove distractions. Move mugs, bags, slapdash cords, and arbitrary markers. Watch for bright spots near the edges, awkward poles “growing” from heads, and messy reflections in glasses or windows. Many small fixes in the moment can save a lot of editing latter.
Mastering Composition Techniques for Visual Appeal
Use these ideas as a quick reference while you’re shooting, so the frame feels intentional before you even start editing.
Composition is principally where you place effects so the print feels balanced and easy to read.
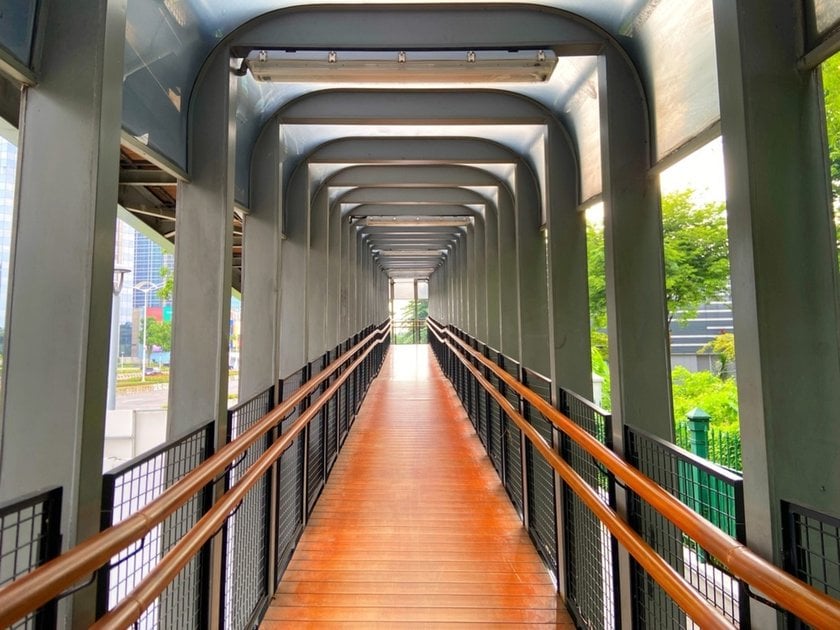
Leading lines guide the eye to the subject, like sidewalks, rails, or window frames.
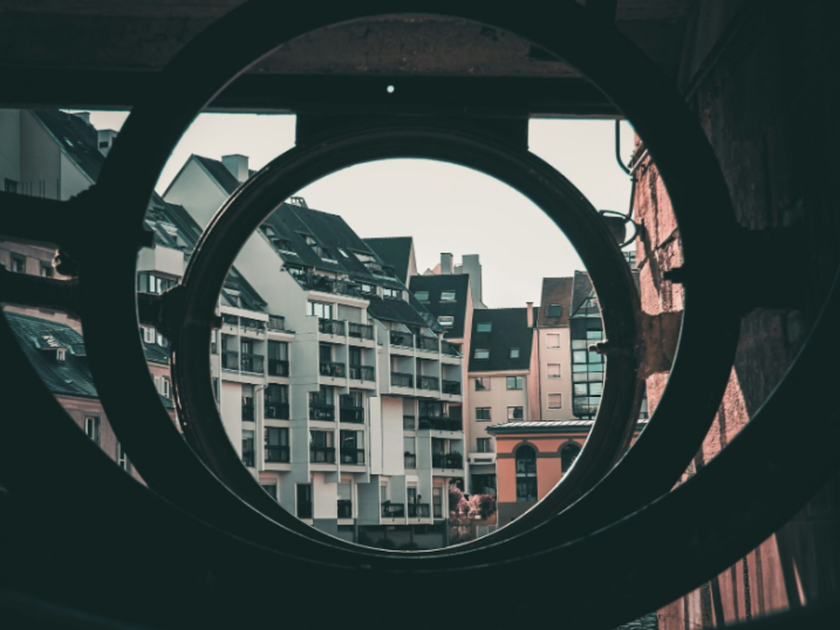
Framing is another simple trick shoot through a doorway, curtains, leaves, or a bow so the subject feels “held” inside the scene.
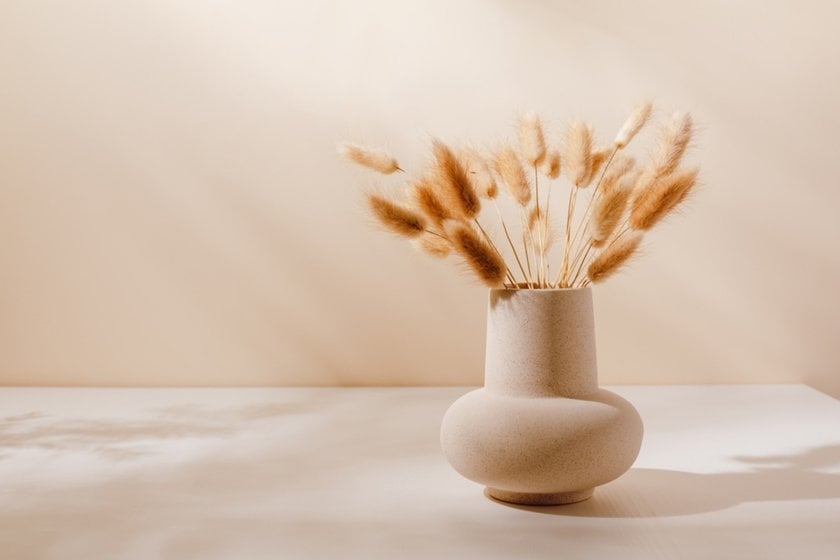
Negative space also helps a lot with aesthetic style. Leaving room around the subject can make the shot feel calm and ultramodern, especially for pictures and product- style images.
Layering adds depth. Put a commodity soft in the focus (a factory, a glass, a sheer curtain), the subject in the middle, and a clean background behind them.
Repeating shapes can tie everything together too, such as penstocks, windows, books, road signs, or indeed repeated colors.
Make cropping choices while firing, not later. Step closer, shift left or right, and keep an eye on the edges so you don’t accidentally cut off hands, shoes, or important props.


Keep these points in mind as you move around the scene, and the composition will start to feel more natural from shot to shot.
Using Color and Contrast to Elevate Your Photos
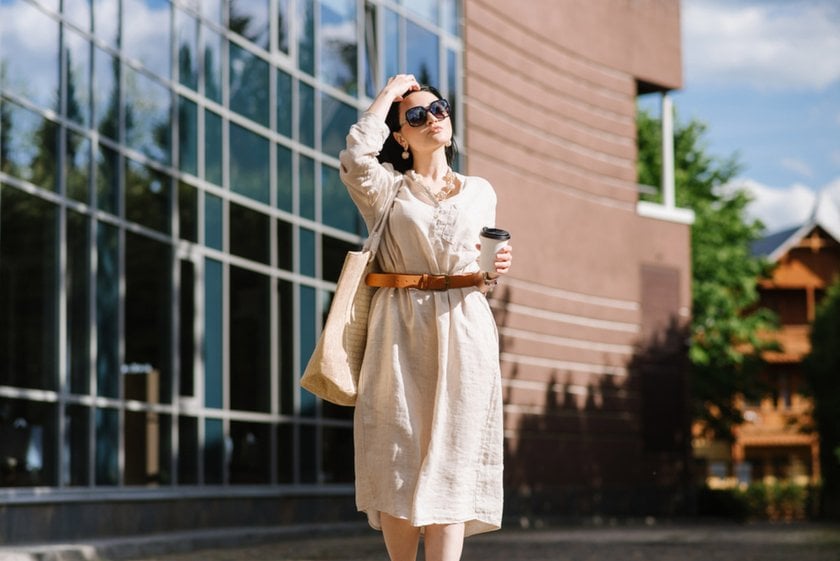
 The color is what makes an image appear as a designer. To be consistent is an easy trick to follow: it is better to create a small palette of colors before shooting: 2-3 central tones that will be used throughout the frame, and one accent to introduce some energy. Also, beige + soft green + warm brown, plus a very little splash of red (lipstick or a cup pattern). In case of a limited palette, the photo appears more peaceful and meditative.
You want to emphasize the item that has no sharp edges or irregularities. Attempt to create contrast of tone (bright object on a dark background), color (cold clothes on warm walls), and texture (smooth leather on rough concrete). However, before you press the shutter, you should check a few things:
white balance looks natural, not green or orange;
background is free of random clutter and bright “hot spots”;
skin tones look believable in the current light;
reflections in windows, mirrors, and glasses are controlled;
the horizon and vertical lines look straight;
edges of the frame don’t cut off hands, feet, or props awkwardly;
distracting signs, logos, and stray cords are out of view.
It's worth checking all these aesthetic photography tips every time until you start doing it automatically, without thinking. After that, you can refine the same ideas in post. For a faster polish, AI photo enhancement software can help smooth exposure and color so the image stays clean while still looking natural.
Tips for Posing and Styling in Aesthetic Photography
It is better to study some rules to make your photos bright and harmonious, and not to look out of place.
Keep your hands occupied: take a mug, straighten your sleeve, pull your hair,and make sure that your fingers are touching the table slightly. Small movements are better than big ones, and therefore you can make small improvements like turning your chin, shifting your weight to the other foot, or even straightening your shoulders.
Select the angles according to the mood: a front view can be viewed as simple, side angles can be seen as softer and slightly lowered, or averted gaze may be seen as sincere. Take a little step, or turn a page, or take a drink, to carry yourself not stiff.
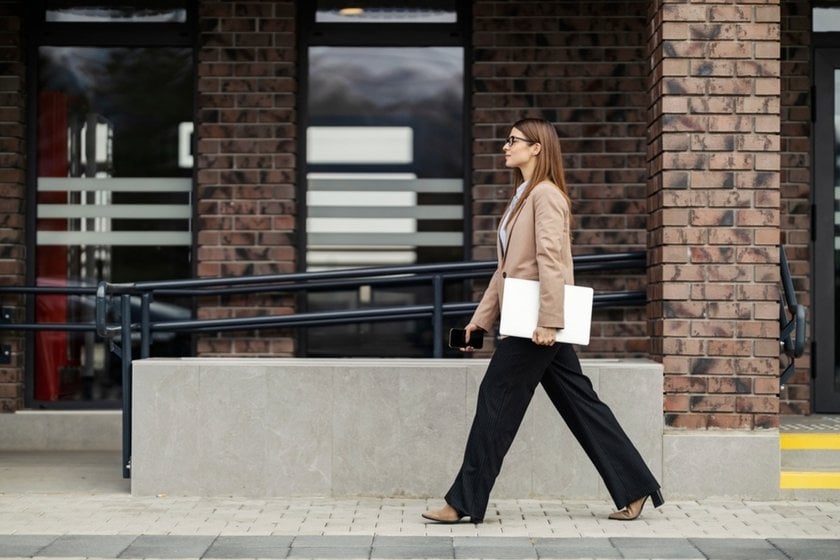
The style must be in favor of the scene. Wear clothes that photograph well i.e., knit, linen, denim, or mat cotton. Use the same color twice, at the top and accessories (shoes and bag), to give the frame unity. Control with matte textures and do not forget tight belts or wrinkled places, which catch the eye. Bright patterns should not be used in case the background is already textured.


Together, these three tips will create the perfect conditions for your photo. All that's left is to set up the right tools and choose the right angle.
Editing Tricks to Perfect Your Pictures
 The stage at which a set of photos begins to look cohesive is editing. Follow this simple order:
exposure
white balance
contrast
color
cleaning.
If you adjust the brightness from the outset, all other settings will be easier. Then change the color balance to make sure that the white color is not distorted and to make the colors of the skin look natural. Then proceed to fine-tune the contrast to ensure that the subject is set against the background without squashing the shadows or overexposing the highlights.
If your goal is how to make your photos look aesthetic, it is best to focus on consistency rather than extensive processing. Choose one “finish” and stick to it for the entire series: similar warmth, similar divergence, or achromaticism. This is what gives your Instagram grid or portfolio a sense of purpose. Cleaning should be light but thoughtful: remove distractions, household light sources, and distorted lines when necessary.
To speed up the workflow while keeping control, AI photo editing software can help you build a repeatable look and apply it across multiple images without losing the natural feel. You can always make clever use of such adjustments to start with an image and get it back on track, or to add detail and fine-tune color to achieve the desired effect, yet still appear natural. It also assists in maintaining a consistent finish through a series of pictures, i.e., the skin tones, contrast, and warmth are the same in each photo.
Small habits that will make your photos better
 Aesthetic photography does not always come about due to the planning and attention to detail, and it might be taken entirely by accident but remain equally good. In any case, the idea of aesthetics does not necessarily have to be concerned with perfection, it may also be present in objects that are not ideal.
In the process of creating such photos, you will be assisted by small habits, i.e., the ability to pay attention to details, highlight them, observe and mix textures, colors, and shapes. And in case you get carried away and you cannot edit a hundred photos, you can always have editors. The only thing remaining is to talk about your successes.
 >
>
